This post may contain affiliate links. Read more at our disclosure policy.
Using a Dry Brine will enhance the flavor of any cut of meat. The simple process involves a combination of salt and seasoning and time to get flavor into the cells of the meat. In this article, we cover what is a dry brine and why it’s one of our favorite ways to season.
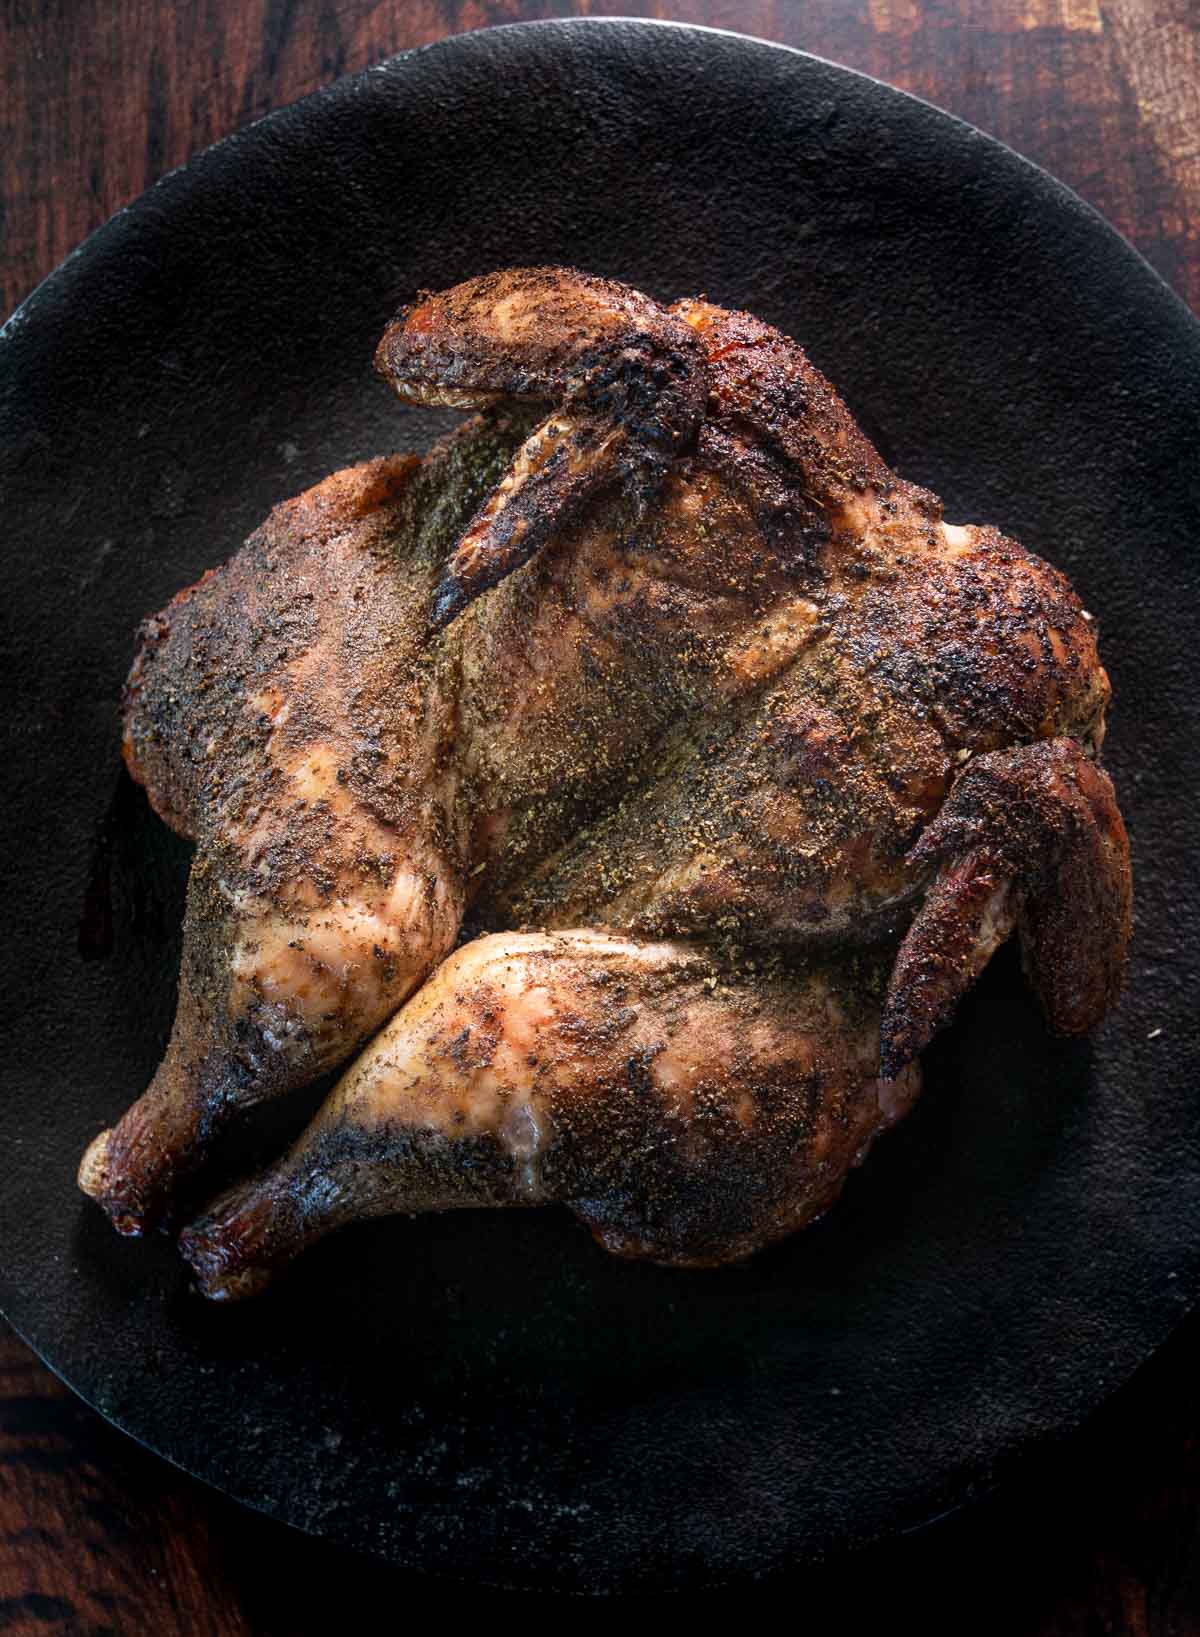
When it comes to seasoning meat before cooking you can marinate (or inject), you can wet brine, or you can dry brine. Each has its benefits. But the easiest of all of them, and many chefs’ favorite technique, is the dry brine. The key to success, however, is to allow enough time for the dry brine to work.
Table of Contents
What is a Dry Brine
A dry brine is a method of seasoning and tenderizing meat using a mixture of kosher salt, sugar, or various spices without adding any liquid. Unlike traditional wet brining, which involves soaking meat in a saltwater solution, dry brining relies on the meat’s natural moisture to create flavorful tastes that reflect the brine and juicy end product.
This technique is especially popular for poultry, pork, and beef, providing an easier and often more effective alternative to wet brining.
Ingredients
It is very easy to modify these ingredients based on your flavor profile. But this mix is what we like to use for almost all meats, including poultry and beef. Note that a dry brine will not work unless you use salt.
Portions are in the recipe card.
- Kosher Salt – The most important ingredient to any dry brine is the type of salt. And we recommend kosher salt (we use Diamond Crystal). The granules are larger and it’s not as concentrated or as salty as table salt.
- Coarse Black Pepper – Adding pepper is an easy way to add a slight amount of heat and finish.
- Granulated Garlic – Versus garlic powder, granulated garlic has similar size flakes as kosher salt. If all you have is garlic powder use half the portions.
- Dried Herbs – We used a combination of dried thyme, sage, and oregano. This herbal flavor is perfect for any meat. But you can customize based on the flavor profile you like.
- Modifications – To modify the brine you can add cayenne for heat. If you want a more rich flavor you can add chili powder or paprika.
Our dry brine recipe yields one cup. You can then use smaller portions of the brine as you cook based on the size of your protein.
Tools + Equipment
We like to use a rimmed baking sheet lined with a wire rack or cookie drying rack to add our meat. This allows any brine to work all over the meat. If you just lay meat on the base of the baking sheet, it doesn’t get adequate airflow and time to allow the salt to infuse inside the meat.
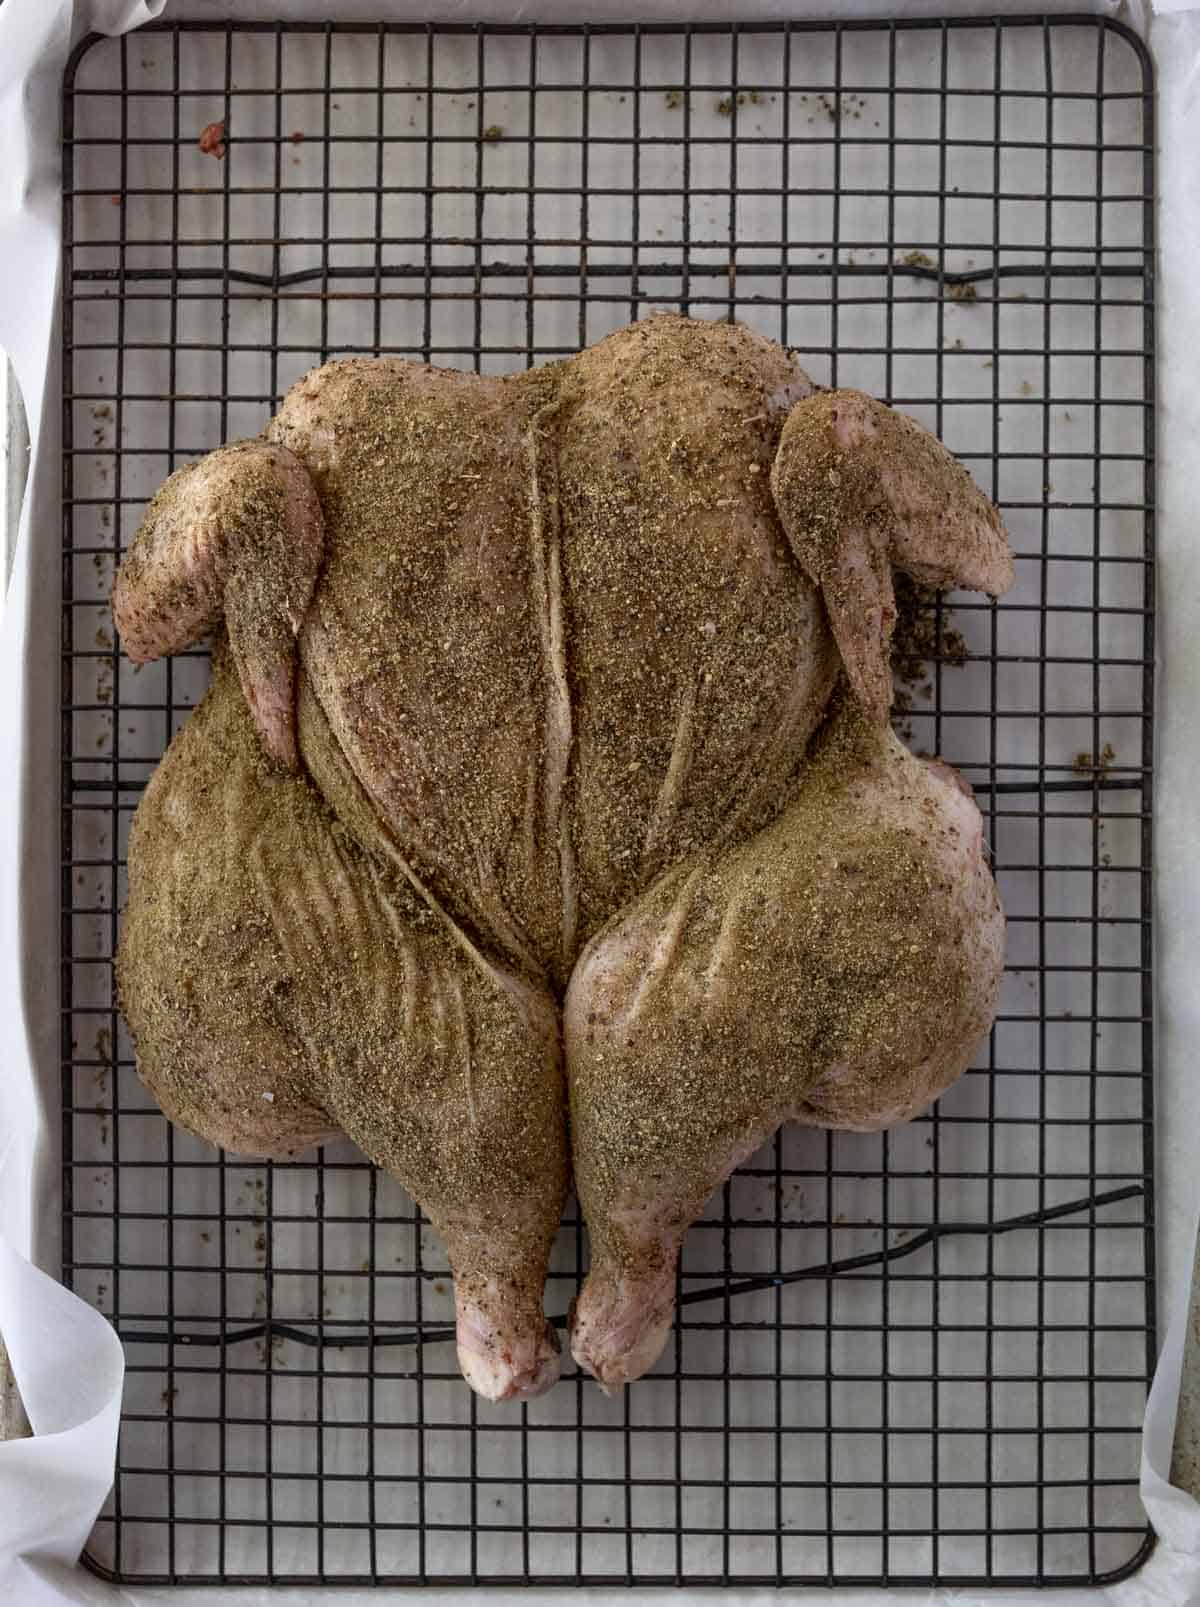
How Does Dry Brining Work
Dry brining works through a series of steps that enhance the flavor and texture of the meat and causing osmosis.
Sprinkle Salt
The first step in dry brining involves generously applying salt to the surface of the meat. The salt begins to draw moisture out of the meat through osmosis. This initial moisture extraction might seem counterproductive, but it’s a crucial part of the process. You can adjust the amounts of salt based on what you plan to brine.
Moisture Extraction
After applying kosher salt, you place the meat in the fridge. As the salt extracts moisture from the meat, it dissolves and creates a concentrated brine on the meat’s surface. This step typically occurs over the first few hours of the brining process.
Reabsorption
After the salt dissolves, the meat begins to reabsorb the brine. The salt and dissolved meat juices penetrate deep into the muscle fibers, seasoning the meat internally. This reabsorption not only enhances the flavor but also helps to break down proteins, making the meat more tender.
Flavor Enhancement
During the reabsorption phase, additional flavors from any spices or herbs added to the dry brine mixture are also drawn into the meat. This step allows for a more complex and robust flavor profile compared to simply seasoning the surface.
Drying
The final stage of dry brining involves allowing the meat to rest uncovered in the refrigerator. This drying phase helps to create a better Maillard reaction (browning) when the meat is cooked. The drier surface results in a crispier and more flavorful crust, particularly important for roasting or grilling.
Dry Brining Versus Seasoning
If you put seasoning on a cut of meat just before cooking, you will have flavor on the outside of the meat but it won’t be infused into the meat. It also has less of a texture that helps with browning from the longer dry brining process.
Benefits of Dry Brining
- Simplicity – Dry brining is straightforward and less messy than wet brining. There is no need for a large container to hold the meat and liquid, making it easier to store in the refrigerator.
- Flavor Penetration – Dry brining allows for deeper and more even seasoning throughout the meat. The process ensures that the flavor is not just on the surface but permeates the entire cut.
- Improved Texture – The salt in the dry brine breaks down muscle proteins, resulting in a more tender and juicy texture. This method is particularly beneficial for tougher cuts of meat.
- Better Browning – The drying phase of dry brining leads to a superior Maillard reaction, enhancing the meat’s color, texture, and flavor during cooking.
How to Dry Brine
1. Choose Your Meat
Select the cut of meat you wish to brine. Popular choices include whole chicken, turkey, pork chops, steaks, and roasts.
A note on chicken or turkey: If you plan to brine skin-on poultry give at least 8 hours, ideally 24, to allow the brine to absorb both the skin, the fat, and the outer layer of meat. If you only have a couple of hours, consider removing the skin and brining with the skin off.
2. Prepare the Brine
Mix kosher salt with additional ingredients. We make a large batch of dry brine ahead of time, store it in the pantry, and then use it throughout the month.
3. Apply the Brine
Evenly coat the meat with the dry brine mixture. Be sure to cover all surfaces, including any cavities in poultry. If you are brining skin-on poultry consider lifting away the skin and adding brine under the skin and on the top.
4. Refrigerate
Place the brined meat on a rack over a baking sheet and refrigerate. For best results, leave the meat uncovered to allow for air circulation. The brining time can range from a few hours to a couple of days, depending on the size and type of meat. Generally the larger the cut, the longer you want to let it do its thing. We tend not to brine anything longer than 36 hours as it will start to change the texture of the cells.
5. Cook
Once the brining process is complete, cook the meat according to your preferred method. There’s no need to rinse off the dry brine; any remaining salt will enhance the flavor during cooking.
What Meats Are Good For A Dry Brine
You can use this on any Thanksgiving Smoked Turkey as a substitute for a wet brine, like our spatchcocked smoked turkey recipe. Or use it on stuffed chicken breast or chicken halves. Even a smoked turkey breast.
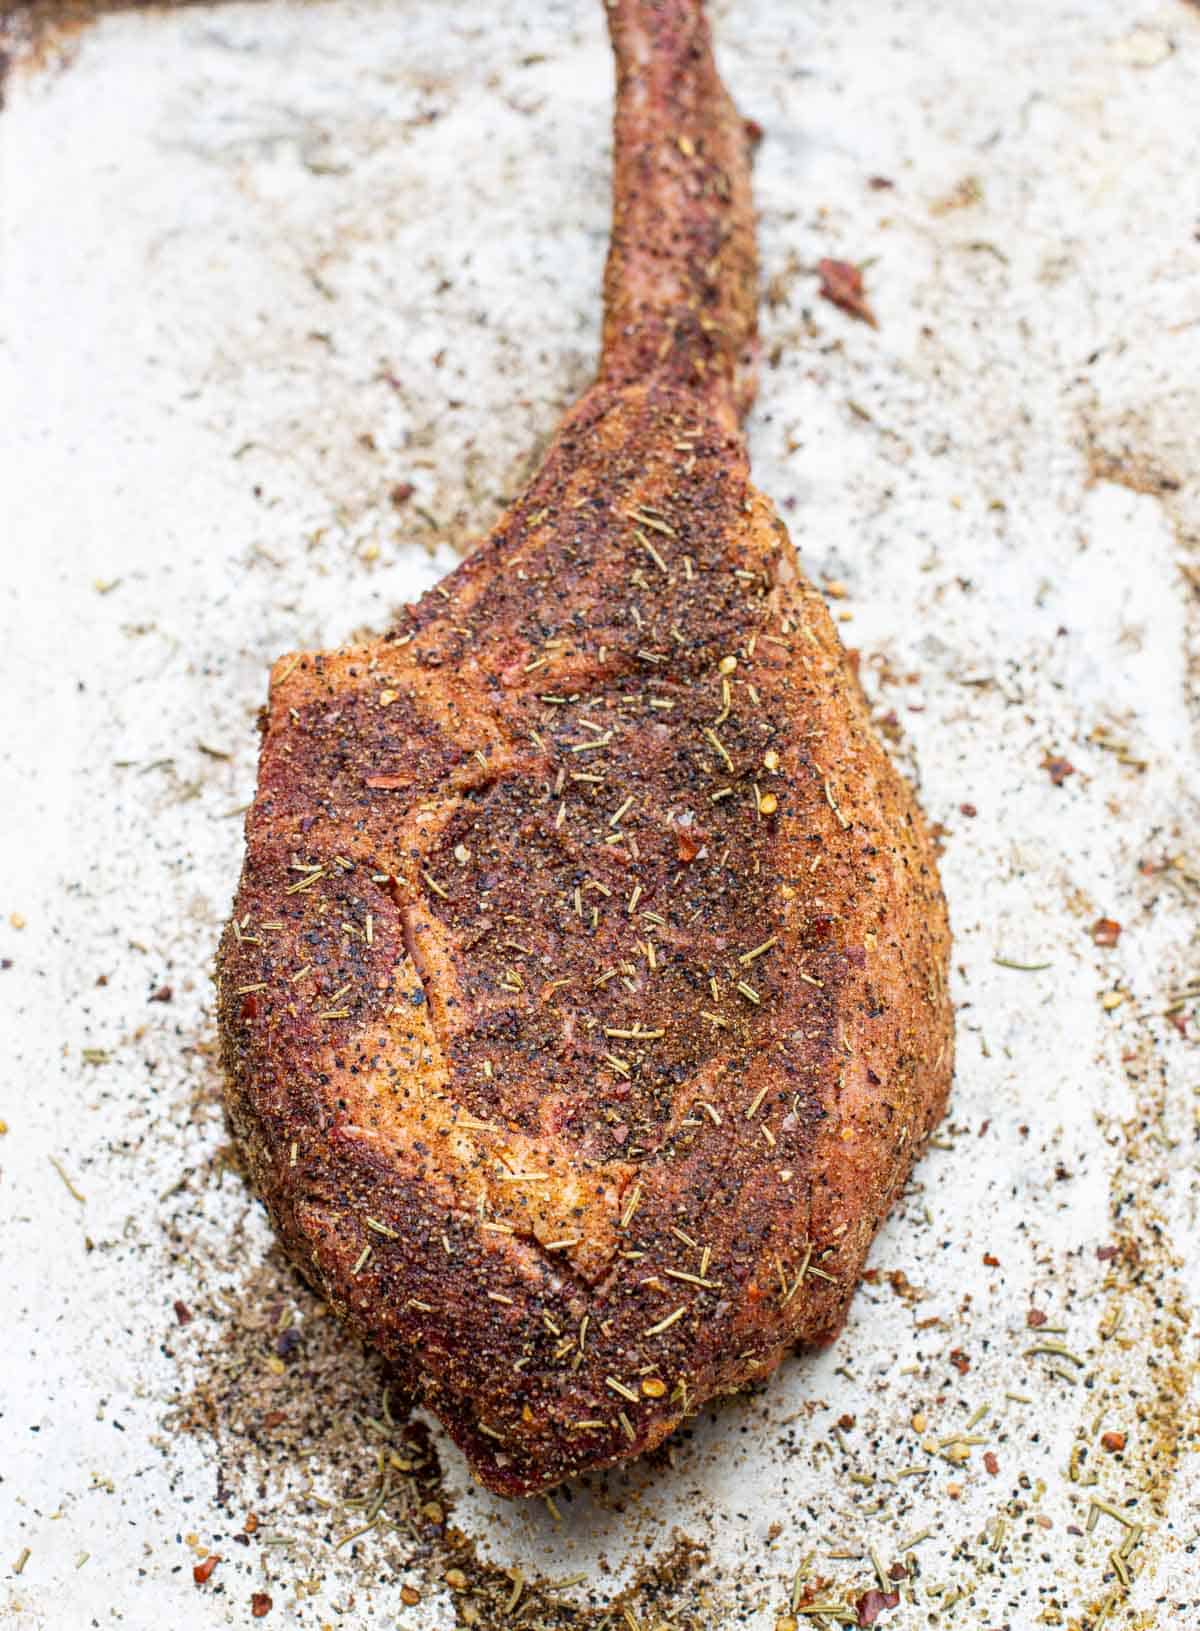
You can also use this on beef, fish, pork, lamb, or any other meat. Vegetables that are high in water like eggplant and squash are great with a dry brine.
Frequently Asked Questions (FAQs)
It’s best to use kosher salt for dry brining because of its coarser grains, which are easier to distribute evenly. Table salt is finer and can result in overly salty meat. We do not recommend using any table salt or finishing salts. We use Diamond Crystal kosher salt.
The brining time depends on the size and type of meat. For smaller cuts like steaks or pork chops, 1 to 2 hours may suffice. Larger cuts, like whole chickens or turkeys, can benefit from 12 to 36 hours of brining.
No, there’s no need to rinse off the dry brine. Any excess salt will dissolve and be absorbed by the meat during cooking, enhancing the flavor.
We do not recommend dry brining and marinating. Select one or the other. If you apply a marinade to a dry brined cut you will pull out some of that seasoning and ruin the slight crust that forms during the refrigeration process.
Expect up to six months in a cool dark cupboard and an airtight container like a mason jar.
Dry brining is an effective and convenient technique for enhancing the flavor and texture of meat. By understanding how it works and following a few simple steps, you can achieve deliciously seasoned and tender results every time. Whether you’re preparing a holiday turkey or a weeknight steak, dry brining is a valuable tool in any cook’s arsenal.
Recipe Ideas
Try this technique on our Dry-Brined Spatchcocked Chicken. Or for another twist use this on our dry brined Grilled Chicken Halves finished with our Vinegar Sauce.
Would you like to save this?
You can also use on our Smoked Chicken Wings or even Grilled Chicken Wings to help with crispy skin.
About Vindulge
Mary (a certified sommelier and recipe developer) and Sean (backyard pitmaster) are co-authors of the critically acclaimed cookbook, Fire + Wine, and have been creating content for the IACP nominated website Vindulge since 2009. They live in Oregon on a farm just outside Portland.
The Easiest Dry Brine
Ingredients
- ¼ cup kosher salt
- ¼ cup coarse black pepper
- ¼ cup granulated garlic
- 2 tablespoons dried thyme
- 2 tablespoons dried sage
- 1 tablespoon dried oregano
Instructions
- Combine: Combine all ingredients in a small bowl. Combine with a fork or a whisk. Store in an airtight container in a cool dark place for up to six months.
How To Brine Meat
- Choose Cut: Select the cut of meat you wish to brine. Popular choices include whole chickens, turkey, pork chops, steaks, and roasts.
- Apply: Evenly coat the meat with the dry brine mixture. Be sure to cover all surfaces, including any cavities in poultry. If you are brining skin-on poultry consider lifting away the skin and adding brine under the skin and on the top.
- Refrigerate: Place the brined meat on a rack over a baking sheet and refrigerate. For best results, leave the meat uncovered to allow for air circulation. The brining time can range from a few hours to a couple of days, depending on the size and type of meat. Generally the larger the cut, the longer you want. We tend not to brine anything longer than 36 hours as it will start to change the texture of the cells.
- Cook: Once the brining process is complete, cook the meat according to your preferred method. There’s no need to rinse off the dry brine; any remaining salt will enhance the flavor during cooking.
Notes
Nutrition
Nutrition information is automatically calculated, so should only be used as an approximation.




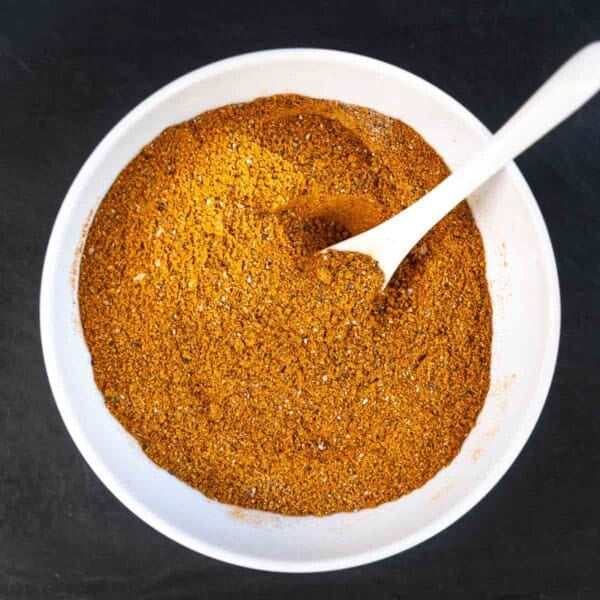
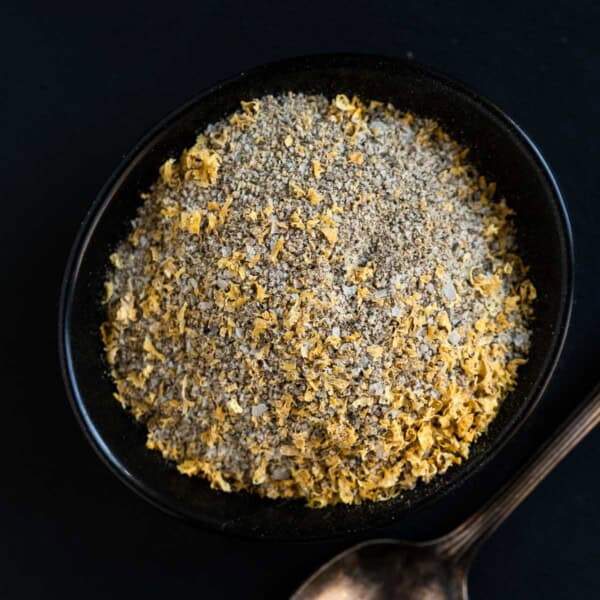
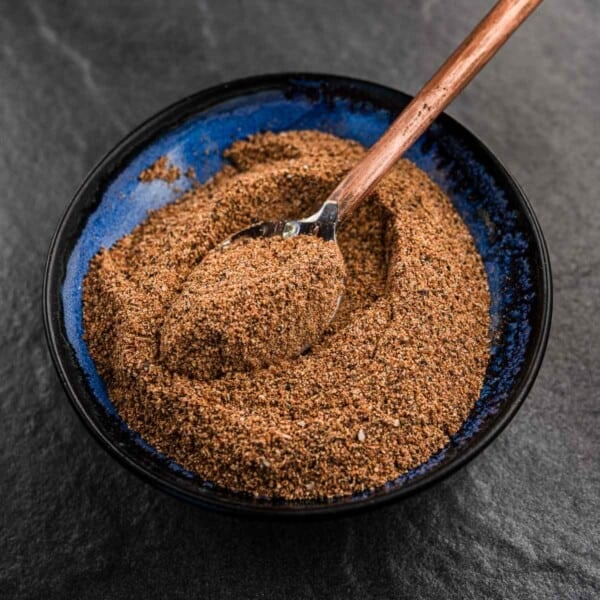
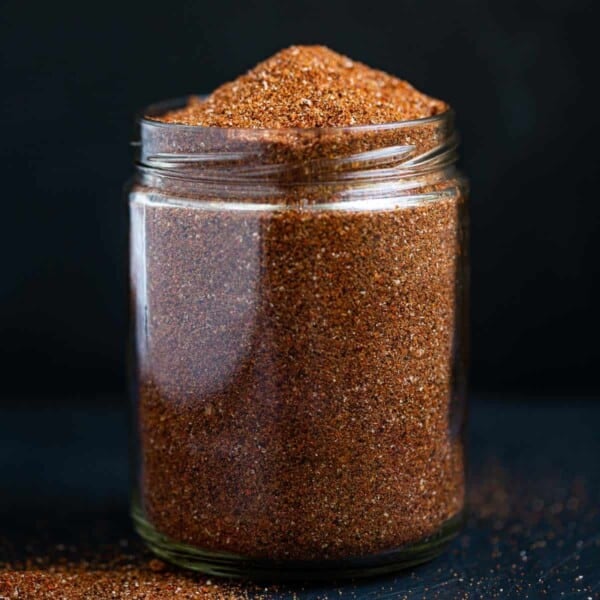


Use this dry brine rub on everything, it’s delicious. And if nothing else, just use kosher salt if you don’t have the ingredients.