This post may contain affiliate links. Read more at our disclosure policy.
Find out how to safely and quickly light up a charcoal chimney starter without the use of lighter fluid.
We get this question a lot. It seems simple, but many people fear the charcoal grill because of tasks like lighting it. This step by step approach to using a charcoal chimney starter makes lighting a charcoal grill foolproof.
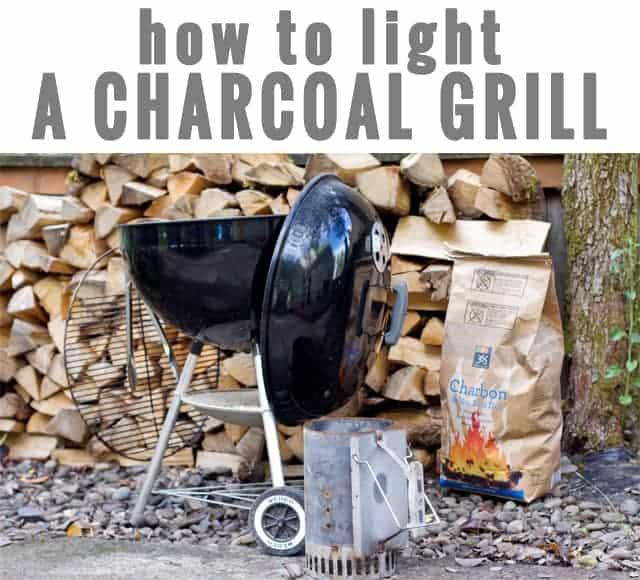
We want to give y’all ZERO excuses to avoid grilling. Z.E.R.O. Our whole goal here is to get everyone to grill year-round like we do. So fear no more!
Table of Contents
Starting a charcoal grill is easy. Invest in an inexpensive charcoal chimney, and you can be grilling within 15-20 minutes of lighting up. Whether you use lump charcoal, briquettes or even sneaking in wood chunks, it works without fail. The chimney will help you get your coals hot, without the need for any lighter fluid.
Safety Tip
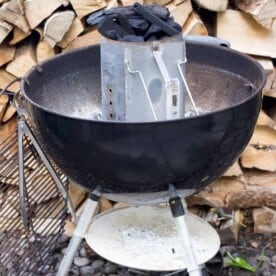
Light the charcoal chimney inside your grill or on a concrete surface away from anything that can burn. The chimney will get hot, and be sure there is not a low hanging canopy either. Always light this outdoors.
High heat gloves are also a great investment as the chimney can get very hot. The gloves prevent your hands from burning and are great for handling cast iron pans and grates while grilling. They are a must have investment.
Video Tutorial
How to Use A Charcoal Chimney
Insert the Paper
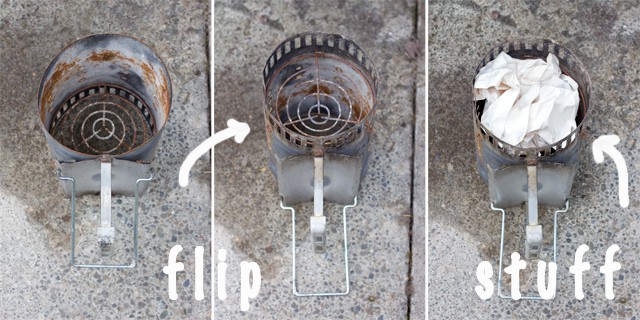
There are two sides to the chimney, a shallow side and a deep side. The shallow side is for your paper and the deep side for your charcoal. Crumble up a sheet of newspaper and place it loosely inside the shallow side. Don’t pack too tight otherwise it might smother out. Then flip over the chimney to prep for the charcoal.
Add Charcoal to Chimney
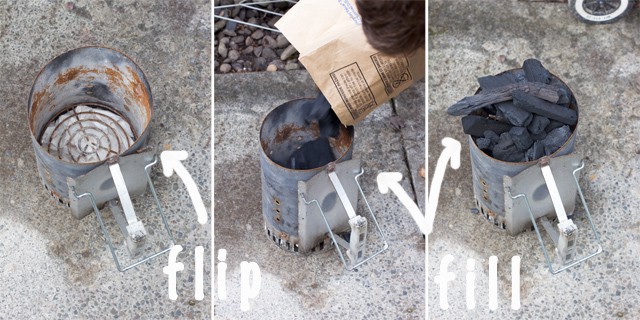
Add your charcoal to the deep side. If you are using lump charcoal, be sure that the smaller lumps are at the bottom just above the paper, as they will heat up faster. Sometimes you can get huge pieces, and if they are at the base, it takes a little longer to get those lit.
Light the Paper
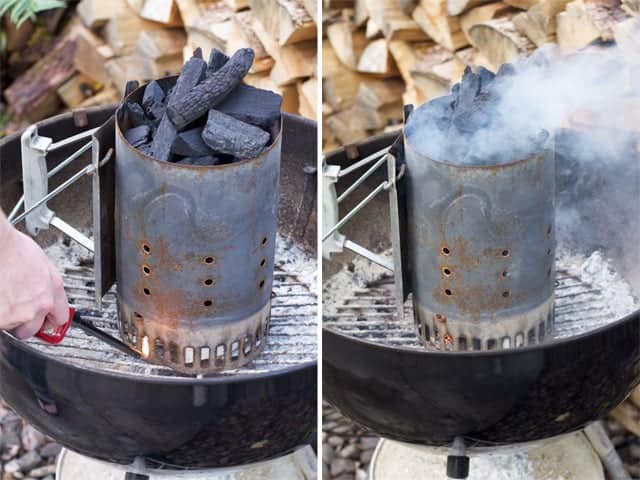
Place the chimney in your grill. Light the paper in a couple of different places and watch it burn. You should see smoke coming out from the paper combusting. The chimney forces the flame up and the holes on the side create perfect venting.
Would you like to save this?
Dump Charcoal from Charcoal Chimney In Grill
Watch and wait. Right around 20 minutes you should see the embers start to glow and the fire travel toward the top. When you have good ember and the top charcoal turning ashen, dump the charcoal into your grill with a heat resistant glove.
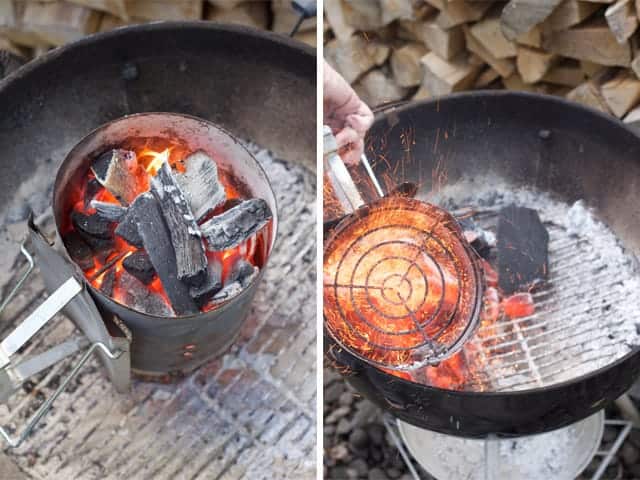
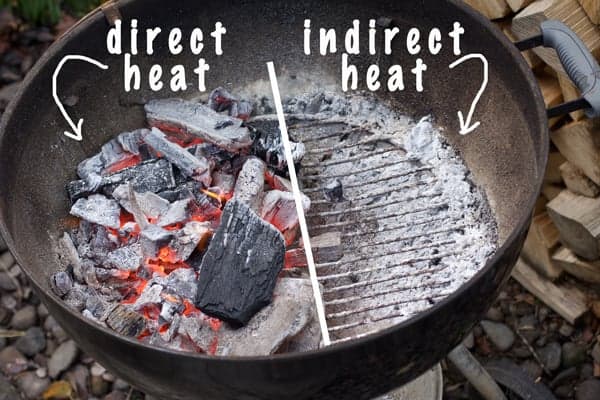
I typically dump the charcoal chimney into an indirect, or two-zone cooking method, but there is really no wrong way to do it, just make sure your charcoal is set and even. For a refresher on direct vs. indirect, see this post.
Cook
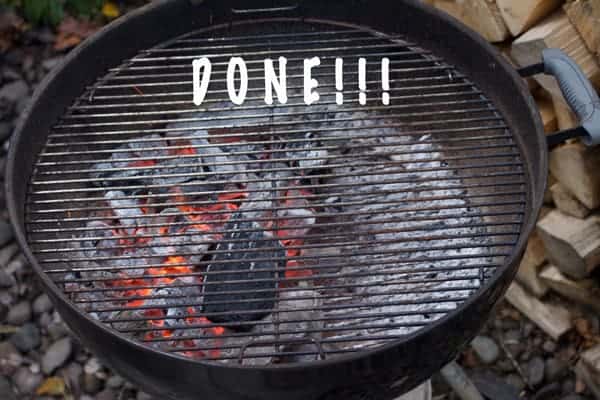
Finally place your grate back over the top and start cooking. If you are cooking something that will take a while, a general rule is to refresh your charcoal every 45 minutes. You can buy grill grates that open to refresh your coals as well if you use your kettle style grill for long cooks.
Charcoal
Charcoal comes in many shapes and sizes. Our preference is lump charcoal versus briquettes. Lump charcoal burns hot and has a great natural hard wood flavor. Expect a bag of lump charcoal to have various sizes. When filling the chimney, be sure the smaller sized lump are on the bottom with larger pieces toward the top. This allows the smaller pieces to more easily ignite and avoids big pockets of air.
Briquettes can be pressed together with chemicals which you can smell as it burns. Briquettes will burn at a more consistent heat. But the same steps apply to either fuel source.
Our favorite brands of lump charcoal include Jealous Devil, Fogo, and Big Green Egg which can be found at any Big Green Egg Dealer near you.
Grilling Recipes
Here is a round up of some of our favorite grilling recipes using these techniques.
- Grilled Chicken Kabobs
- Tequila Marinated Flank Steak Fajitas
- Grilled Chicken
- Grilled Pork Tenderloin
Note: this post contains affiliate links. That just means that if you click over and purchase the recommended products, we get a small percentage. We only endorse and recommend products that we really use and believe in. And you can probably tell from the pics of our chimney that we get darn good use out of it! Basically, it rocks and if you cook on a weber or other charcoal grill you need one!
How To Start a Charcoal Grill
Equipment
- Charcoal Chimney Starter
- Lighter
- Wad of Paper
- lump charcoal
Ingredients
- 1 wad paper, Two pieces of newspaper should work. Alternatively you can use paper grocery bags too. Just don't stuff too densly.
- 1 full charcoal chimney starter of charcoal, We strongly recommend lump charcoal.
Instructions
- There are two sides to the chimney, a shallow side and a deep side. The shallow side is for your paper and the deep side for your charcoal. Crumble up a sheet of newspaper and place it loosely inside the shallow side. Don’t pack too tight otherwise it might smother out. Then flip over the chimney to prep for the charcoal.
- Add your charcoal to the deep side. If you are using lump charcoal, be sure that the smaller lumps are at the bottom just above the paper, as they will heat up faster. Sometimes you can get huge pieces, and if they are at the base, it takes a little longer to get those lit.
- Place the chimney in your grill. Light the paper in a couple of different places and watch it burn. You should see smoke coming out from the paper combusting. The chimney forces the flame up and the holes on the side create perfect venting.
- Watch and wait. Right around 20 minutes you should see the embers start to glow and the fire travel toward the top. When you have good ember and the top charcoal turning ashen, dump the charcoal into your grill with a heat resistant glove.
- Set up grill for your preferred method like direct or two-zone grilling and follow the recipe instructions.
Video
Notes
Nutrition information is automatically calculated, so should only be used as an approximation.





Thanks for the tips on how to light a charcoal grill. I hadn’t ever thought about getting a heat resistant glove to make sure the coals are spread evenly. We are thinking of buying a grill for the first time, so I’m glad I’m learning all of this now so that we know what we need to buy to go with it and whatnot!