This post may contain affiliate links. Read more at our disclosure policy.
The go-to guide for an easy Smoked Brisket recipe every time. Use our seven-step guide, from selecting, trimming, and how to smoke brisket. This Smoked Brisket recipe is foolproof and works on any smoker. This post is for a whole packer brisket. Follow our guide for Smoked Brisket Flat, which follows a slightly different process.
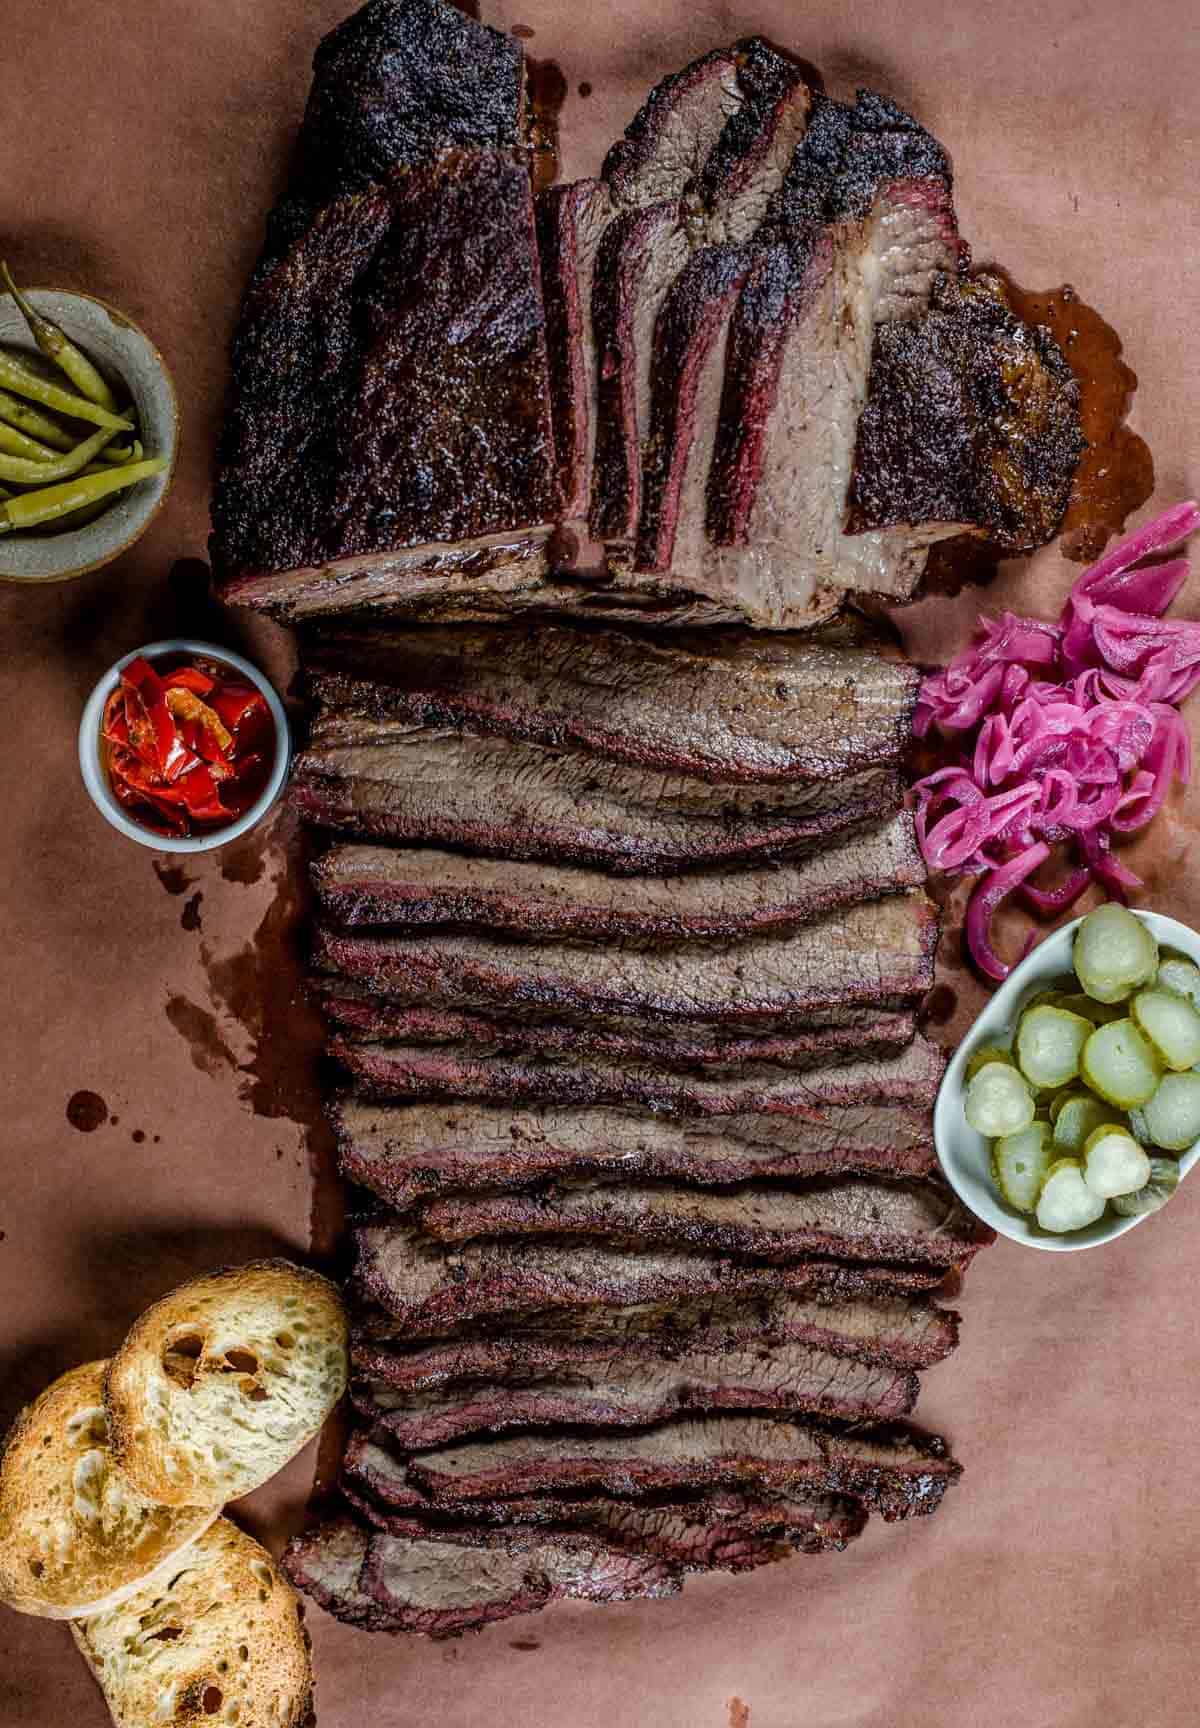
Table of Contents
- Smoked Brisket Recipe Ingredients
- How Much Brisket Should I Buy?
- Equipment Needed
- Step 1: Select The Right Brisket
- Step 2: Trim the Brisket
- Step 3: Season the Brisket
- Step 4: Smoke Brisket
- Step 5: Wrap the Brisket
- The Stall
- Step 6: Remove and Rest
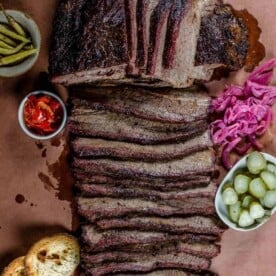
- Step 7: Slicing Brisket
- How Long For Smoked Brisket
- Monitoring Brisket Temperature
- Side Ideas
- Wine Pairing for Brisket
- Frequently Asked Questions
- The Ultimate Smoked Brisket Recipe
A smoked brisket recipe shouldn’t be complicated. It’s more about a process than a recipe. As professional caterers and authors of a popular BBQ cookbook, we have smoked hundreds of briskets throughout our careers.
An important thing to note about briskets is that no two briskets are ever the same, so we developed these steps for smoking briskets perfectly every time, no matter where you are in your brisket journey. You can also check out our top 15 tips for perfectly smoked brisket for more easy tips!
Smoked Brisket Recipe Ingredients
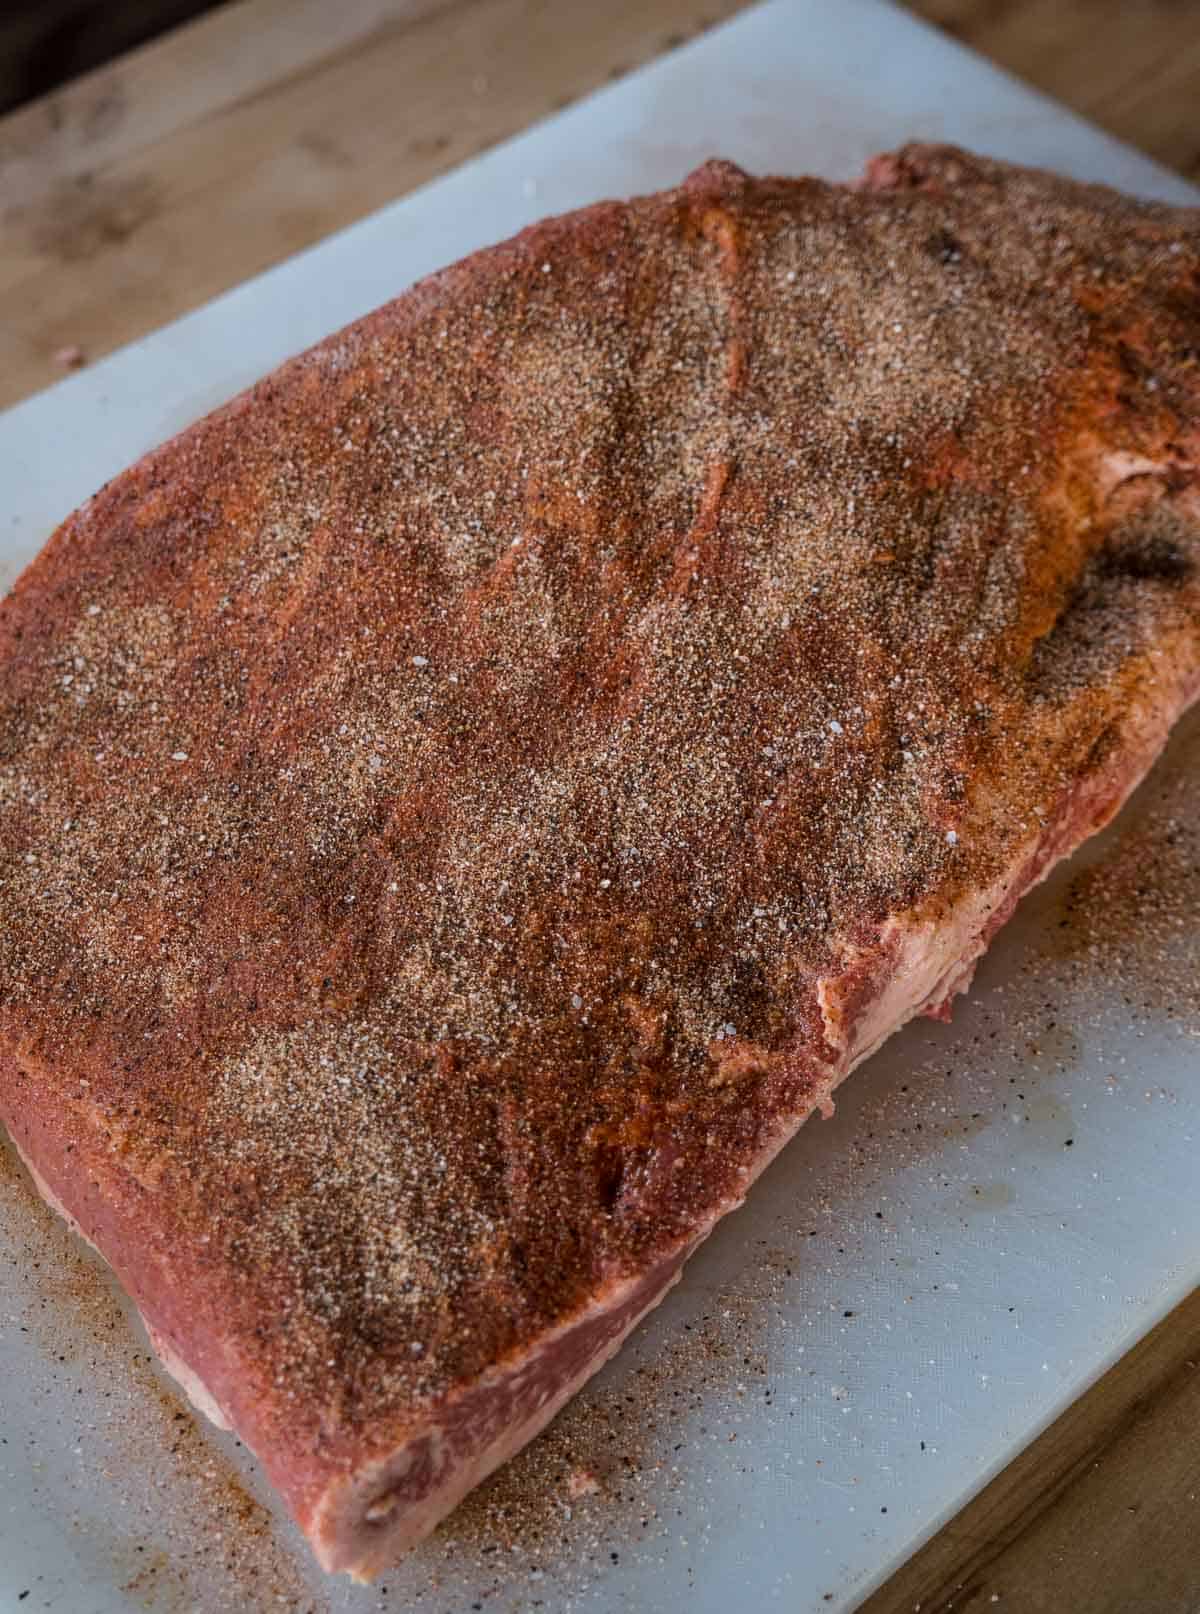
- Full Packer Brisket – 12 – 15 pounds is ideal. You will trim up to 2 pounds away so plan accordingly.
- Binder – Extra virgin olive oil, for binding which helps the seasoning stick to the brisket.
- Seasoning – You can go simple with our SPG Seasoning, which is equal parts kosher salt, coarse black pepper, and granulated garlic. You can also use our Brisket Rub with more herbal and savory flavors.
What Is Brisket?
The brisket is the pectoral muscle that comes from a steer or cow. Briskets have two distinct muscles with important connective tissues — The point and the flat (or deckle), also known as lean and fatty if ordering at a BBQ restaurant.
The brisket muscle gets a lot of use, so it’s best to braise or slowly smoke to render all the intramuscular connective tissue and fat. The “point” is where brisket burnt ends come from, because of the amazing level of marbling versus the leaner “flat” cut, which is often used for recipes such as corned beef brisket.
How Much Brisket Should I Buy?
Plan half a pound of brisket (.5 lbs) per person pre-cook weight. That will yield 1/4 pound of meat per person after trimming and cooking time.
When buying brisket, you need to account for the weight you lose from trimming and cooking. Typically we will lose 40 – 50% of the brisket weight from beginning to end.
Equipment Needed
One of the most important things you need for a good smoked brisket recipe is a leave-in thermometer like the Smoke by Thermoworks or RFX by Thermoworks. These leave-in thermometers are key to monitoring the internal temperature if the brisket through the stages of the cooking process.
We go into even more detail in our article about the must-have brisket tools and have links to all our preferred items in the recipe card.
Step 1: Select The Right Brisket
This smoked brisket recipe contains only three ingredients – brisket, binder, and seasoning. Therefore, the quality of the meat is the most important decision for a successful outcome.
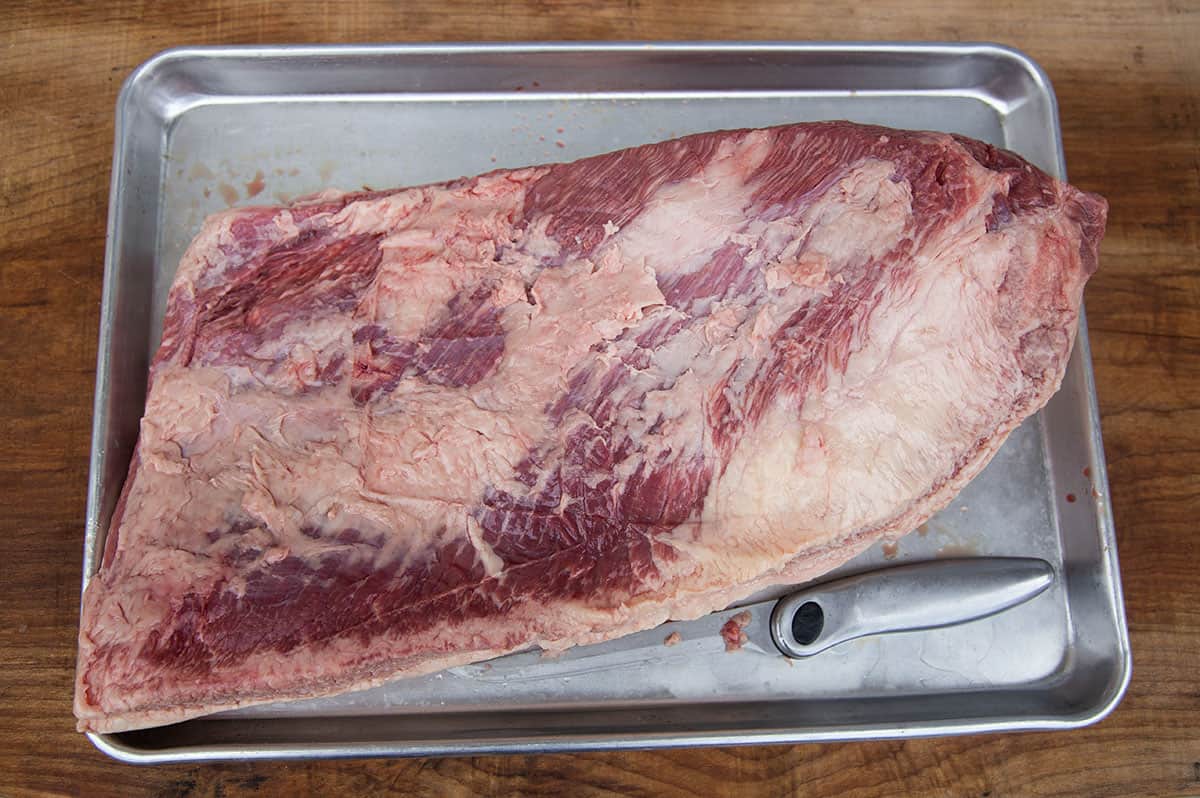
Marbling is the term used for the intramuscular connective tissue, or fat. The marbling of the entire brisket is going to dictate a large part of the cooking experience.
In order to get that rendering for a juicy tender meat morsel, you have to make sure that the brisket you are buying is of the highest quality you can afford with good marbling.
- Grass Fed – Not as ideal for smoking because, most often, it has very little intramuscular fat. Therefore, it won’t break down into tender meat.
- USDA Rated – Select, Choice, or Prime are your USDA-rated beef options. You can see more on the difference in our article on Choice vs Prime beef. We recommend you buy Choice or Prime if selecting a USDA-rated brisket.
- American Wagyu – Incredible marbling, and also some of the most expensive. It will also cook faster, but results in some mouth-watering brisket!
Bend Test: When buying a brisket at a grocery store, physically lift it and bend it to see if it’s tender and pliable. If it is too stiff move on to a different one that bends a little bit. If it’s pliable when you buy it that will carry through the cooking. If it’s stiff then we find it stays relatively tough even after smoking.
Step 2: Trim the Brisket
Good brisket has a fair amount of fat. Some that will render, some that will not. So you have to prepare the brisket by trimming off the fat that won’t render before seasoning. Be sure to have a sharp boning or filet knife.
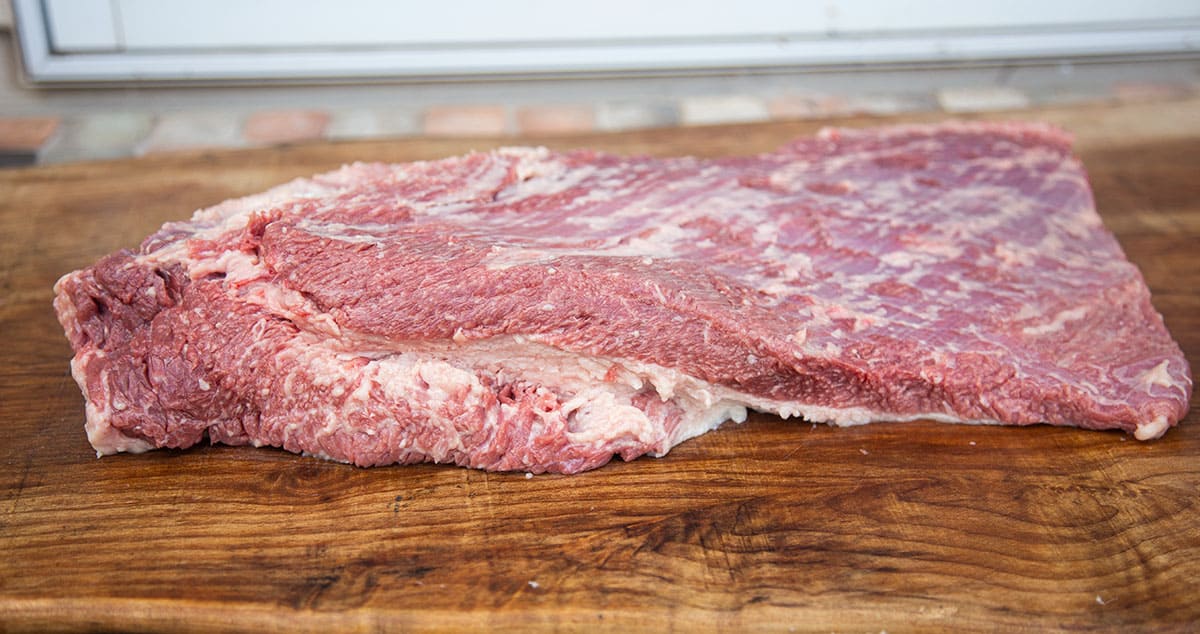
Start by trimming the flat side by removing the silver skin and any fat pockets just sitting at the surface. See the video for the full tutorial on trimming.
- The brisket flat and the point are also separated by a layer of fat. The best briskets are those that are able to render that fat pocket down enough that it is pleasant to eat. It will not completely render. But before you season, you need to remove portions of those fat pockets.
- With the flat still facing up, remove the dense white fat pocket that is on one side of the brisket. You will remove a fair amount of the dense fat pocket, almost starting to cut into and under the flat. That is about the time to stop trimming.
- Next, flip it over and trim the fat cap. This fat cap sits just above the brisket point. We leave about 1/4 inch of fat on the fat side of the brisket. This will allow a small layer of fat to protect the brisket while cooking. Take care when removing the fat, do it in slow and small cuts so you don’t remove too much or accidentally get into the meat.
- The sides of the brisket may have some fat hanging over the side. We typically remove another 1/4 inch from both sides of the brisket to smooth out the sides and expose the meat.
At this point it is not uncommon that you have removed up to 4 pounds of trimming. This is why it’s best to have a quality trimming knife.
Step 3: Season the Brisket
After trimming, we coat the brisket with olive oil, which acts as a binder and helps the dry rub stick. We mix equal parts coarse black pepper, kosher salt, and granulated garlic (not garlic powder) in a small bowl.
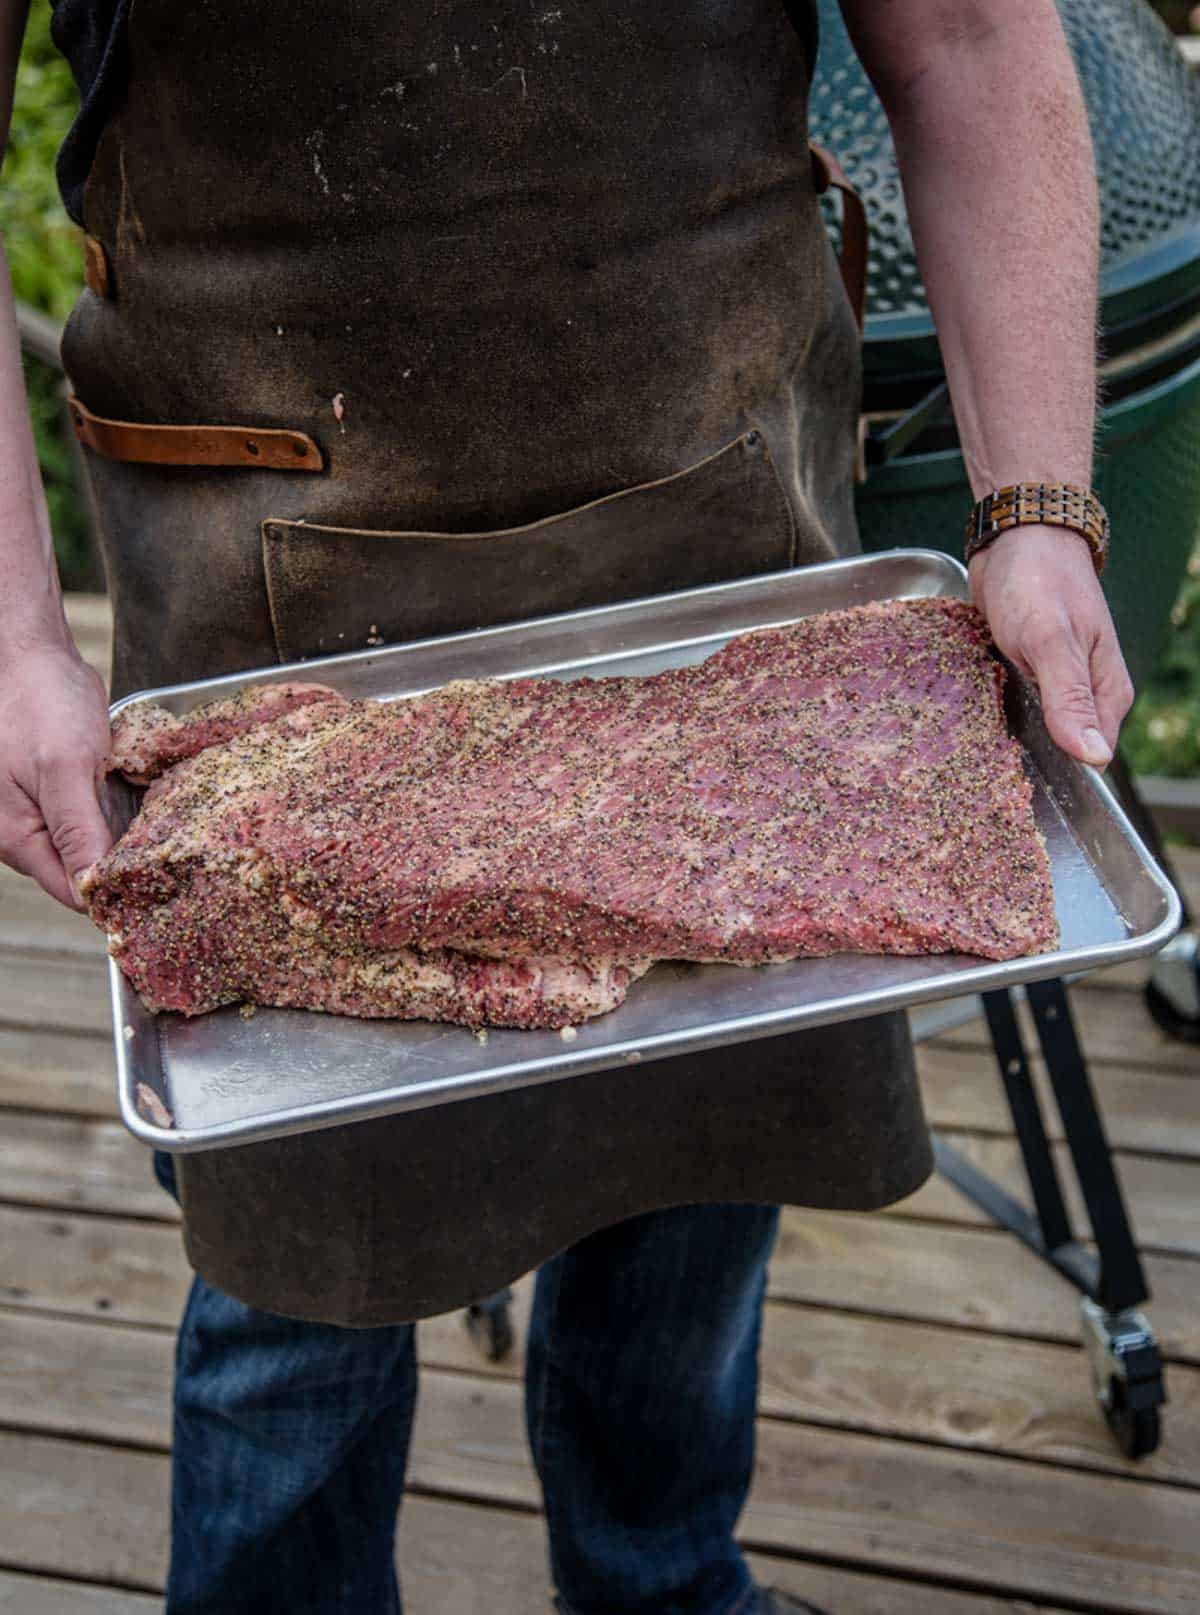
It’s our go-to SPG seasoning. Alternatively, you can use our brisket rub recipe which adds paprika, onion powder, and cayenne pepper.
Step 4: Smoke Brisket
- Preheat Smoker: Set the smoker to 250 degrees Fahrenheit (F) with both lump charcoal and wood. We use fruit woods for brisket for a sweeter flavor. Insert a remote thermometer probe into the flat of the brisket. The flat is leaner and the more important part of the brisket to monitor while cooking. The temperature for smoking perfect brisket is 250 degrees F for slowly rendering fat. At 225 it takes longer than we prefer and makes no material difference in flavor or texture.

- Flat Side Up or Down? Different styles of smokers have the heat source radiating from different parts of the smoker. Make sure the fat cap points toward the hotter part of your smoker. It will insulate the more delicate flat. For pellet smokers, as an example, the heat radiates from the top down, therefore the fat cap should be up.
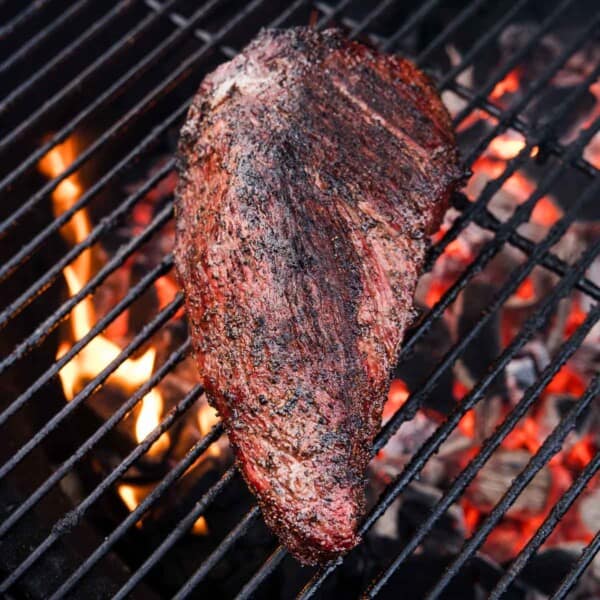
- Smoke: The brisket will smoke for about five hours in the smoker where the smoke connects with the brisket giving both bark and smoke flavor.
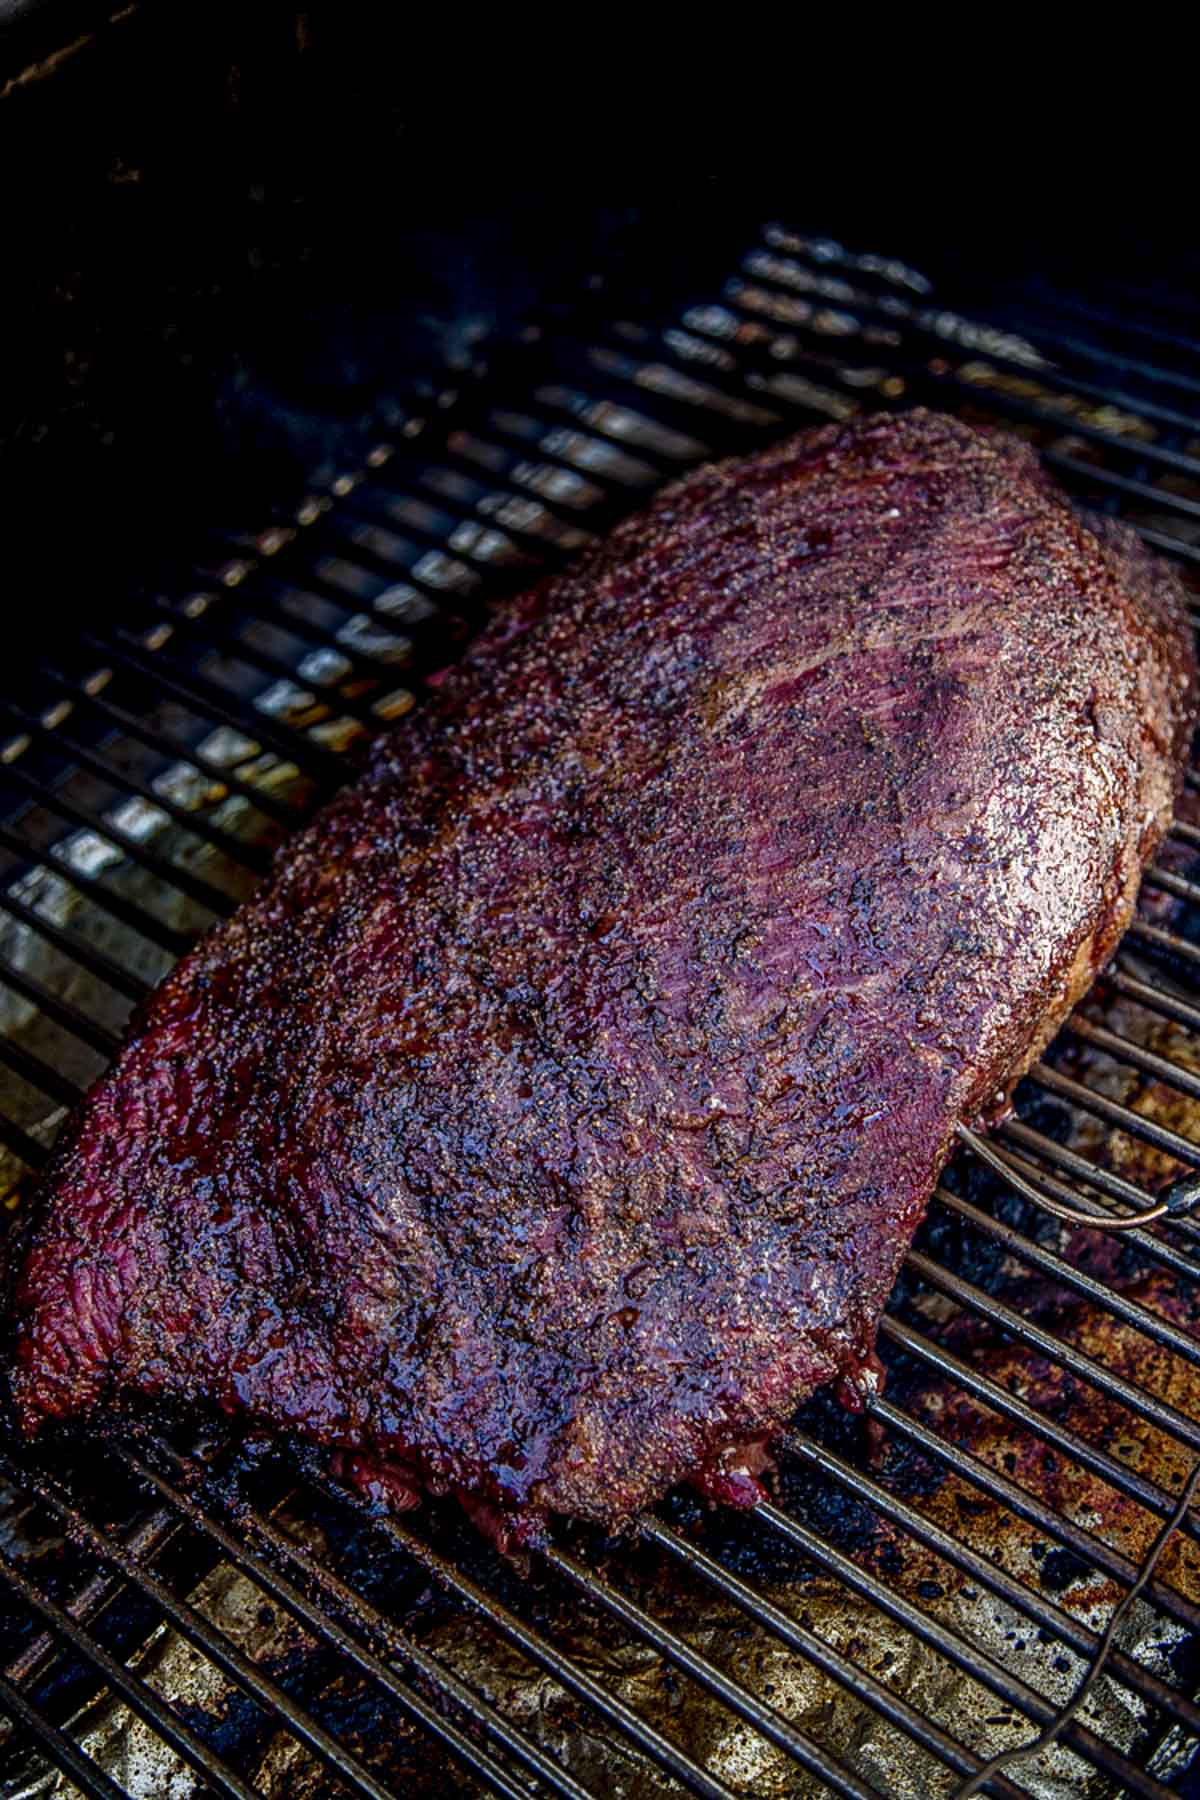
- Spritz (Optional) – This is a bottle of liquid that you spray (or spritz) onto meat after the bark forms. We don’t do this for all of our briskets, but can be done for more flavor. If you spritz, it should be done while the brisket is in the smoking step and not wrapped. For fun brisket spritz check out our Merlot spritz from our cookbook Fire + Wine.
Would you like to save this?
Step 5: Wrap the Brisket
When the smoked brisket reaches an internal temperature of 165 degrees F, we remove it from the smoker and then wrap it in pink butcher paper. This is called the Texas crutch.
Wrapping allows the internal temperature of the smoked brisket to rise faster. Peach or pink butcher paper is more breathable than aluminum foil, which translates to less of a “pot roast” flavor and texture. The wrapping period is also important because it is the final stage to allow the intramuscular fat to fully render out.
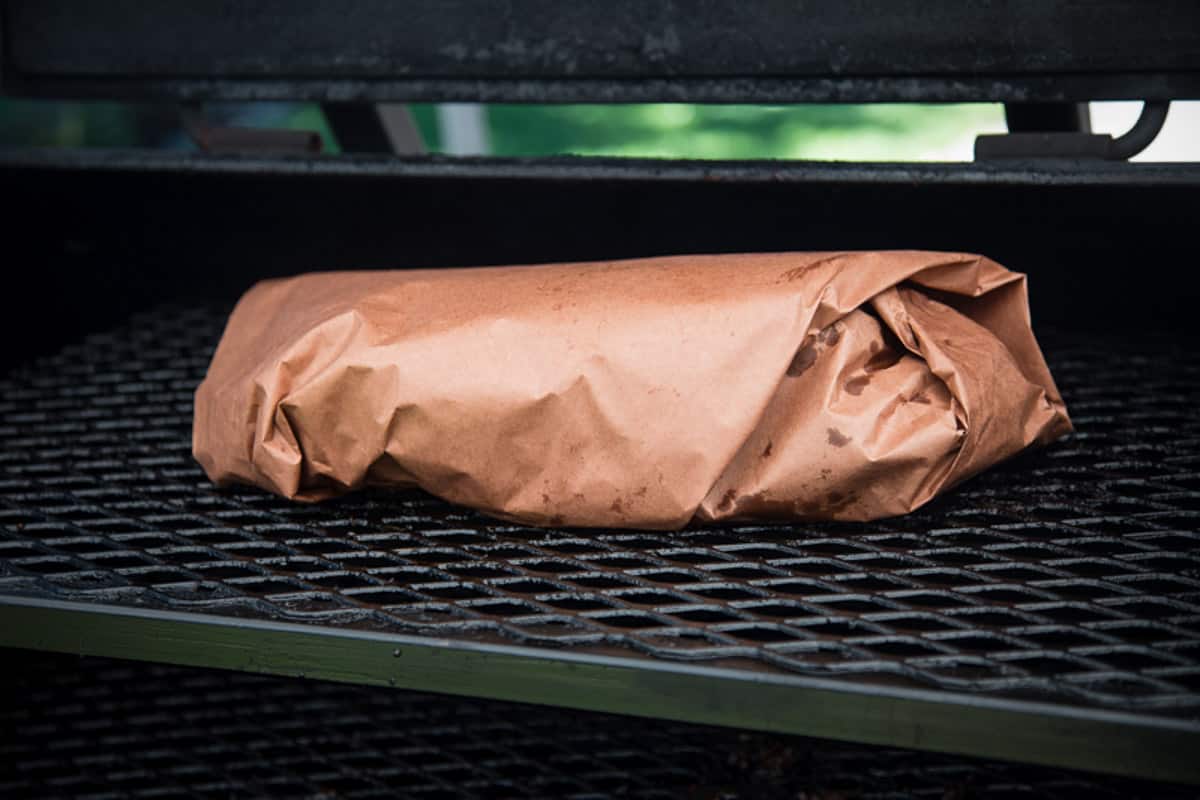
Don’t have butcher paper? Use foil, that’s ok. For smoked brisket, you can also just cook it all unwrapped. It just may take slightly longer, but the finishing temperature guide is still the same.
The Stall
During the smoking process, the smoked brisket will encounter a period called “the stall”. The stall can happen when the smoked brisket reaches an internal temperature between 160 to 175 degrees F. As the heat from the smoker renders the pockets of fat and muscle fibers, the fat liquefies. As the fat liquefies and interacts with the meat there is a cooling effect that happens, almost like when you sweat.
So don’t be alarmed if you see a couple of hours of incremental movement in the internal temperature of the meat. This is normal. You have pushed through the stall when the fat has rendered enough that there is balance and the meat starts to increase in heat again.
This is why, regardless of the stall, we wrap when the brisket reaches an internal temperature of 165. Once the brisket hits 180 degrees, you’ll see the temp increase much faster. This is also important to note that we cook to temperature, not time. Some briskets will just take longer (or not) and another reason why we focus on temperature milestones rather than a specific timeframe.
Step 6: Remove and Rest
As the wrapped brisket reaches an internal temperature close to 195 degrees F, you will want to start probing the flat portion of the brisket with an instant-read thermometer (like a Thermoworks Thermapen One) to see if it is done. If the thermometer is meeting resistance as you insert it, this means the intramuscular fat hasn’t fully rendered out and you should continue cooking. It should feel as if you are inserting the probe into room-temperature butter.
Be patient and wait for that soft butter-like feeling when probing in a few places. We find many people get nervous and want to pull the meat at a specific temperature. The range a brisket can be done will range anywhere from 195 degrees F to 215 degrees F. Trust the probe and keep checking every 15 minutes until you get that softer feel.
Pro Tip – Avoid taking the temperature in the fat pocket between the flat and the point. That will come up in temperature much faster than the surrounding brisket. So be sure to temp the meat in the middle of the flat and the middle of the point in multiple places.
Lastly, please make sure you let the smoked brisket rest for at least 30 minutes after removing it from the smoker!
The rest is very important. If you slice the brisket right after removing it from the smoker, you’ll see all the juices just pour out on the cutting board versus staying in the meat. The horror!!! All of your hard work, gone, just like that, because you were too impatient to let it rest!
Step 7: Slicing Brisket
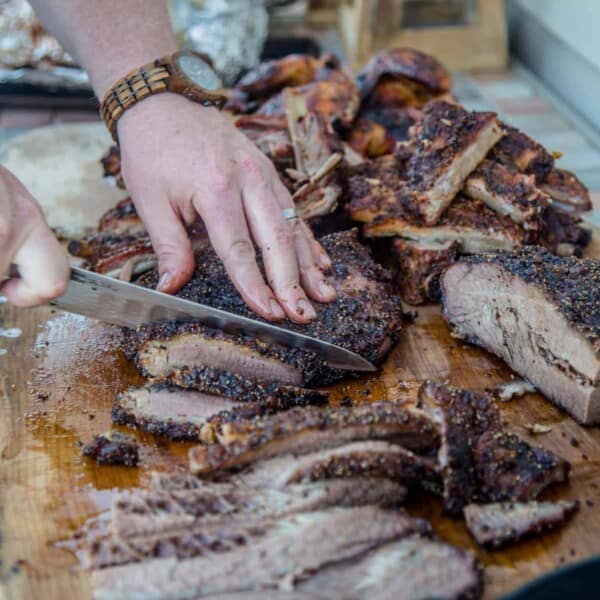
For best results, the most important step after cooking is to slice against the grains of the brisket. This is true especially for the flat cut because the muscles are in different directions than the point. Start with a long carving knife.
- Cut it in half about where the point ends. This separates some of the flat from the point.
- Slice the flat into pencil-thin slices across the grain. The grains are at a slight angle.
- Take the larger cut that is both the point and the flat, and then slice that in half. From there simply make more pencil thin slices.
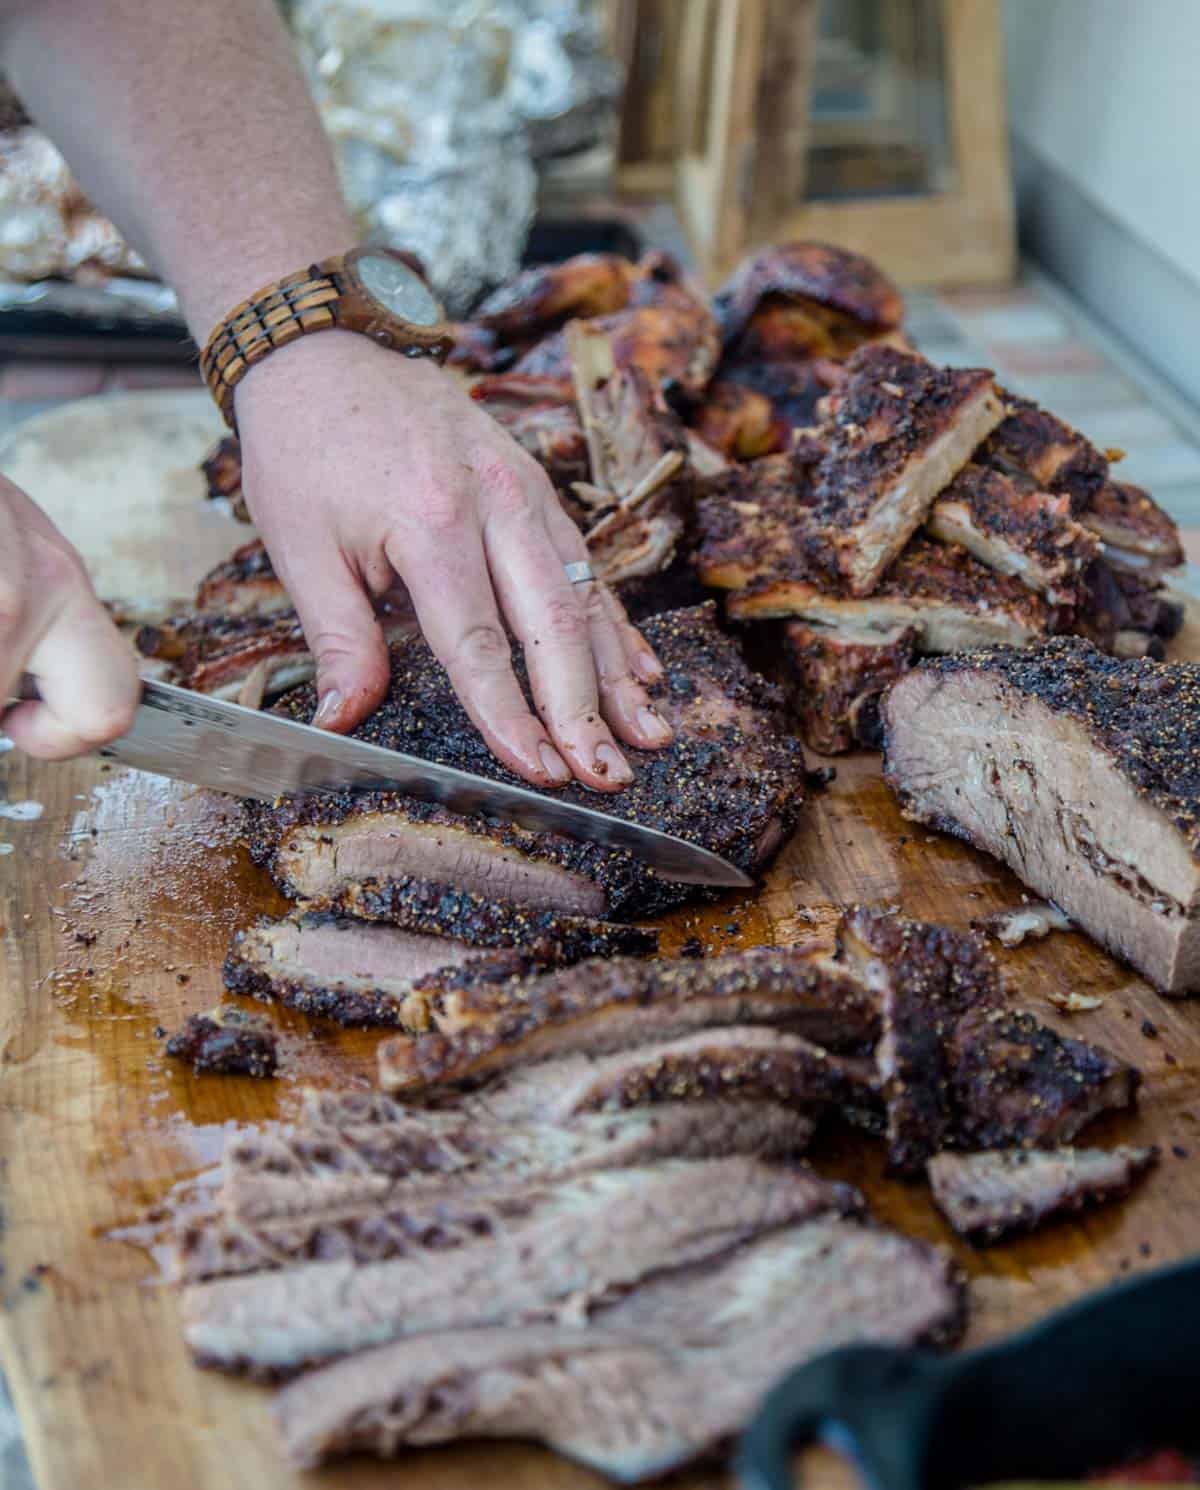
See video for more details on slicing.
How Long For Smoked Brisket
This is the post-trim weight of the brisket with the temperature of the smoker at 250 degrees F. This includes the rest period.
| Weight | Cook Time |
|---|---|
| Up to 10 pound brisket | 8 – 10 hours |
| 10 to 12 pound brisket | 10 – 12 hours |
| 12 to 16 pound brisket | 12 – 14 hours |
| 16 – 20 pound brisket | 14 – 16 hours |
Note on Wagyu: We find that American Wagyu Brisket cooks slightly faster than Prime or Choice, so we shave off about 10% of the time when smoking American Wagyu.
Monitoring Brisket Temperature
We use the Smoke Unit from Thermoworks to monitor the internal temperature of brisket throughout the BBQ cook. It even has a remote unit so you can see the temp from afar. Or opt for a wireless version like the RFX, which we prefer over Meater for the greater distance.
In addition to the Smoke Unit, you should also use a Thermapen or equivalent instant-read thermometer, then you can probe in multiple areas while keeping the Smoke unit in the same location as it nears the end of the cook.
Side Ideas
For great dishes to serve alongside this smoked brisket recipe, consider Quick Pickled Veggies, like peppers. Add some BBQ Beans and a No-Mayo Coleslaw for the perfect spread.
Wine Pairing for Brisket
This smoked brisket recipe is incredibly rich and because of the heavy weight of the dish opt for a clean and crisp wine to cut through the richness of the meat.
For whites, try sparkling wine or a dry and crisp Rosé. If you like red wine, then we love Tempranillo or a nice red Zinfandel.
Frequently Asked Questions
There is no right or wrong answer here, it’s about your flavor preference. If you elect not to wrap a smoked brisket you get a greater bark. Some people love that texture. You won’t really add more smoke flavor, as that pretty much gets absorbed by around the fifth hour of cooking.
But we have found wrapping in pink butcher paper is the best of both worlds. Note that if you do not wrap a smoked brisket, it may add 20 minutes per pound to the cooking time. So be sure to account for that.
In the end, your flavor preference is what is key. We generally do not inject smoked briskets because we buy briskets that start with good marbling, which translates into a juicy brisket. If you don’t see much marbling, you can supplement moisture by using beef stock or other liquid using a culinary syringe. Don’t use liquid smoke (ever).
We opt for apple and cherry, or other fruit wood, as it burns sweeter and avoids the campfire-like flavor you can get from mesquite. In Texas? Obviously post oak.
If it’s done early then hold the temperature to slowly let it cool. What do you hold it in? A cooler (with NO ice) works well. This acts like a Cambro warmer. You can hold the temperature for four hours in the cooler in case your brisket is done early. Just be sure to leave it wrapped.
What Do Do With Smoked Brisket Leftovers?
We’ve got you covered with the best recipes for leftover brisket.
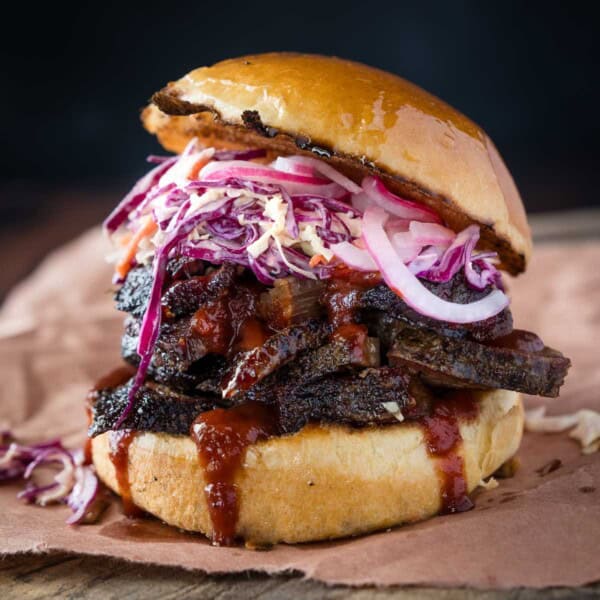
Our favorite two recipes are our Brisket Sandwich and our award-winning Brisket Chili.
Tried this recipe? Give us a star rating and we would love to see! Mention @vindulge or use the hashtag #vindulge on all the social media handles. And consider subscribing to our newsletter where we drop all our favorite ideas and inspirations every week.
The Ultimate Smoked Brisket Recipe
Equipment
- Sheet Tray
Ingredients
- 12 – 15 pound packer brisket, flat and point
- ¼ cup extra virgin olive oil
For the Rub
- 1 cup beef rub
Instructions
- Season Brisket: The day before cooking, trim the excess fat off the brisket. In a separate bowl, combine your dry rub ingredients. Apply olive oil to the brisket, and then liberally apply to the brisket. Leave in the fridge overnight (before cooking) covered in plastic wrap.
- Preheat Smoker: The day of cooking, preheat your smoker to 250 degrees F, we use fruit wood like apple or cherry.
- Smoke Brisket: Place the brisket on the smoker when the temperature is a consistent 250 degrees, and then insert your two-zone meat probes. One for the meat inserted into the flat, and one to monitor the ambient temperature of the cooking chamber. Smoke for up to six hours until it's ready to wrap.
- Wrap Brisket: When the internal temperature of the brisket reaches 165 degrees, carefully remove the brisket and place it onto two pieces of pink butcher paper to wrap. Remove the meat probe, tightly wrap the brisket, and then add the meat probe back into the same general area. Place back into the smoker to continue smoking until it's done.
- Continue Smoking: Keep cooking at 250 degrees for another several hours until the brisket approaches 195 degrees. At that point, you will use your instant-read thermometer to insert and probe the flat and the point for that smooth buttery texture as you check for doneness. Anywhere from 195 to 205 it may be done.
- Remove and Rest: Once the brisket is done, remove, still wrapped in butcher paper, and let it rest for at least 30 minutes (or place into a cooler with NO ice to hold the temperature until ready to serve).
- Slice and Serve: Slice against the grains and serve.
Video
Notes
Nutrition
Nutrition information is automatically calculated, so should only be used as an approximation.




What bbq do guys use for this
So we have done this recipe on our Yoder Smoker (offset), Yoder 640 Pellet, and MAK 2-Star General Pellet, as well as the Big Green Egg. But the still photos are mostly the Yoder offset smoker.
Question !
I purchased a packer brisket.from Costco with Point & Flat together, but the brisket is to big to fit in the smoker. Should I cut the brisket in half between the Point & the Flat and place the probe in the point section to monitor the internal temperature of the brisket. It is a 16 lb. Brisket, what would be the best temperature to smoke my Brisket.
Royce, great question, yes you can absolutely do that. However, treat each as a separate roast. The point will cook faster and frankly you have a great opportunity to smoke it, then cube it up and smoke again with sauce for burnt ends (we have a recipe). So I would check the temperature of each and pull when you like the texture of each versus just reading the temperature of just one. Feel free to email too if more questions.
250* is a little hot for me (I’d inject if cooking at that temp). 220* and 2-3 more hours. But that’s hows I do it!
There are many ways to pull off a brisket and lower temp can certainly be one of them, but if you buy a well marbled brisket you can run hotter and not sacrifice tenderness. But yes, if you run lower temp, it will take longer to get the end product.
Great simple info. Thank you. Do you know if there is any benefit in rotating or flipping a brisket?
Depends on your cooker. For ours, no. We know it’s hotter for the most part on the bottom of most of our grills, and so we point the fat cap down to offset that. If you have a cooker that has multiple hot spots, then yes, you can rotate it prior to wrapping to get an even cook.
You cannot mess up a.brisket following these instructions. I would caution that when wrapping using butcher paper to be more cautious with keeping track of temperature. Using aluminum foil keeps the juice inside which an overcooked brisket will benefit from. You can always firm up the bark with a hot grill or torch.
Jim – awesome feedback and thank you!
Do you rotate brisket every hour and do you ever flip it over?
Good question Ray, we do not rotate the brisket on our cookers or flip it over. We use a Big Green Egg, MAK Pellet Grill and our Yoder offset smoker. Each has a specific hot spot. For example, the Yoder offset is actually hotter on top, so we lay the fat cap facing up and leave it that way throughout the cook. On the BGE it’s hotter from the bottom, so we lay it fat cap side down.
We are trying the recipe, thanks for your basic info.
Where’s the video?
Matt the video should be below the recipe. If you have any ad blockers in that may disable the video.
Is there a benefit to separating the flat cut (thin part) as it cooks quicker? Or is it best to leave the whole brisket when cooking? My observation is that the thinner portion will get to temp much quicker than the thick section. This is a significant amount of the meat and is it best to separate and remove manage it differently?
Mike a great question. We separate when we do burnt ends because as you noted they do cook at different rates. However, if doing a smoked brisket packer, we leave together and really judge our cook time based on the flat. The point can handle more heat and even overcook slightly. You can separate if you want and as you noted, you will likely pull them off at separate times. You can leave them in a cooler as well to keep warm and let rest.
Once I wrap the brisket, how then do I probe it? Do I have to unwrap to probe? Probe through the paper?
Kate, great question. Just take the probe and put it right through the paper for the wireless probe. And be sure to put it in the flat. For the ongoing temperature, using the instant read thermometer, you can gently unwrap if you want. Although we also just go through the paper there too.
Simply awesome.