Brazilian Cheese Bread – Pao de Queijo Recipe (Gluten Free)
Feb 01, 2023, Updated Jun 30, 2024
This post may contain affiliate links. Read more at our disclosure policy.
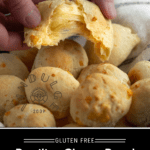
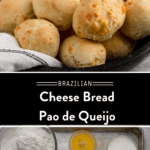
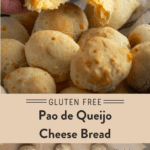
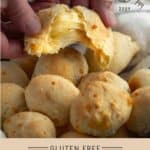
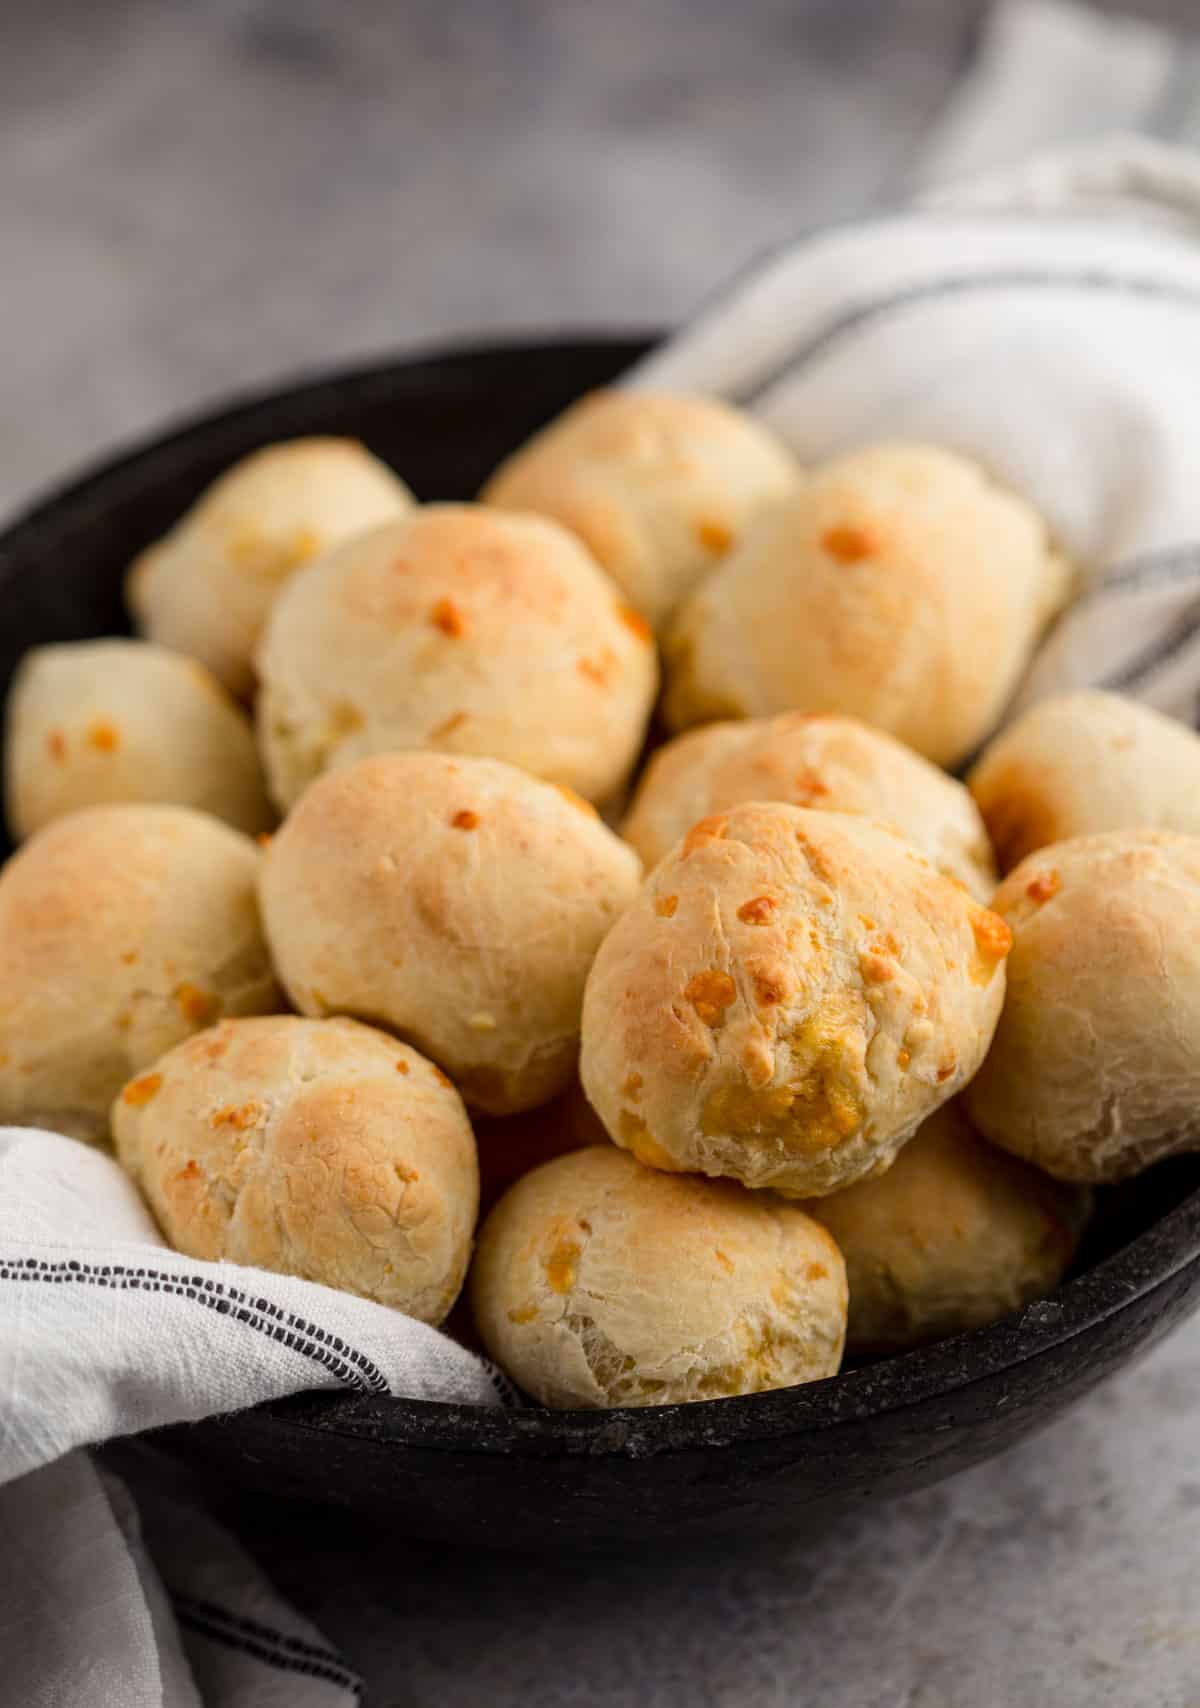
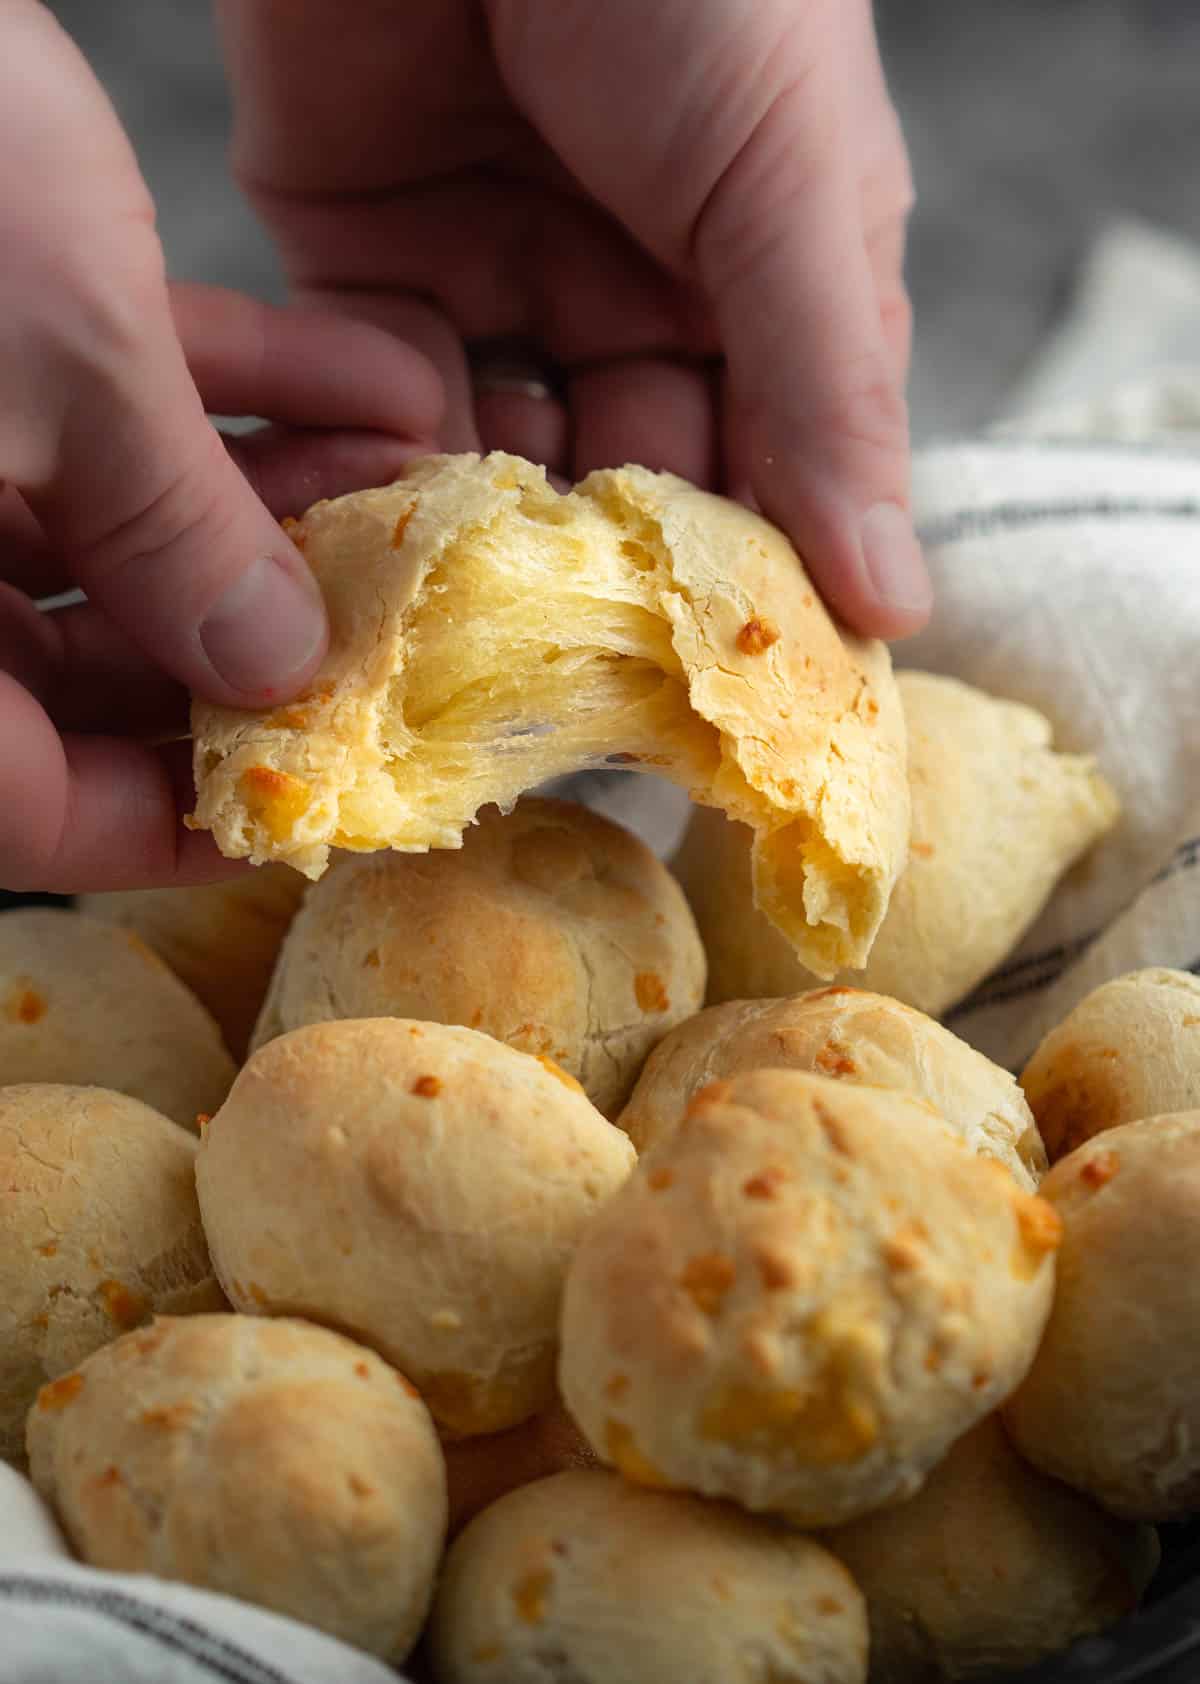
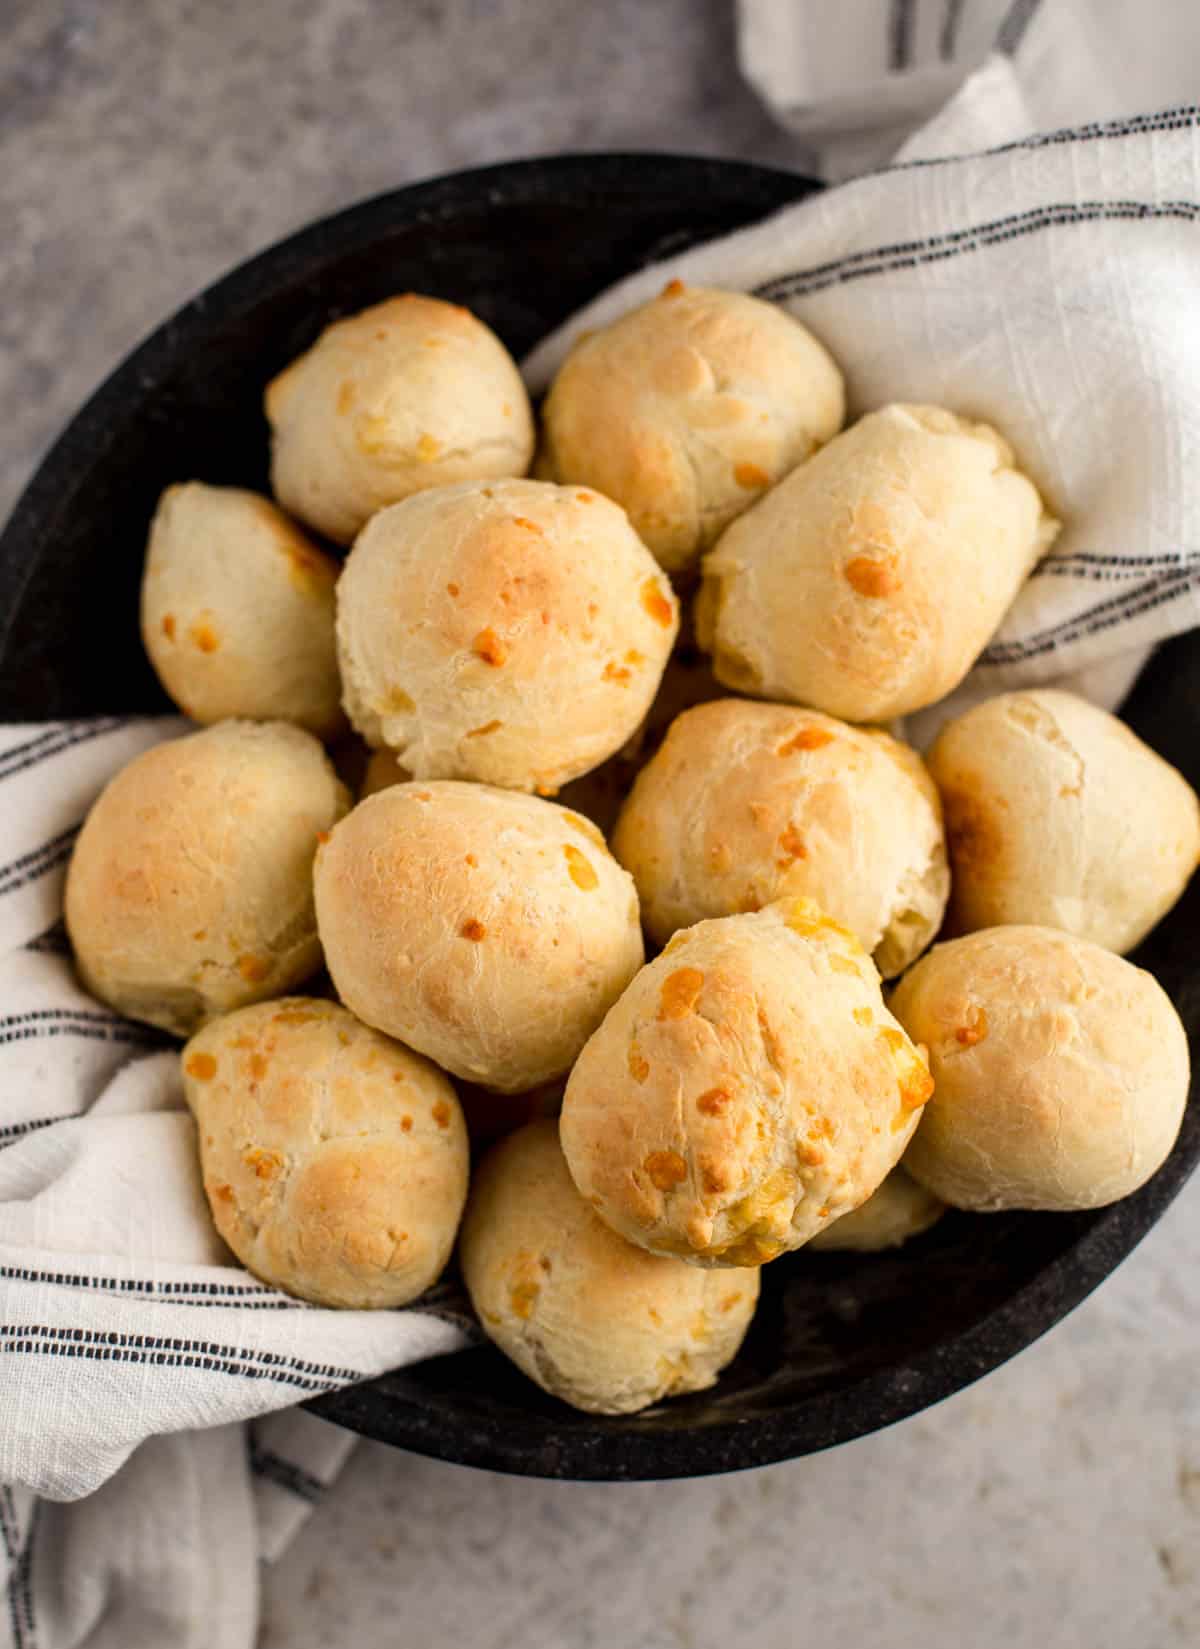
You can’t go to Southern Brazil without experiencing the delicious typical Brazilian snack of Pao de Queijo (pronounced pow-de-kay-ju). You’ll find it everywhere, and for good reason (it’s super comforting). And the best part is you can make it back at home as a memory of your trip. This gluten-free chewy cheese puff is easy to make and the perfect Brazilian Cheese Bread recipe with chewy texture and crisp exterior.
Pao de Queijo Recipe Highlights
- Tapioca flour is the key ingredient to have on hand for a successful recipe (versus cassava flour).
- This is a great recipe if making a snack for anyone with gluten-free diets, without sacrificing flavor or texture.
- An ice cream scoop helps make the little cheese puffs an even size for even cooking.
- The texture is similar to a French Gougere or French cheese puff.
Table of Contents
- Pao de Queijo Recipe Highlights
- Ingredients for Pao de Queijo
- Tapioca Flour versus Cassava Flour
- The Cheeses
- Making the Dough and Troubleshooting
- How to Make Pao de Queijo
- Making Ahead
- What to Serve with Brazilian Cheese Bread
- Frequently Asked Questions
- Other Gluten Free Recipe Ideas
- Pao de Queijo Recipe – Brazilian Cheese Bread
You may have purchased Brazi bites at Trader Joe’s, or perhaps had a meal at Fogo de Chao, or even had the pleasure of traveling to the region yourself, which introduced you to this famous Brazilian appetizer. Well now you can make your own homemade version and jazz it up with your favorite flavors for this ultimate Pao de Queijo recipe. For us it was part of a wine and food media trip hosted by Apex Brasil.
Every restaurant we ate at, whether Churrascaria Brazedo (Bento Gonçalves), Italian fare like Di Paolo, and every host we visited presented us with various versions of this iconic Brazilian recipe. And we were hooked.
Related Article: All About Brazilian Wines
Ingredients for Pao de Queijo
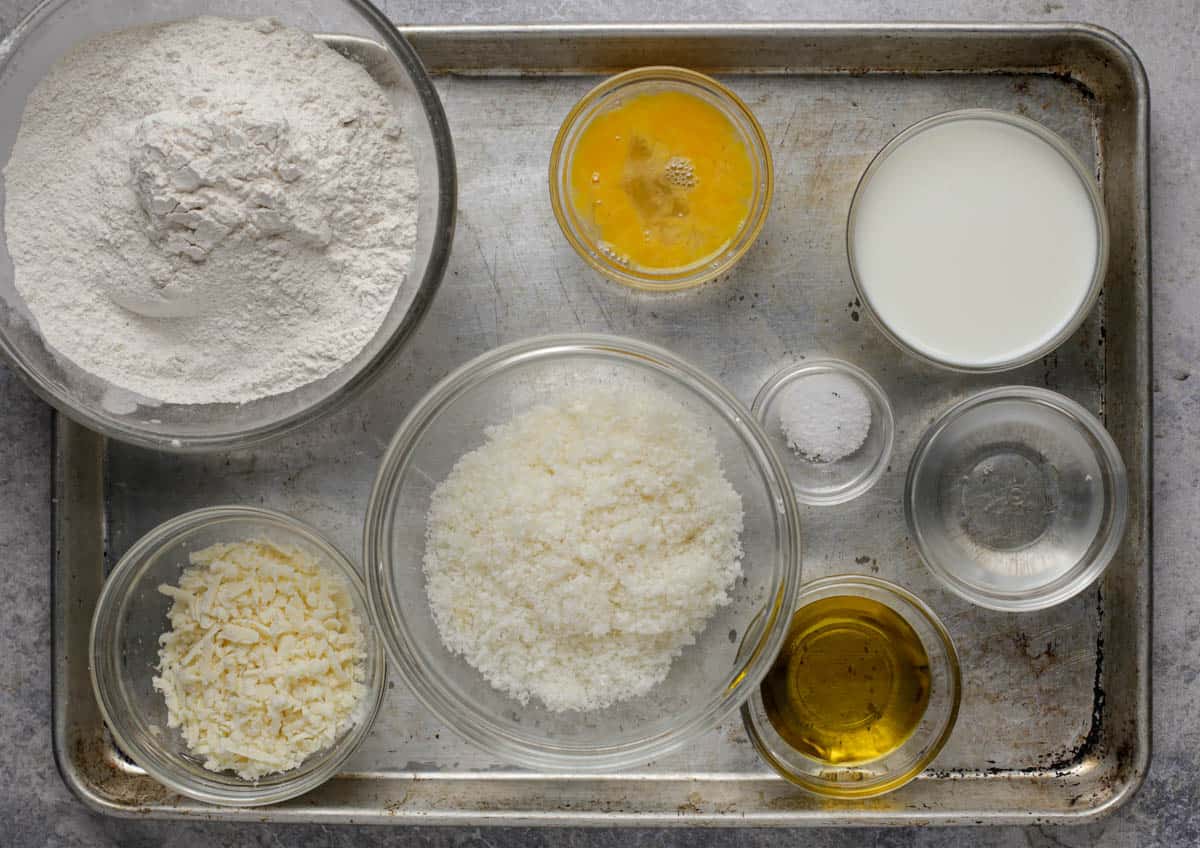
While this Pao de Queijo has minimal ingredients, combining them together brings big flavor. The quantity is in the recipe card below.
- Tapioca Flour (or starch) – We use Bob’s Red Mill and it’s readily available in most grocery stores in the section with alternative flours and baking. You can use the fermented sour tapioca flour or sour starch but that is not commonly available.
- Kosher Salt – The salt adds flavor. And while 1 1/2 teaspoons may seem a lot – it’s important to bring out the flavors of the cheese.
- Whole Milk – While you can use lower fat milks, the whole milk is the right fat percentage and flavor addition for soft and chewy Brazilian cheese bread.
- Extra Virgin Olive Oil – Oil is the fat that will help with the viscosity or the stretchiness of the dough. Basically it’s like a lubricant for the dough.
- Large Egg – Adds color and some additional textures.
- Parmesan Cheese – In addition to salt, the Parmesan cheese adds a rich nutty flavor. We recommend you use freshly grated Parmesan versus pre-shredded.
- Sharp Cheddar Cheese – Sharp cheddar adds a nice flavor to the bread.
Tapioca Flour versus Cassava Flour
Both flours are derived from the cassava root, or yuca (not yucca). However Cassava flour includes all of the root versus tapioca flour (or starch), which is just the starchy part of the plant. Tapioca flour is light in weight and very finely ground. Cassava flour is heavier, or denser, and is not a good substitute for this Pao de Queijo recipe because the texture will be too dense and dry. It’s best to source Tapioca flour for this recipe.
The Cheeses
A note on authentic Brazilian Cheese Bread – The typical cheese you would see in Pao de Queijo is Minas Cheese, which is similar to a salty mozzarella. It’s not commonly available in the US and so different cheeses need to be used if you’re shopping at a typical US grocery store.
The parmesan adds salt and flavor while the cheddar (white or yellow) adds the creaminess and more of that sharper flavor. If you can find Minas cheese, then definitely substitute it for the cheddar. Or you can replace the cheddar for mozzarella. You can also use queso fresco commonly found in the cheese section near Mexican cheeses.
Making the Dough and Troubleshooting
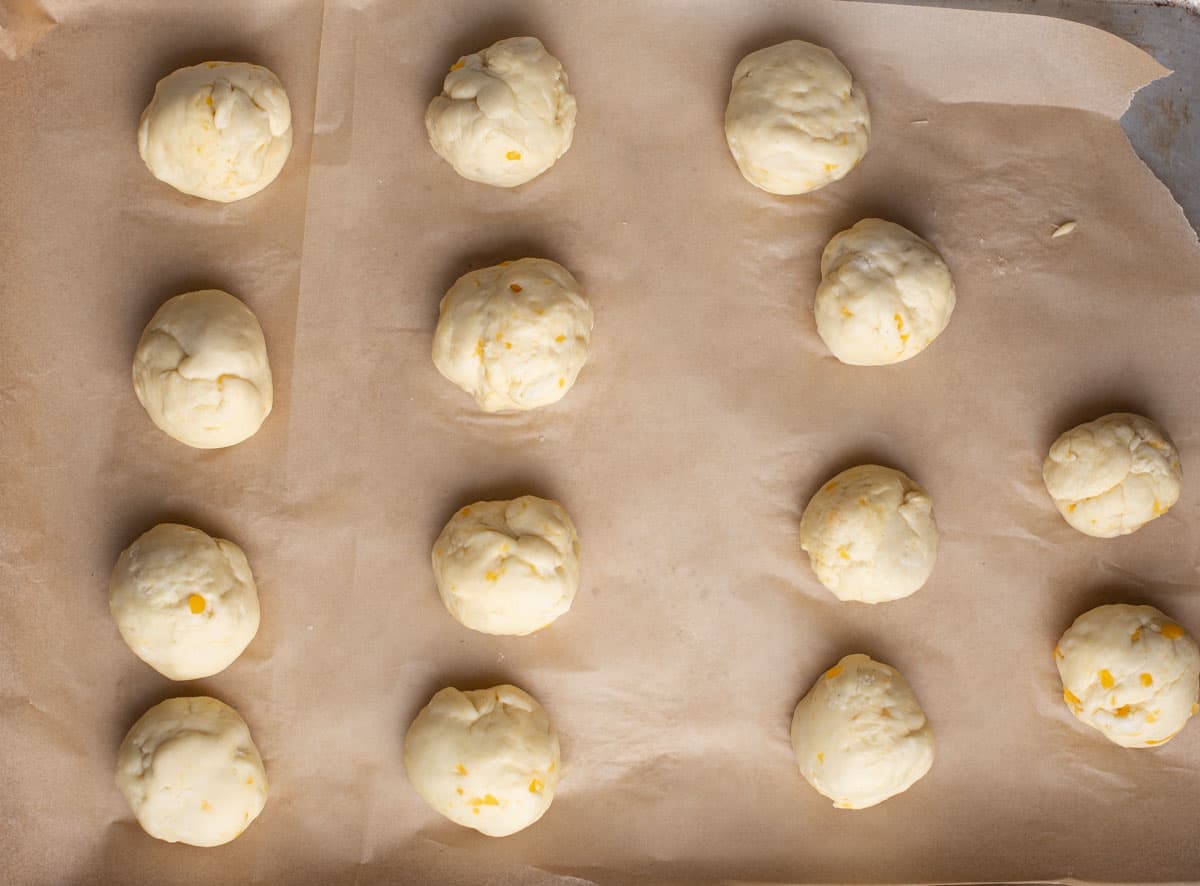
One important step to note is the importance of making sure you do not move to the next recipe step until the dough is at the right texture.
- If the dough is too wet: Then substitute a baking sheet for a mini muffin pan sprayed with nonstick cooking spray or butter. That way you don’t have pao de pancakes (we’ve been there!).
- If the dough is too dry: Then you can add a little bit of water or milk to the dough. Although this is not ideal, focus on the steps of the recipe so that the dough looks and feels the right texture before moving to the next step.
How to Make Pao de Queijo
Start by mixing in the flour and salt as the dry ingredients, then layer in the wet ingredients, and end with the cheese. This sequence helps get the right texture to the dough.
Would you like to save this?
- Pre heat oven: to 400 degrees Fahrenheit. Pre line a baking sheet with parchment paper. Place your oven rack in the middle position.
- Combine: Set up your stand mixer with the paddle attachment and add the tapioca flour and salt to the bowl, mix at low speed (about 30 seconds total, to combine)
- Warm Liquids: In a small saucepan over medium heat bring the milk and the olive oil to a boil and then immediately add to the tapioca mixture.
- Mix: Mix the liquid and flour on low to incorporate for 2 minutes. You may need stop the mixer to scrape down the sides to get all the flour. The texture should seem like glue.
- Combine: Next add the egg and beat on low to incorporate for additional 2 minutes. The mix will be slightly wet and sticky but be sure to keep beating the egg in on low. After 2 minutes slowly add the cheeses in 3 parts so it incorporates. At this point the dough mix will start to firm up with some stretchy texture. Once all the cheese is incorporated, stop the mixer and remove the bowl. It should feel like dense pizza dough (not too wet, not too sticky).
- Bake: Scoop out small balls of dough using an ice cream scoop or wooden spoon, roll in your hands, and place them on the baking sheet. Bake for 12 minutes, then rotate the baking sheet 180 degrees. Continue baking for additional 12 minutes or until the exterior starts to turn a light golden brown. Remove from oven and serve warm or at room temperature later in the day.
Making Ahead
We recommend making these the day you plan to consume them as they do not hold well after 24 hours. If you must make ahead be sure they are placed in an airtight container overnight and left at room temperature.
Consider warming up prior to serving.
What to Serve with Brazilian Cheese Bread
We love a South American inspired Chimichurri sauce combined with a Picanha steak as a nod to Brazilian churrasco.
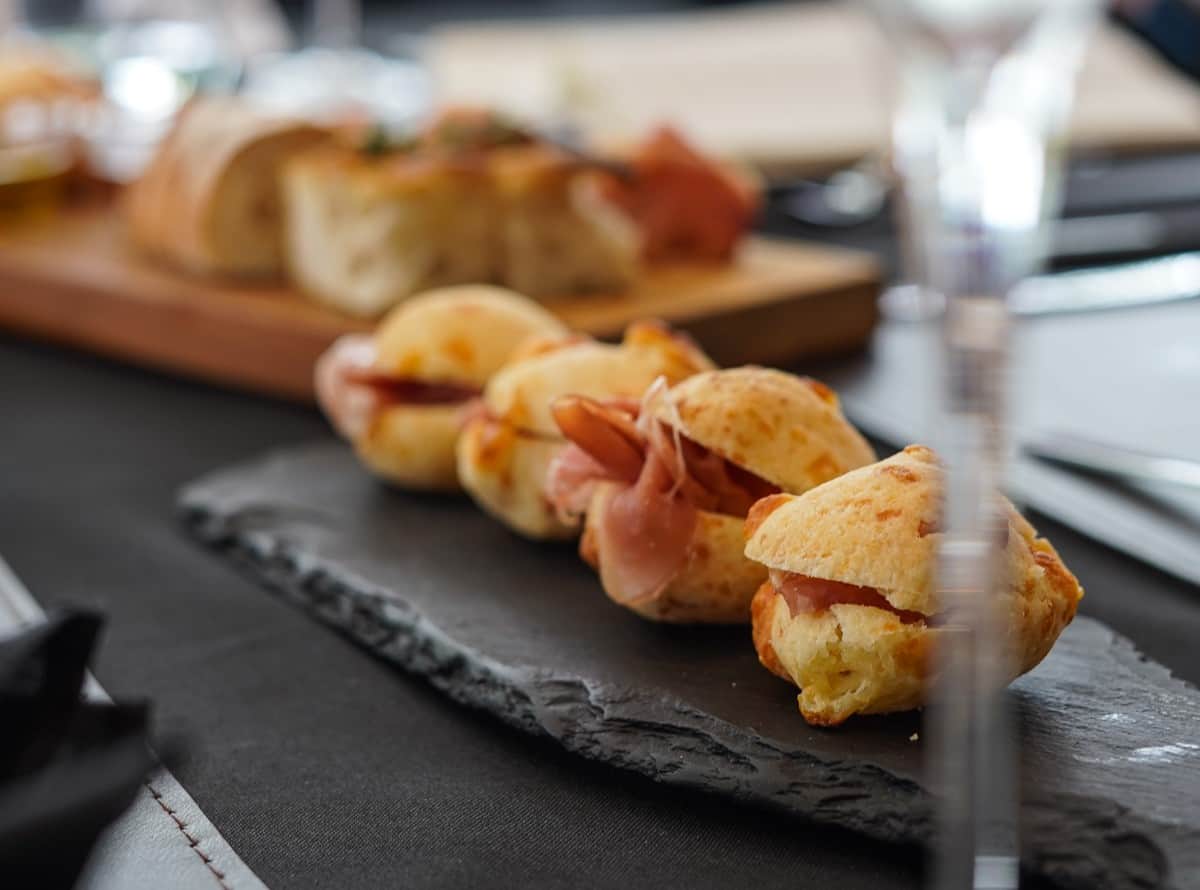
While great on its own you can also jazz up the recipe with some fresh prosciutto or fresh salsa. Just cut the cheese bites in half and then serve with the fresh meat or salsa. Pair with a South American wine.
This was a simple but flavorful presentation from Chef Luan Damiano of Focacceria Boaideia of Pao de Queijo with sliced prosciutto while visiting Tenuta Foppa & Ambrosi winery.
Frequently Asked Questions
Yes, using tapioca flour instead of wheat flour makes this Brazilian appetizer gluten free.
“pow-de-kay-ju”
The primary place you will find this dish is Southern Brazil, and it is served with all courses and meals. While Portuguese for Cheese Bread, the dish is primarily seen and originated in the state of Minas Gerais.
Other Gluten Free Recipe Ideas
Tried this recipe? Give us a star rating and we would love to see! Mention @vindulge or use the hashtag #vindulge on all the social media handles. And consider subscribing to our newsletter where we drop all our favorite ideas and inspirations every week.
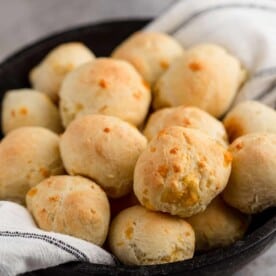
Pao de Queijo Recipe – Brazilian Cheese Bread
Equipment
- 1 Stand Mixer We use the Kitchen Aid with paddle attachment
- 1 half pan sheet tray Lined with parchment paper or baking tray
Ingredients
- 2 ½ cups Tapioca flour, Bob's Red Mill is widely available.
- 3 tablespoons extra virgin olive oil
- 1 cup whole milk
- 1 ½ teaspoons kosher salt
- 1 egg
- 1 cup shredded Parmesan cheese, We recommend you shred fresh Parmesan blocks, not use the pre shredded version.
- ½ cup sharp cheddar cheese, You can use any cheese in addition to the Parmesan, but cheddar adds more flavor dimension.
Instructions
- Pre heat oven: to 400 degrees Fahrenheit. Pre line a baking sheet with parchment paper. Place your oven rack in the middle position.
- Combine: Set up your stand mixer with the paddle attachment and add the tapioca flour and salt to the bowl, mix at low speed (about 30 seconds total, to combine)
- Warm Liquids: In a small saucepan over medium heat bring the milk and the olive oil to a boil and then immediately add to the tapioca mixture.
- Mix: Mix the liquid and flour on low to incorporate for 2 minutes. You may need stop the mixer to scrape down the sides to get all the flour. The texture should seem like glue.
- Combine: Next add the egg and beat on low to incorporate for additional 2 minutes. The mix will be slightly wet and sticky but be sure to keep beating the egg in on low. After 2 minutes slowly add the cheeses in 3 parts so it incorporates. At this point the dough mix will start to firm up with some stretchy texture. Once all the cheese is incorporated, stop the mixer and remove the bowl. It should feel like dense pizza dough (not too wet, not too sticky).
- Bake: Scoop out small balls of dough using an ice cream scoop or wooden spoon, roll in your hands, and place them on the baking sheet. Bake for 12 minutes, then rotate the baking sheet 180 degrees. Continue baking for additional 12 minutes or until the exterior starts to turn a light golden brown. Remove from oven and serve warm or at room temperature later in the day.
Nutrition
Nutrition information is automatically calculated, so should only be used as an approximation.
