This post may contain affiliate links. Read more at our disclosure policy.
This is your guide on how to grill with cedar planks. An age-old technique that infuses your food with a delightful smoky flavor, especially popular in the Pacific Northwest like our Grilled Hot Honey Salmon. This will take you through everything you need to know about cedar plank grilling, ensuring your next culinary adventure is a success.
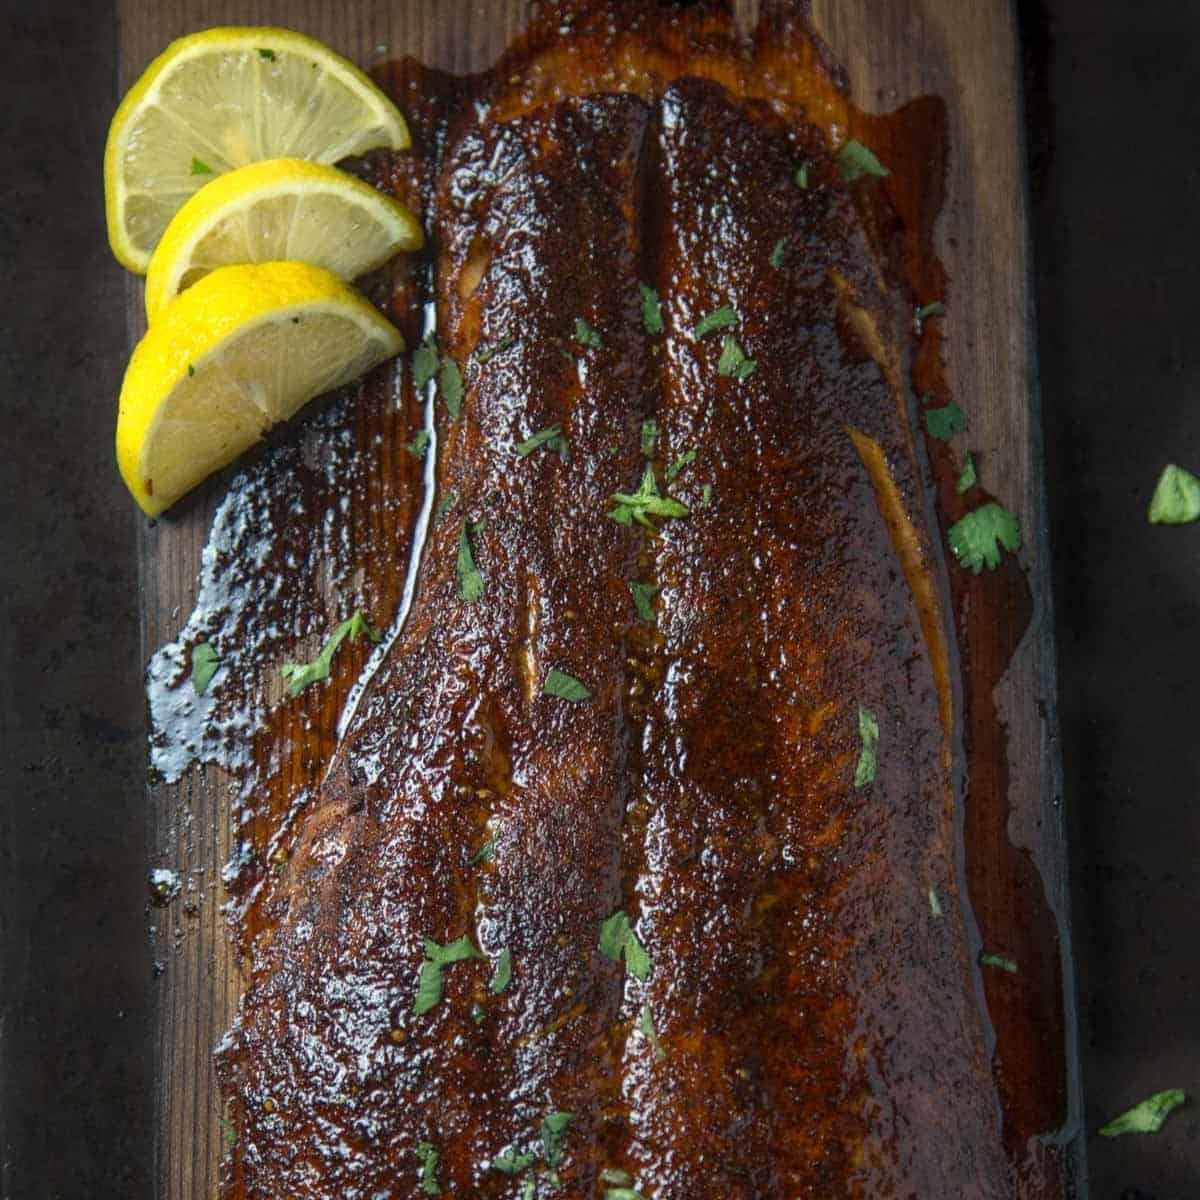
When it comes to adding flavor to grilling recipes, you can add rubs and seasonings, you can add marinades and homemade sauces, or you can use cedar planks, or other food-safe wood planks, for an added flavor to any recipe.
Table of Contents
Step One: Choose the Right Cedar Planks
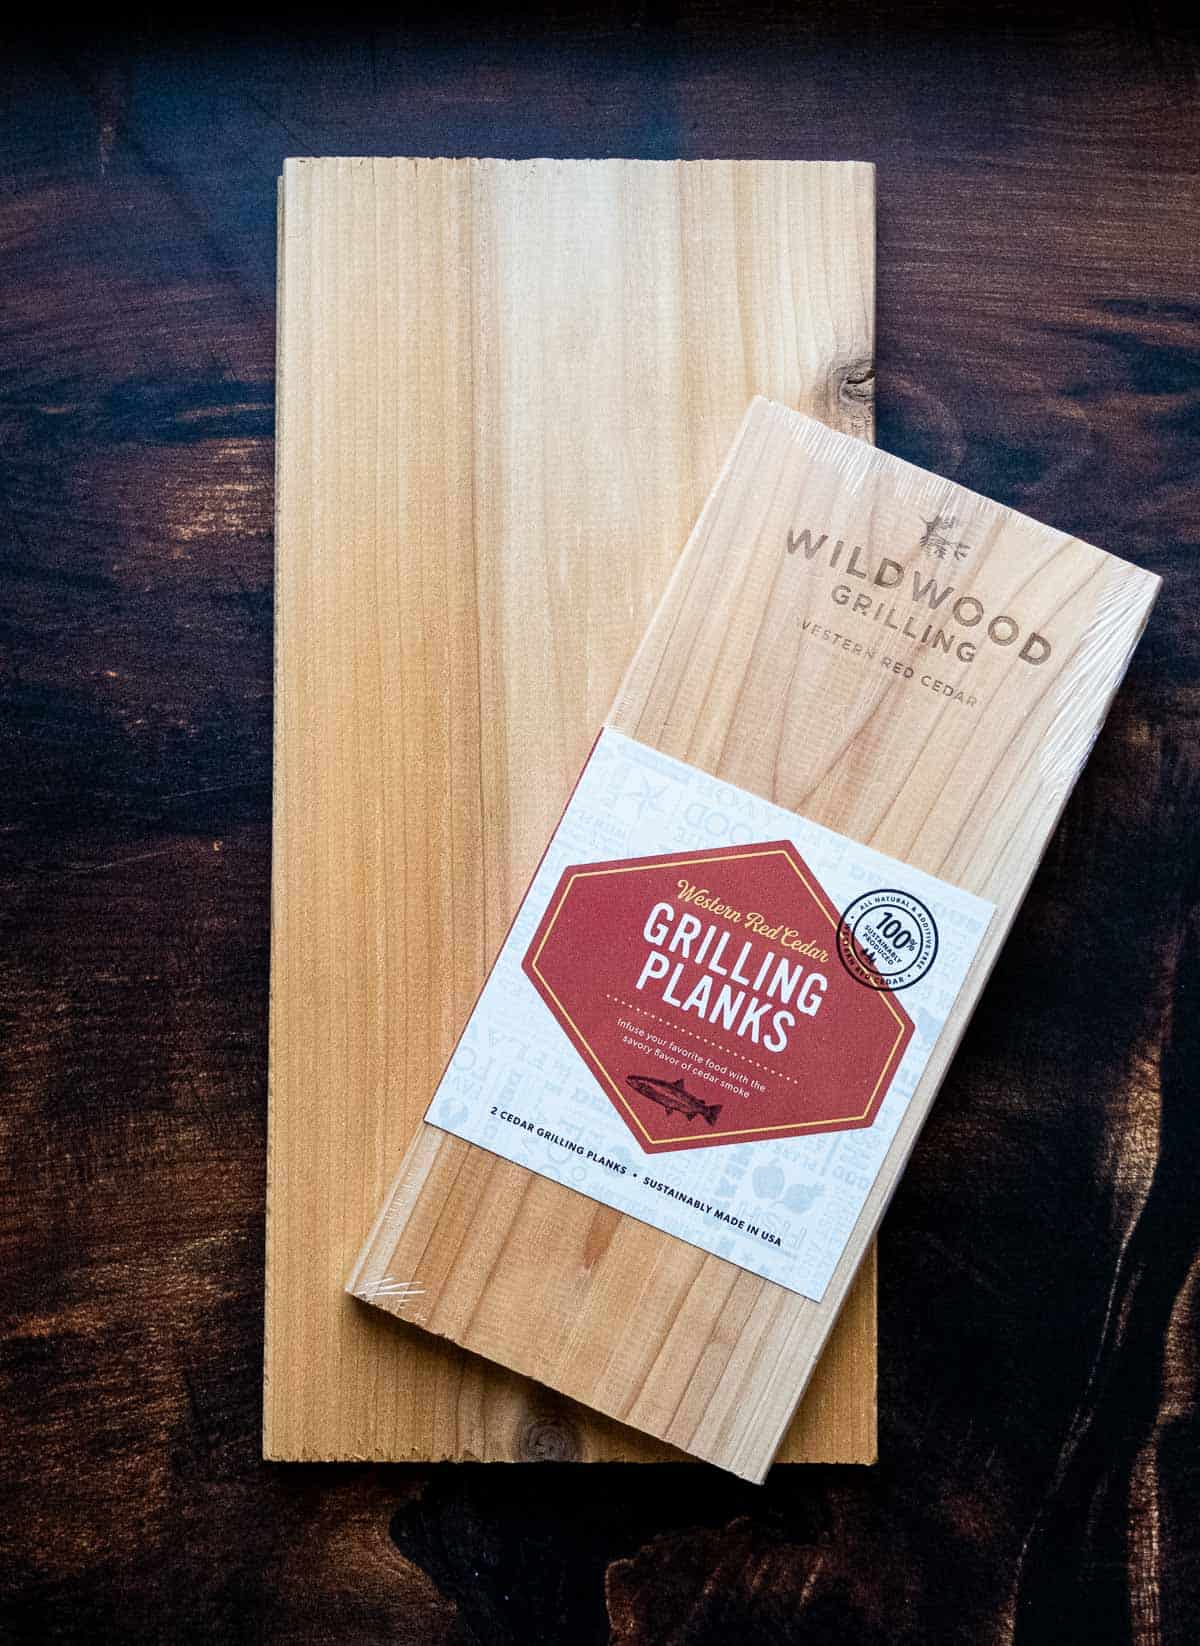
Not all cedar is created equally. Western Red Cedar is the variety you will find in most stores. You must only use untreated cedar planks. Do not use treated cedar, as that is toxic. It’s safest to buy pre-packaged cedar planks made for cooking or made for grilling or grilling planks.
If you are using planks that you have found in building supply stores be sure it’s untreated western red cedar. If you can’t confirm the type of cedar, don’t use it.
Where to Buy Cedar Planks
Cedar grilling planks can be found at your local hardware store or online in various sizes. Small cedar planks are great for fish, while larger ones can accommodate whole chickens, whole fillets of fish like cedar plank salmon, or other larger meats.
Match the size of the plank with your intended recipe. If all you can find is larger planks and you don’t need to use the entire thing, you can saw them into smaller pieces.
Step Two: Soak Your Cedar Planks
Before grilling, soak the planks in water for at least 30 minutes (no more than one hour is needed). It does not need to be warm water. The wooden plank will absorb the water and prevent it from catching fire on the hot grill.
We do not recommend adding other liquids or flavor elements (such as wine or cider or juice). The reality is it won’t absorb into the cedar. Just use water. Save the booze and other liquids (like lemon zest or apple juice) for your protein.
After soaking them, remove them from the water and lightly shake excess water off (no need to pat them dry). Then immediately use for cooking (or at least within 30 minutes of soaking).
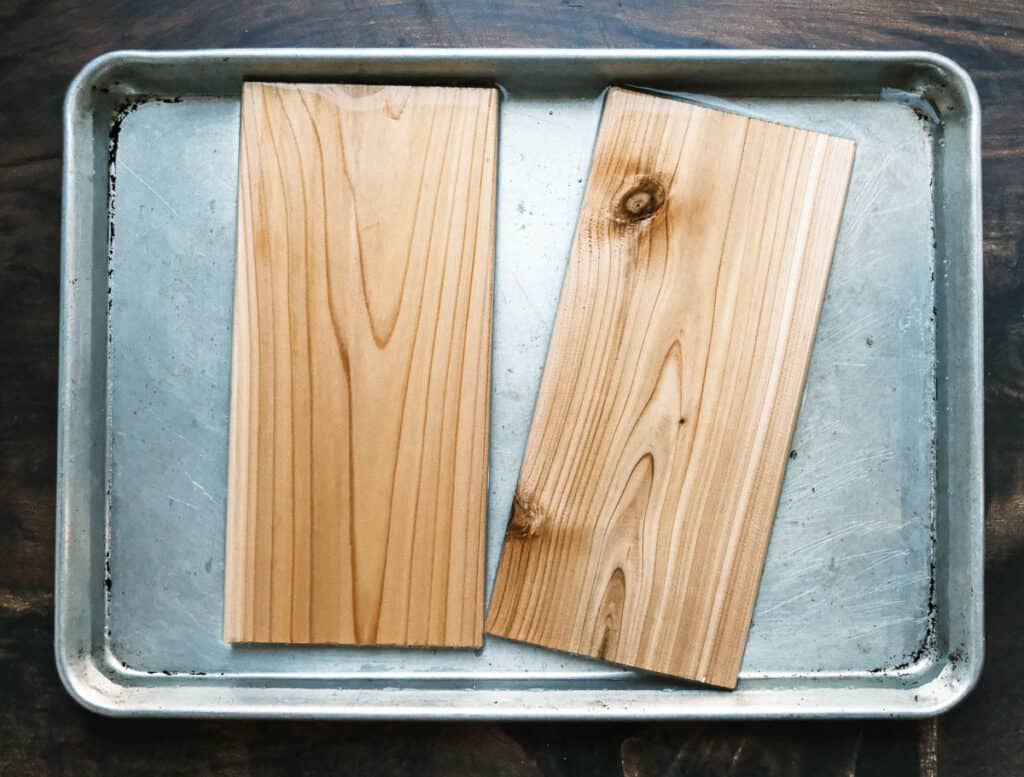
Note: Cedar planks want to float, so you may need to weigh them down with something heavy (see photo below). We like to use a large sheet pan, filled with water, then weigh them down with something heavy or weighted.
Key Tip: Be sure the entire plank is soaking. If it’s floating to the surface or in a shallow dish, flip them, or use a rock or heavy pan to weigh down planks if they float.
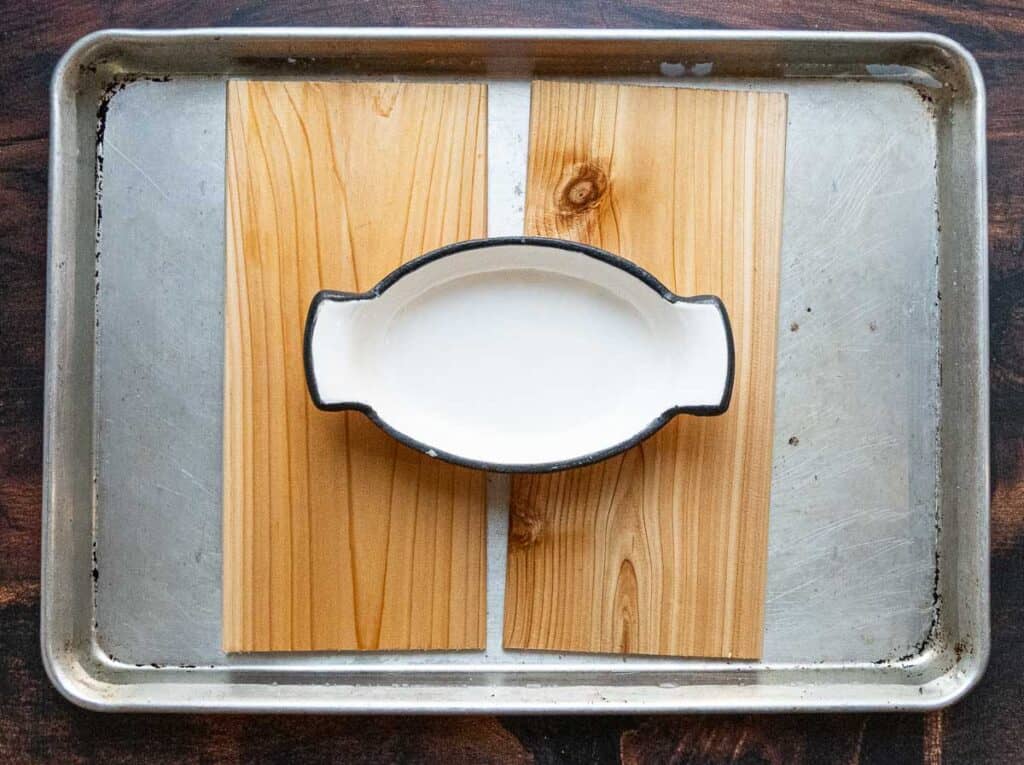
In the example above the cedar plank is floating to the top, so we placed a small heavy dish on top of the plank to keep it fully submerged.
How To Use Cedar Planks On a Grill
The key for grilling a cedar plank, no matter the type of grill, is to make sure it’s not too hot. If your grill temperature is too high, the planks will combust. If it’s too low, it will smolder and the flavor will be too smoky. Target 400 degrees F (up to 450) in the cooking chamber or medium heat as a best practice.
Gas Grill vs. Charcoal Grill
Whether you’re using a gas grill or a charcoal grill, the key is to aim for medium heat. If you’re using charcoal, arrange the hot coals on one side of the grill to create a zone of indirect heat. For gas grills, simply turn on one set of burners to achieve the same effect.
Placing the Plank
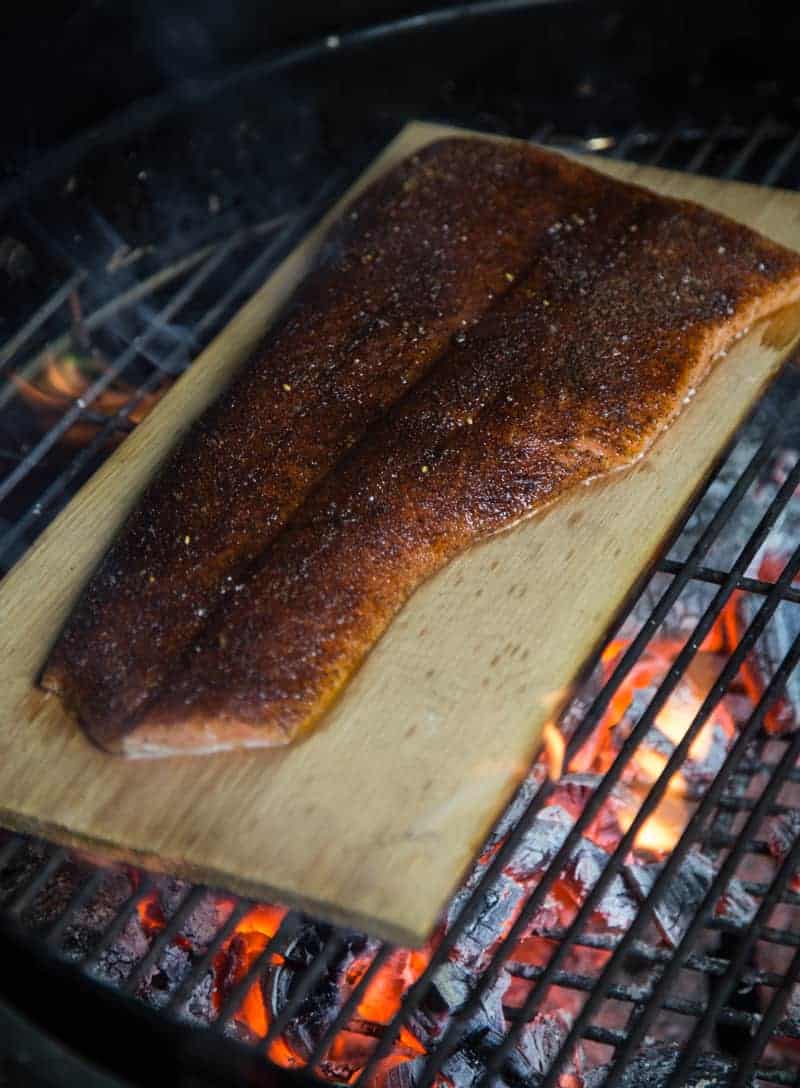
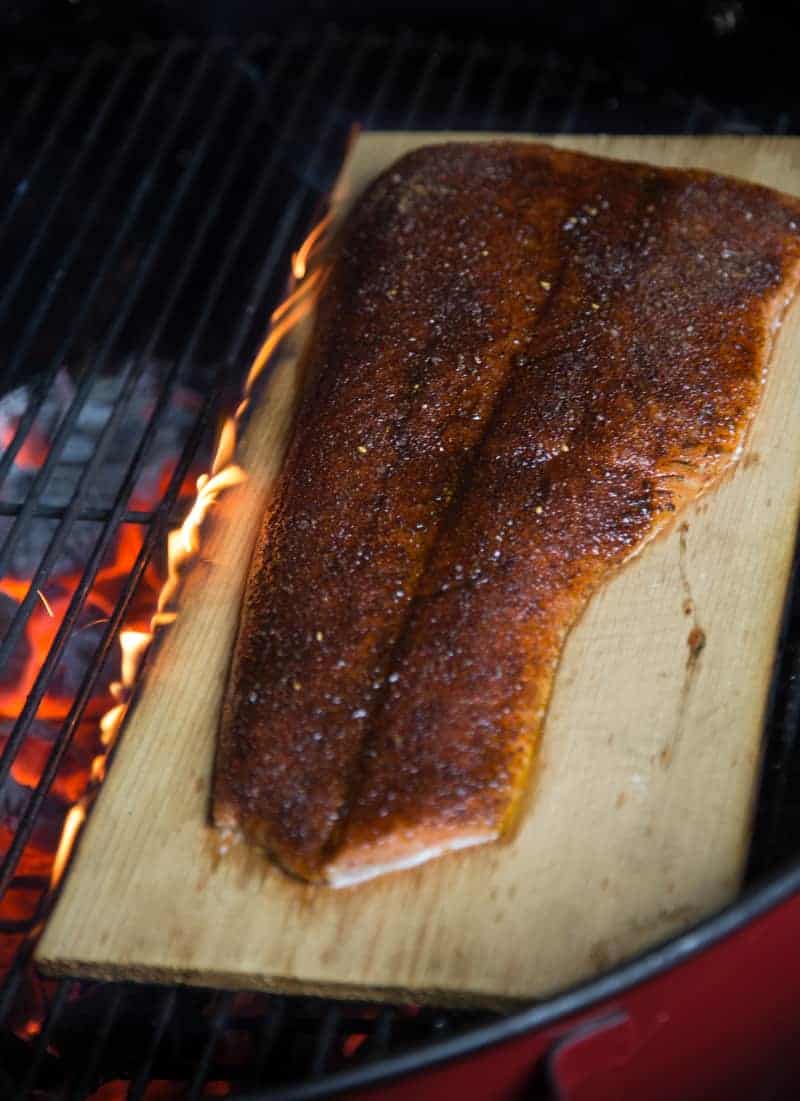
Always start your cedar plank over the direct heat (above the heat source). The intense heat will allow the cedar flavor to start to infuse as it burns. Then for longer cooking times you can move the cedar plank over indirect heat after it has combusted. This prevents it from completely catching fire.
Cooking on Cedar Planks
While the plank is soaking, prepare your food. Brush the salmon fillet or other meat with olive oil, sprinkle with salt, pepper, garlic powder, or your favorite seasonings. Let the seasonings sit for a few minutes to meld with the food.
Cooking Time and Temperature
Place your food on the plank, skin side down for fish, and place the plank on the grill over direct heat. Close the lid of the grill and cook direct. If the plank is too hot, or you are cooking over 10 minutes, then move the plank to the indirect heat to finish (so that the plank doesn’t get too hot and catch on fire).
The cooking time will vary, but a salmon fillet typically takes 15-20 minutes. Use a good digital meat thermometer to check for the correct internal temperature.
Adding Extra Flavor
Enhancing the Smoky Taste
To boost the smoky flavor, you can add wood chips to the fire. A spray bottle with water is handy to douse any flames that might lick up from the charred side of the plank.
Experimenting with Cheese, Marinades, and Spices
Try different marinades or dry rubs on your food before placing it on the cedar plank. The combination of the marinade or rub with the wood flavor can create some truly great recipes.
Or get creative and try cedar plank brie or other soft cheeses. It adds a nice golden color and flavor.
Would you like to save this?
After Grilling – Discard
The number one question we receive is whether you can re-use a cedar plank. The answer is no – not for cooking food on again. Most of the cedar flavor combusts leaving little left for flavoring and you don’t want to let planks cool and reheat them because of food borne pathogens and potential illness.
You don’t have to throw it away completely though. They make great kindling for your fire pit.
Handling the Plank
After cooking, carefully remove the plank from the grill using long tongs and place it on a sheet pan or a bucket of water. Let it cool before attempting to discard it.
Serving Your Meal
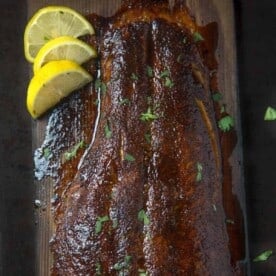
Transfer your cooked food to a serving platter and enjoy the rich, smokey flavor imparted by the cedar. Cedar plank salmon, in particular, is a crowd-pleaser and is sure to impress your guests.
Care and Maintenance
Reusing Cedar Planks
You can technically reuse cedar planks after they have been used. We just don’t recommend it as we mentioned above. Most of the flavor has been used, any previous item (usually fish) has left some of its flavor profile, and unless you thoroughly clean it, it can still contain potential bacteria.
So we do not recommend re-using them for cooking.
Storing Your Planks
Keep your cedar planks in a dry place and in the original packaging until ready to use. If you soaked the plank and you didn’t end up using it, you can dry the plank and then store it for reuse. But be sure to soak it again before using.
Frequently Asked Questions
Yes. While cedar planks won’t combust and smoke like a grill you can still use in an oven. Start by soaking the plank for 15 – 30 minutes. Place plank in a baking sheet and then add your protein. Bake according to the same roasting directions. Discard after use.
While cedar plank grilling is best known for cooking salmon, don’t be afraid to try other foods like soft cheeses, wild game, or even vegetables for a unique flavor experience. We have a grilled cedar plank brie with jam in our cookbook, Fire + Wine, and it’s amazing.
No, you should not use cedar planks more than once. Most of the flavor imparted is used up after using them. Discard, or use as kindling for your fire pit.
Get Cooking
Cedar plank grilling is a great way to add a unique smoky flavor to your meals. Whether you’re a seasoned home cook or trying this method for the first time, the combination of the right cedar planks, proper grill setup, and a bit of creativity with your recipes can lead to delicious results.
So next time you’re planning a barbecue, consider cedar plank grilling for an unforgettable culinary experience.
How To Grill With Cedar Planks
Equipment
- 1 large pan For soaking.
Ingredients
- 1 piece cedar planks, (Size to match your protein)
- 3 cups water
Instructions
- Soak Planks: Place cedar planks, submerged in water, in a sheet-pan or large dish, for 30 minutes (up to an hour). The wooden plank will absorb the water and prevent them from catching fire on the hot grill. We do not recommend adding other liquids or flavor elements.
- Prepare Your Grill: Prepare your grill for two-zone grilling, targeting 400 – 450 degrees Fahrenheit.
- Prepare Plank: Remove the plank after the soak and place seasoned meat directly on the plank.
- Grill: Start your cedar plank over the direct heat. The intense heat will allow the cedar flavor to start to infuse as it burns. Then for longer cooking times you can move the cedar plank over indirect heat after it’s combusted. This prevents it from completely catching fire.
- Discard: When done remove the plank, with the food still on, using long tongs. Remove the food from the plank and place on a serving dish, then place the plank in a place to cool or in a bucket of water. Discard the plank after it cools.
Notes
Nutrition information is automatically calculated, so should only be used as an approximation.
