This post may contain affiliate links. Read more at our disclosure policy.
Dry Brined Chicken is one of the best ways to grill a whole chicken. The results from dry brining are crackling skin, flavorful meat, and incredible moisture level. And the secret tip to an easy cook is to spatchcock the chicken.
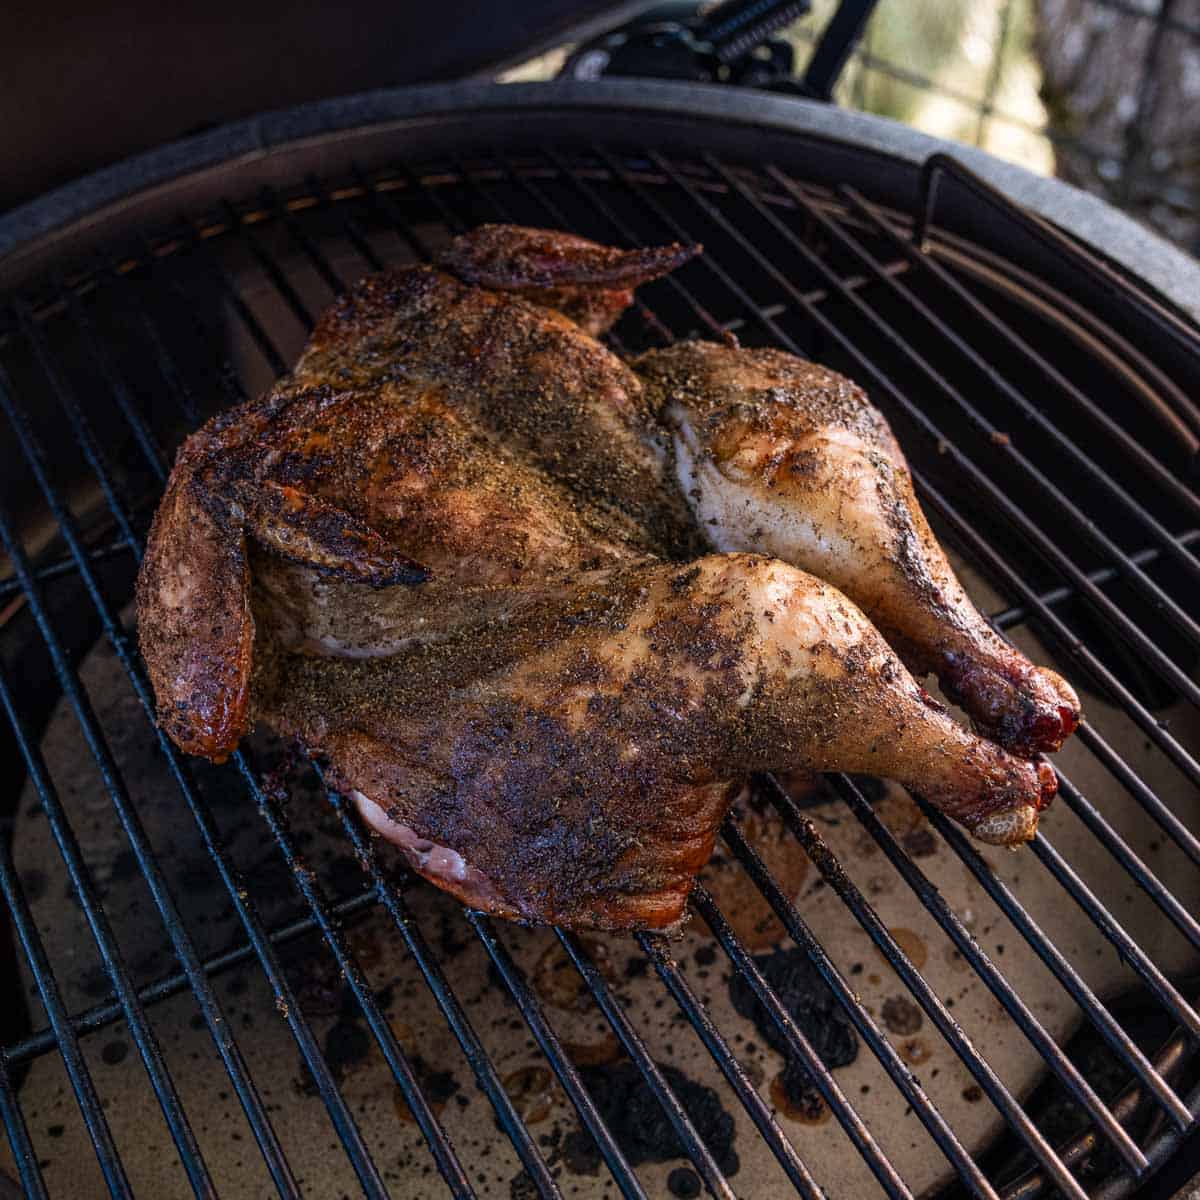
Spatchcocking chicken is removing the backbone and then pressing the whole chicken flat. This technique allows for a whole chicken to be cooked faster and more evenly avoiding portions from drying out. The dry brine is a salt and herb combination that infuses flavor into the chicken. The combination of the spatchcocking method plus a dry brine creates an amazing meal for your family and friends!
Table of Contents
Ingredients + Substitutions
- Whole Chicken – Buy a whole roaster chicken and then you can spatchcock at home (or ask your butcher to do it for you). This recipe also works with any skin-on chicken cuts like our dry-brined chicken halves. You can also dry brine and spatchcock turkey.
- Seasoning – We use our basic dry brine recipe but you can also use any dry rub or seasoning that has kosher salt in it. Another option is our chicken rub.
Portions are in the recipe card.
Equipment
When dry brining it’s best to have a wire rack lined in a sheet tray prepared. This elevates (lifts) the chicken so the entire bird can get airflow and dry brine in the refrigerator.
Preparation + Seasoning
Start by spatchcocking the chicken. With a sharp knife cut along one side of the backbone. You can see more details in our article on how to spatchcock.
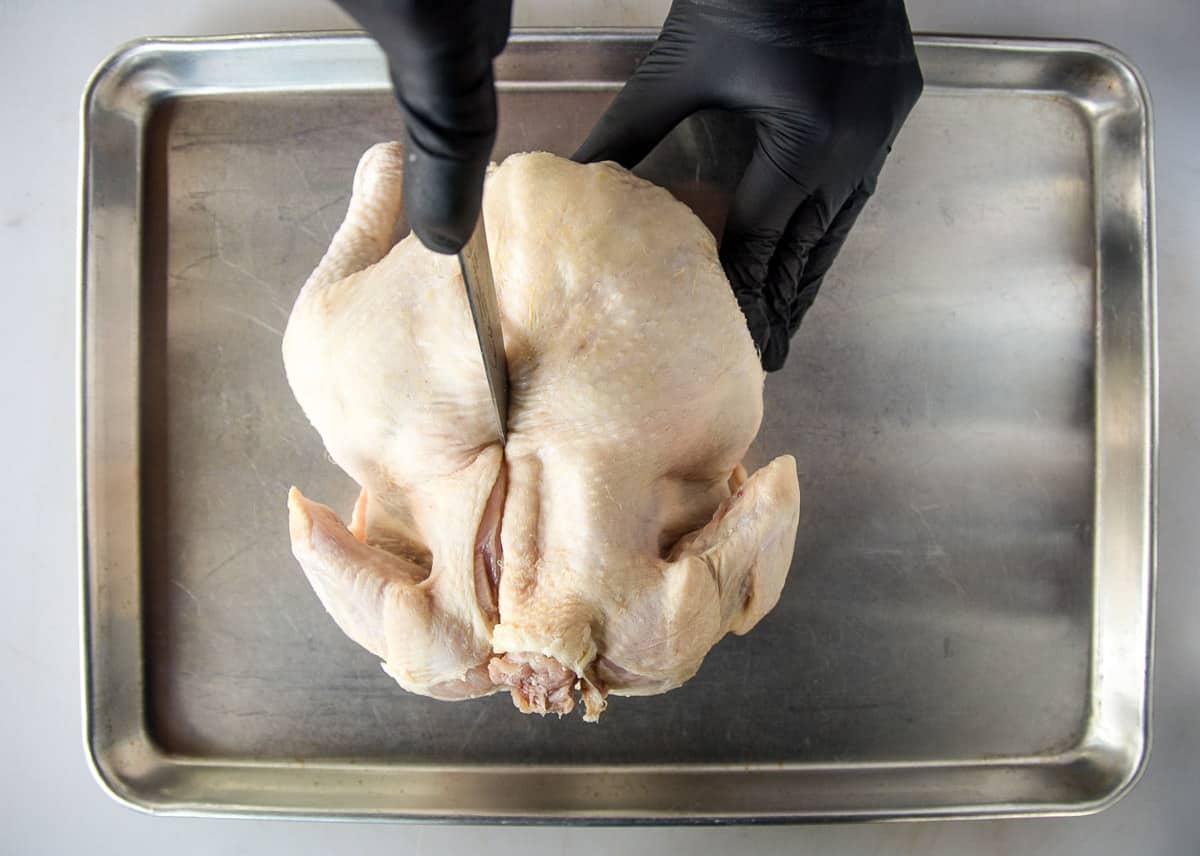
Next, repeat the same step by cutting and removing the other side of the backbone.
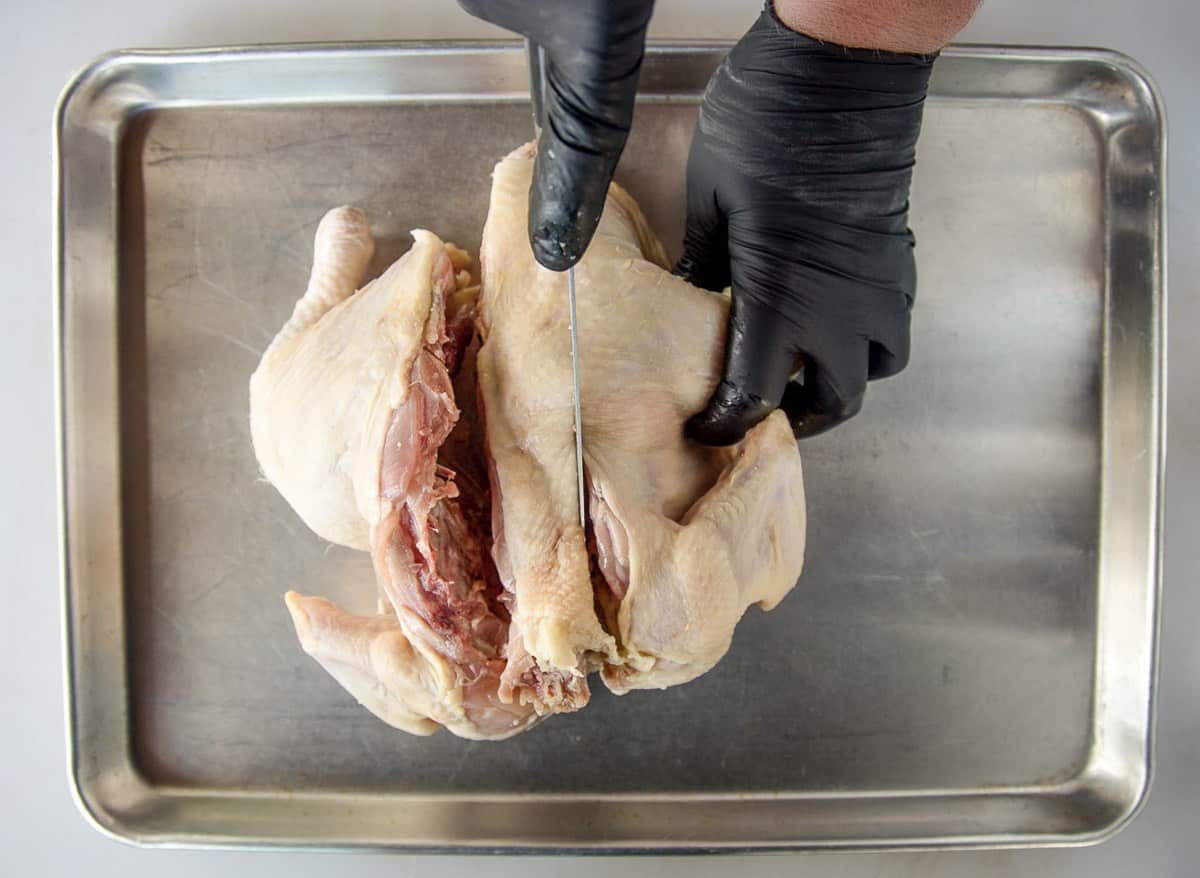
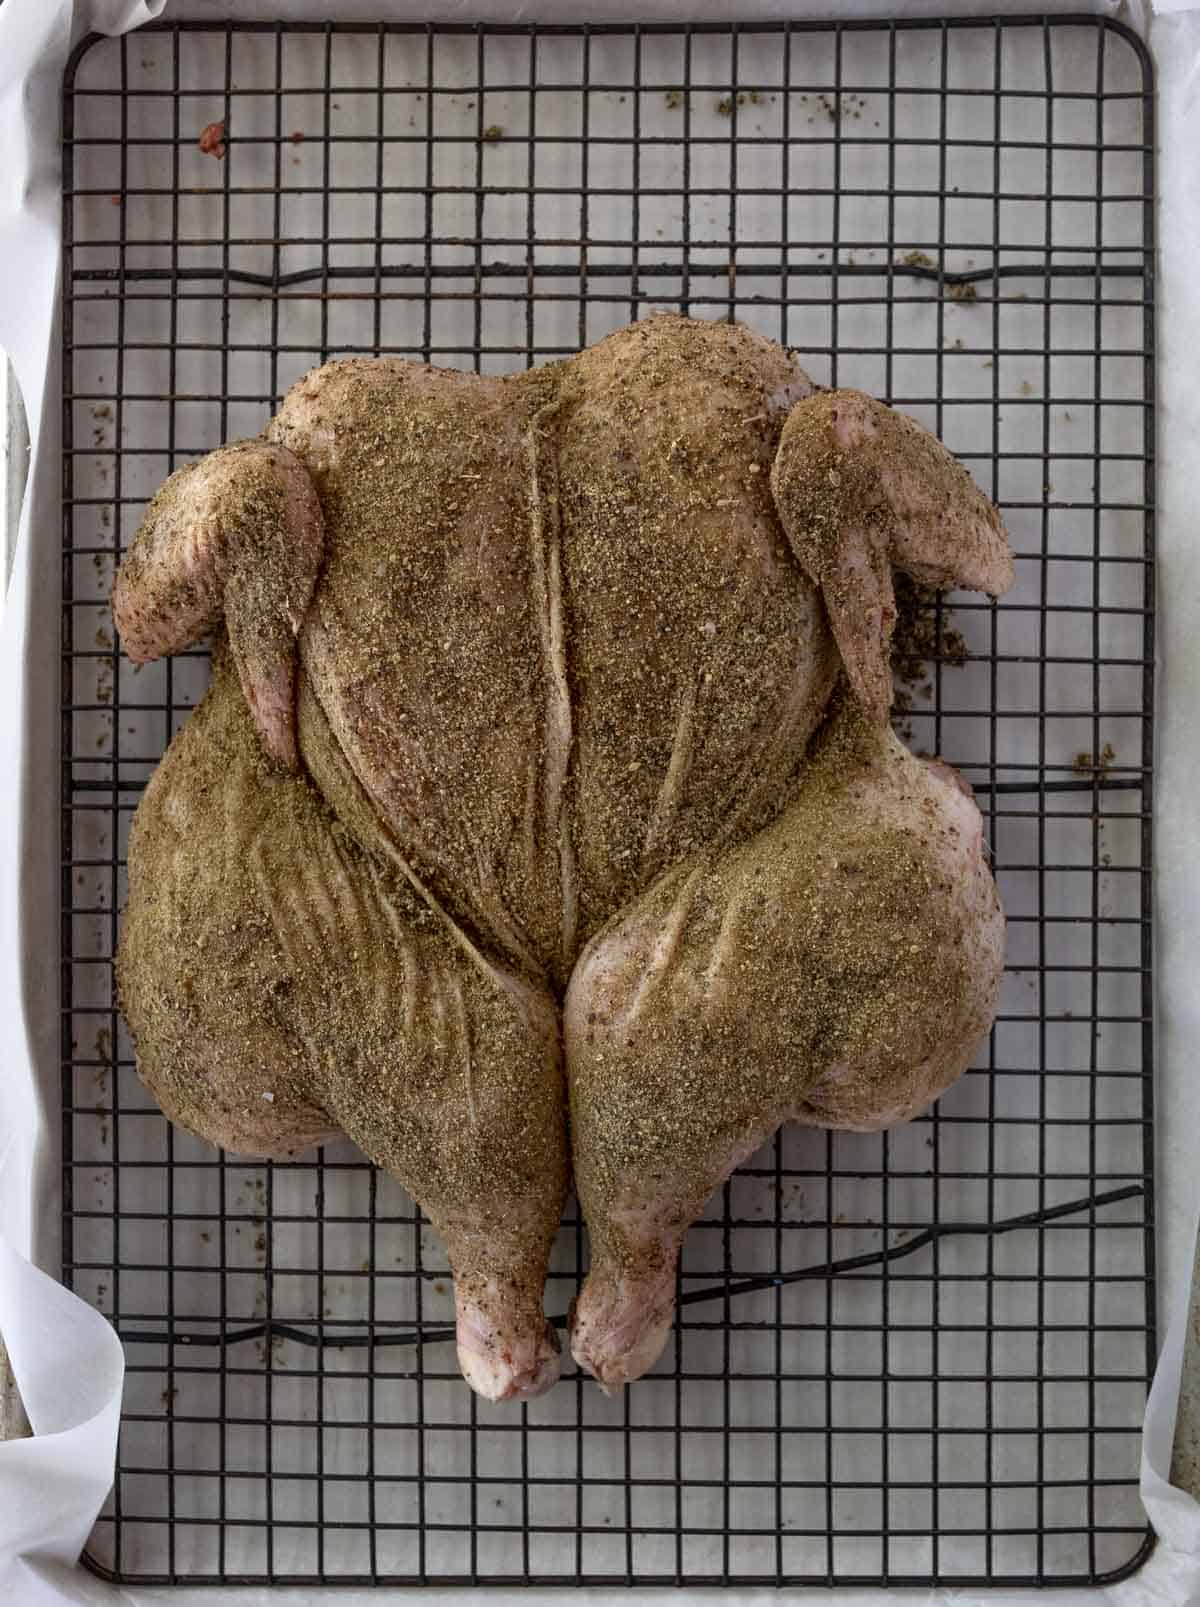
The last step is to pull the two halves apart. Flip the chicken over so the breast side is up, and then press it flat. Liberally season both sides with the dry brine.
Recipe Steps
- Brine: Lay spatchcocked chicken out on the wire rack in the sheet tray. Liberally apply the dry brine to both sides of the chicken. Place in refrigerator uncovered for up to 24 hours. See FAQ section for more time ranges.
- Grill: Prepare grill for two-zone, or indirect, grilling targeting 450 – 500 degrees Fahrenheit. Place the chicken on the grill grates over indirect heat. Grill skin side down for 15 minutes indirect. Then flip and continue grilling indirect until the internal temperature of the chicken breast reaches 158 to 160 degrees F using an instant-read thermometer. If you have a hot grill we recommend rotating the chicken around to avoid any hot spots from burning the chicken. You can rotate or flip as much as you need to until it’s done.
- Rest: Remove from grill and rest on a cutting board for 15 minutes to allow for carry-over cooking. Slice and serve.
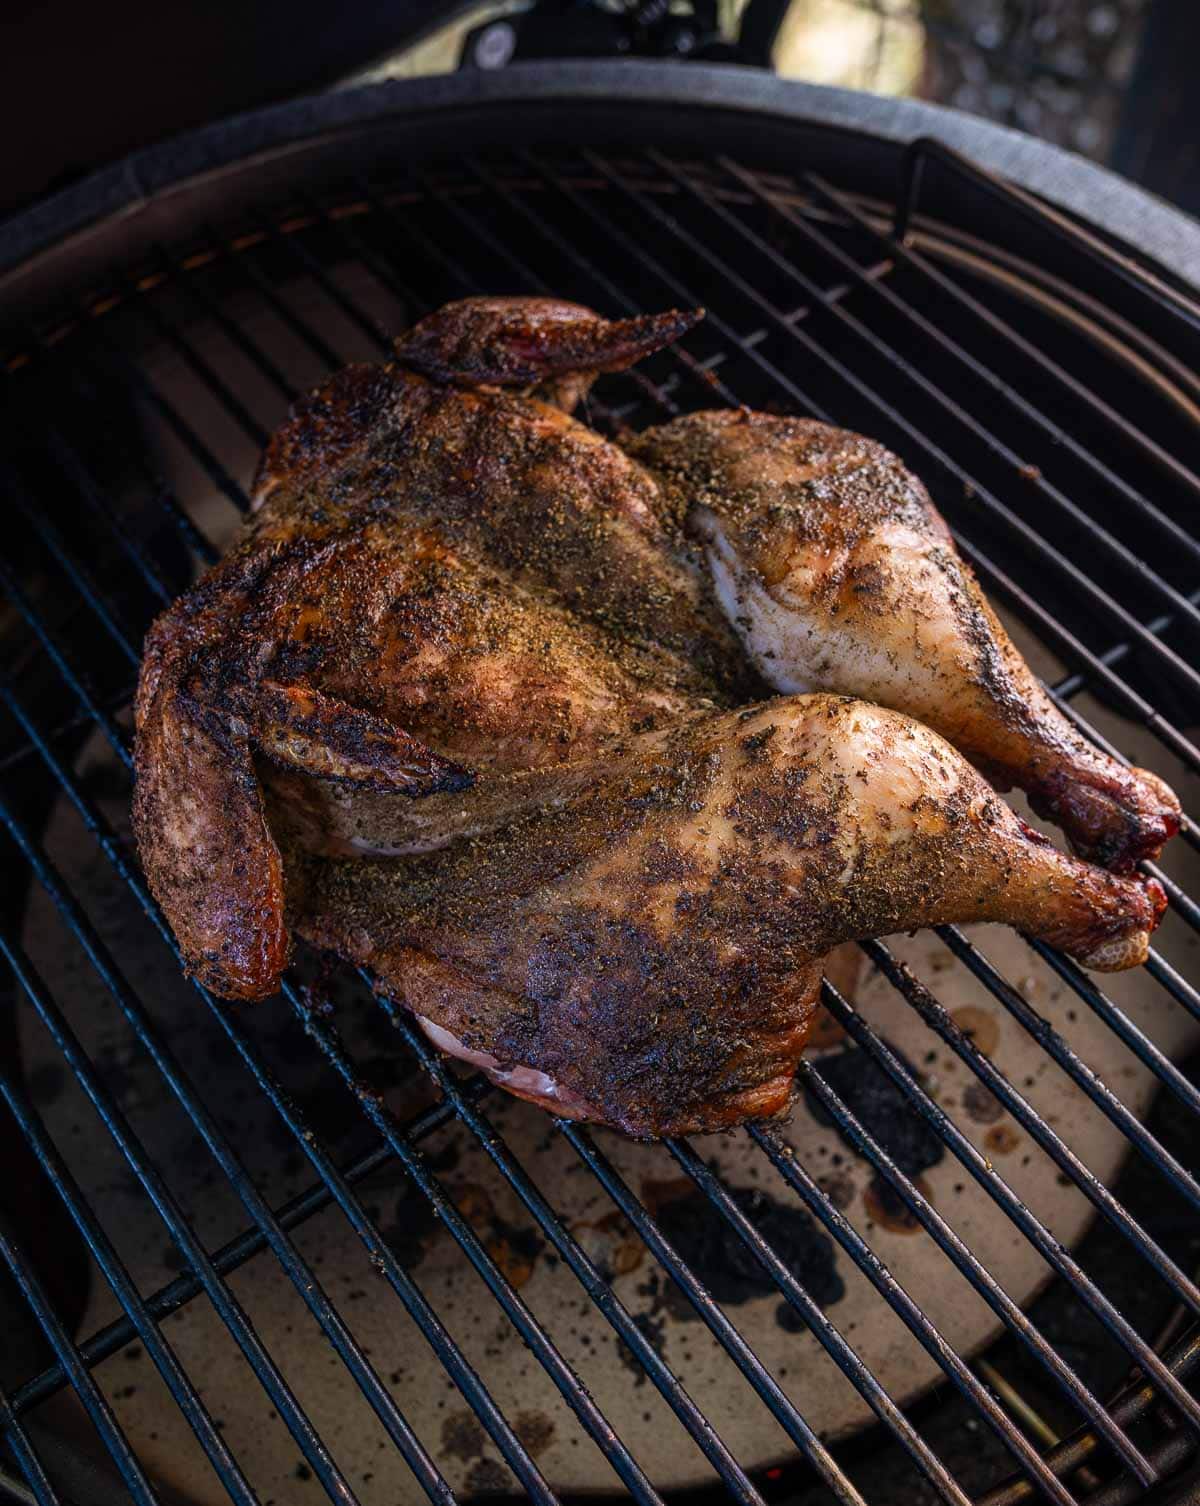
While the USDA recommends cooking chicken to 165 degrees Fahrenheit you can achieve safe chicken by cooking it to 158 degrees for longer time to kill of bacteria. If you want the juiciest chicken you have ever eaten then read our article on the perfect chicken temperature.
Grill Specific Modifications
Big Green Egg – If using a Big Green Egg or Kamado grill, you can set up for traditional two-zone grilling using the grill charcoal basket with divider or you can use your ConvEGGtor plate. If using the plate you don’t need to move the chicken around since it’s all indirect cooking. Target the internal temperature of the grill if using the plate at 500 degrees F.
Gas Grill – Assuming you have a three burner gas grill, light two adjacent burners at medium heat and leave one off. This is your two-zone set up. Target an internal grill temperature of no more than 500 degrees F.
Kettle Grill – Use a traditional two-zone direct and indirect zone set up. Target 450 degrees internal temperature of the grill. The direct side will be closer to 550 over the direct heat.
Pellet Grill – Use your high or grill setting, pre-heat the grill so the grates are hot. Grill indirect the entire time and glaze when the internal temperature of the chicken is 155 degrees F. If your pellet grill has a direct grill feature like on a Camp Chef Woodwind, then grill direct and then close the vent to finish indirect.
Chef’s Tip
If you want to sauce your chicken, be sure to do so after it’s cooked to maintain the crispy skin. You can explore all of our BBQ sauce recipes for inspiration. This spatchcocked chicken recipe is great with an Alabama White Sauce.
Frequently Asked Questions
Yes, flip once through the grilling process to get a nice sear on each side.
In order for a dry brine to work, it must have salt. You can balance the salt with other spices or even sugar based on your flavor preference. We advise you to use kosher salt for this recipe.
We recommend a minimum of 4 hours to let the chicken brine set. Ideally 24 hours. If you have less than 4 hours we recommend removing the skin and then adding the seasoning.
Would you like to save this?
Side Ideas
Anytime we make chicken our first go-to recipe is roasted potatoes. Add a nice aioli for flavor. Grilled broccolini or grilled asparagus are two additional recipes that are a great pairing with spatchcocked chicken.
For salad consider a grilled Caesar which you can cook at the same time.
Wine Pairing
I love chardonnay with almost any grilled chicken recipe, especially this dry brined chicken, with it’s herbal flavors and nice smoky touch you get from grilling. Some other options would be a viognier or a richer-style white wine. For reds a lighter red works great, like a gamay noir or pinot noir.
About Vindulge
Mary (a certified sommelier and recipe developer) and Sean (backyard pitmaster) are co-authors of the critically acclaimed cookbook, Fire + Wine, and have been creating content for the IACP nominated website Vindulge since 2009. They live in Oregon on a farm just outside Portland.
Dry Brined Spatchcocked Chicken
Equipment
- 1 Sheet Pan
- 1 rack (will sit in the sheet pan)
Ingredients
- 5 pound roaster chicken, spatchcocked
- ¼ cup dry brine
Instructions
- Brine: Lay spatchcocked chicken out on the wire rack in the sheet tray. Liberally apply the dry brine to both sides of the chicken. Place in refrigerator uncovered for up to 24 hours.
- Grill: Prepare grill for two-zone, or indirect, grilling targeting 450 – 500 degrees Fahrenheit. Place the chicken on the grill grates over indirect heat. Grill skin side down for 15 minutes indirect. Then flip and continue grilling indirect until the internal temperature of the chicken breast reaches 158 to 160 degrees F using an instant-read thermometer. If you have a hot grill we recommend rotating the chicken around to avoid any hot spots from burning the chicken. You can rotate or flip as much as you need to until it’s done.
- Rest: Remove from grill and rest on a cutting board for 15 minutes to allow for carry-over cooking. Slice and serve.
Notes
- Grill: Prepare grill for two-zone, or indirect, grilling targeting 450 – 500 degrees Fahrenheit. Place the chicken on the grill grates over indirect heat. Grill skin side down for 15 minutes indirect. Then flip and continue grilling indirect until the internal temperature of the chicken breast reaches 158 to 160 degrees F using an instant-read thermometer. If you have a hot grill we recommend rotating the chicken around to avoid any hot spots from burning the chicken. You can rotate or flip as much as you need to until it’s done.
Nutrition
Nutrition information is automatically calculated, so should only be used as an approximation.


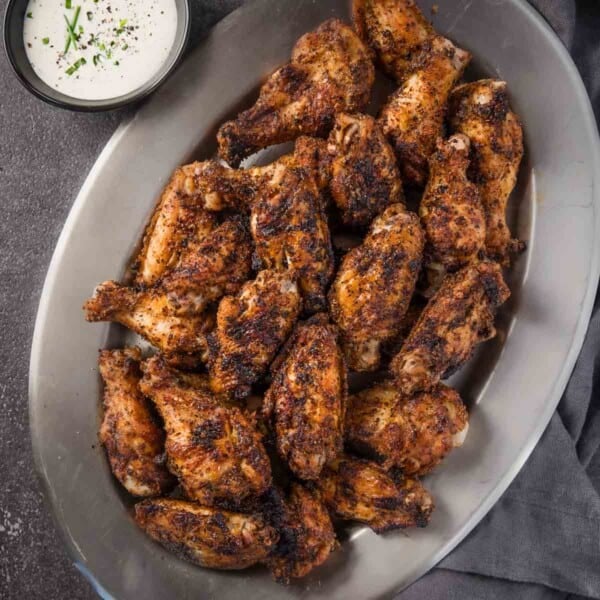

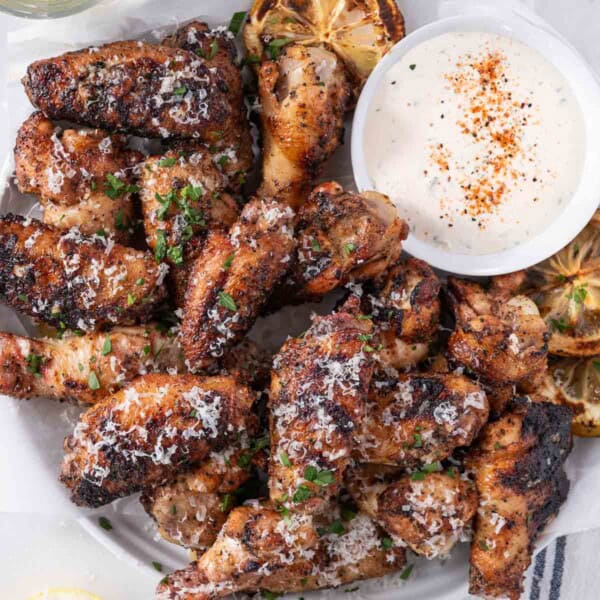


This is the dry brine you need. It’s going to change what you think about chicken whether grilling, roasting, or smoking.
I am wondering about the phrase in the pellet grill section “and glaze when the internal temperature……..”
I can’t find any mention of a glaze anywhere else in the article. What is the glaze made from?
Dale, thanks for asking. In general we use the following glaze: https://www.vindulge.com/dry-brined-smoked-chicken-carolina-glaze/ for any of our chicken. You can also add any BBQ sauce at the end as a glaze. So we’re referencing to add your sauce glaze when the chicken is almost done.