This post may contain affiliate links. Read more at our disclosure policy.
There are many ways to make Homemade Neapolitan Pizza Dough. One of our favorites is in the style of a Neapolitan Pizza with lower moisture, good stretch, and for a thinner crust. This four-ingredient pizza dough recipe comes together easily and results in some of the best pizzeria-style pizza you’ll make!
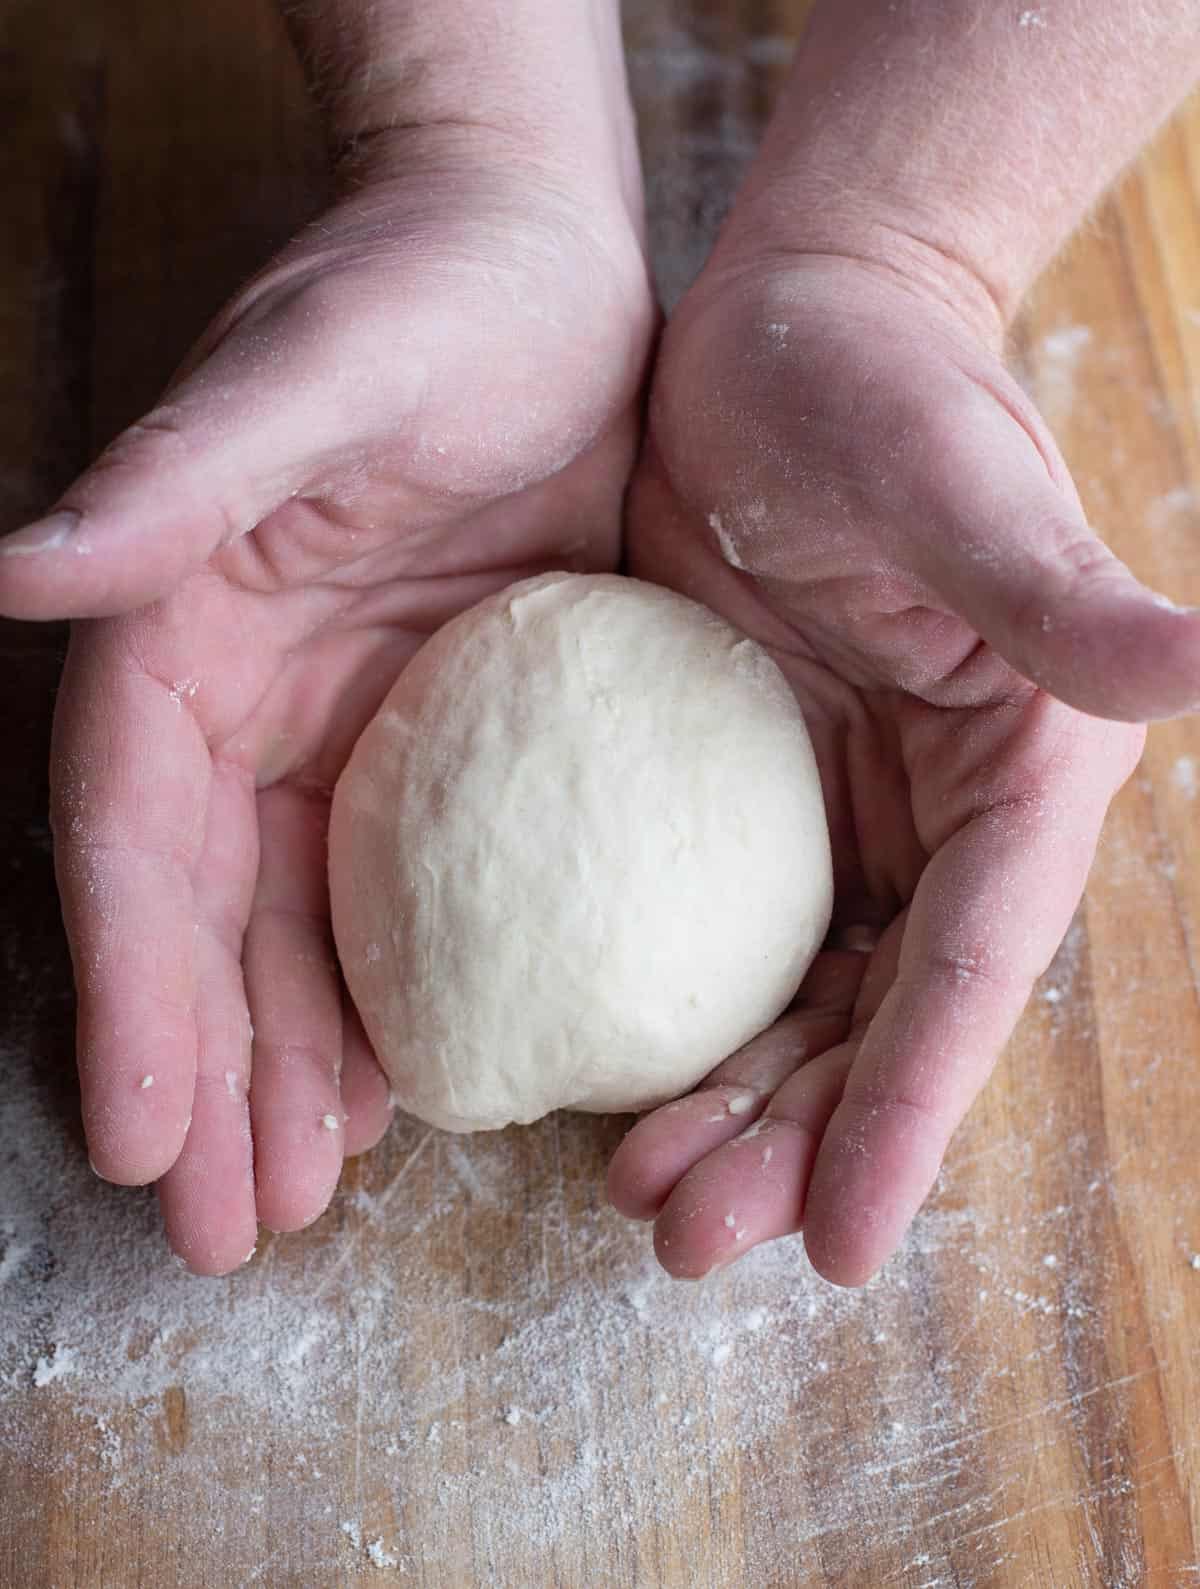
We have been making wood fired pizzas for years, both for catering business and for fun (Friday pizza night with the family). And one of the things we have learned through experimentation, trial, and error is that there is no single perfect dough recipe that works for every style of pizza and even garlic knots. But one thing that is consistent is that you can start with one basic dough recipe and then modify it so you can create the pizza you want.
Table of Contents
Pizza Dough Recipe Highlights
- A single portion of this recipe makes 3 (10 to 12-inch) pizza doughs
- If looking for a single dough you can review our single pizza dough recipe or even explore our gluten free pizza dough
- For good stretch you need a high gluten flour, like bread flour
- Adjust the hydration levels of the recipe for NY Style or Neapolitan Style Pizzas
Ingredients
This pizza dough recipe is made with four simple ingredients.
- Flour – You want a high gluten flour so it has the right stretch and doesn’t break. We use Bob’s Red Mill Bread Flour versus “00” flour. We find the bread flour works just as good and isn’t as expensive as the “00” flour. You can substitute with all-purpose as well, but need to be more careful as you are working with the dough because it’s not as flexible and doesn’t have the same elasticity.
- Yeast – Yeast provides the rise, or leavening, to the dough. Yeast and that rise assist in those air pockets and texture for this style of dough.
- Water – It should be warm when first using to help activate the yeast (ideally between 95 and 105 degrees F).
- Kosher Salt – This adds flavor.
Why no sugar? This recipe is meant for pizzas cooked at a high heat, like those inspired the style of Neapolitan pizzas. Typically these are pizzas cooked at 600 to 900 degrees Fahrenheit. At that heat level sugar will brown or potentially burn the crust.
A note about “00” flour: “00” flour is an Italian style of flour and references the grind level. “00” flour is great to use for pizza dough, but it is much more expensive. It has a fine texture, almost like powdered sugar, and makes incredible pizza. If you can afford it we strongly recommend Caputo brand “00” flour. But if you want to stretch your budget, you can blend “00” flour with bread flour. Many restaurants do this for the best of both worlds. You’ll find it at the finer grocery stores or online.
Hydration Levels of Pizza Dough
When making any homemade pizza dough the hydration level is what controls how wet or dry the dough will be. Depending on the style of pizza you will want to adjust the hydration level.
If the hydration level is too high, the dough is sticky and hard to work with. If it’s too dry, then it won’t have the right elasticity level. We target our hydration levels based on how hot the oven is that we plan to cook the pizza in.
- 400 – 600 degree oven: 70% hydration level (NY Style or Hand Tossed Pizzas)
- 600 – 900 degree oven: 66-68% Hydration Level (Neapolitan style inspired pizzas)
So if you are planning to cook a NY style pizza using this recipe, adjust the water to 70% hydration (or 350 grams of warm water) to the same ratio of ingredients.
Tools Needed
Explore our guide for a full list of essential pizza tools. But the key tools you will want are listed below.
Would you like to save this?
- Digital Scale – Weighing is important for the accurate ratios of wet to dry ingredients.
- Proofing Bowls or Containers – It’s good to have two bowls or containers. One to make and mix the dough and the other to lightly oil and have for the first fermentation.
- Bench Scraper – This makes working and separating the dough so easy.
- Instant Read Thermometer – We use the Thermoworks Thermapen One or the Thermopop to measure the temperature of the water so you have the right heat level for activating the yeast and encouraging fermentation.
If you want a great book that walks through all things pizza, then we strongly recommend buying the book by Ken Forkish, The Elements of Pizza. It has an incredible walk through of everything you need to know about dough, history, and great recipes and is a big inspiration for our style of pizza making.
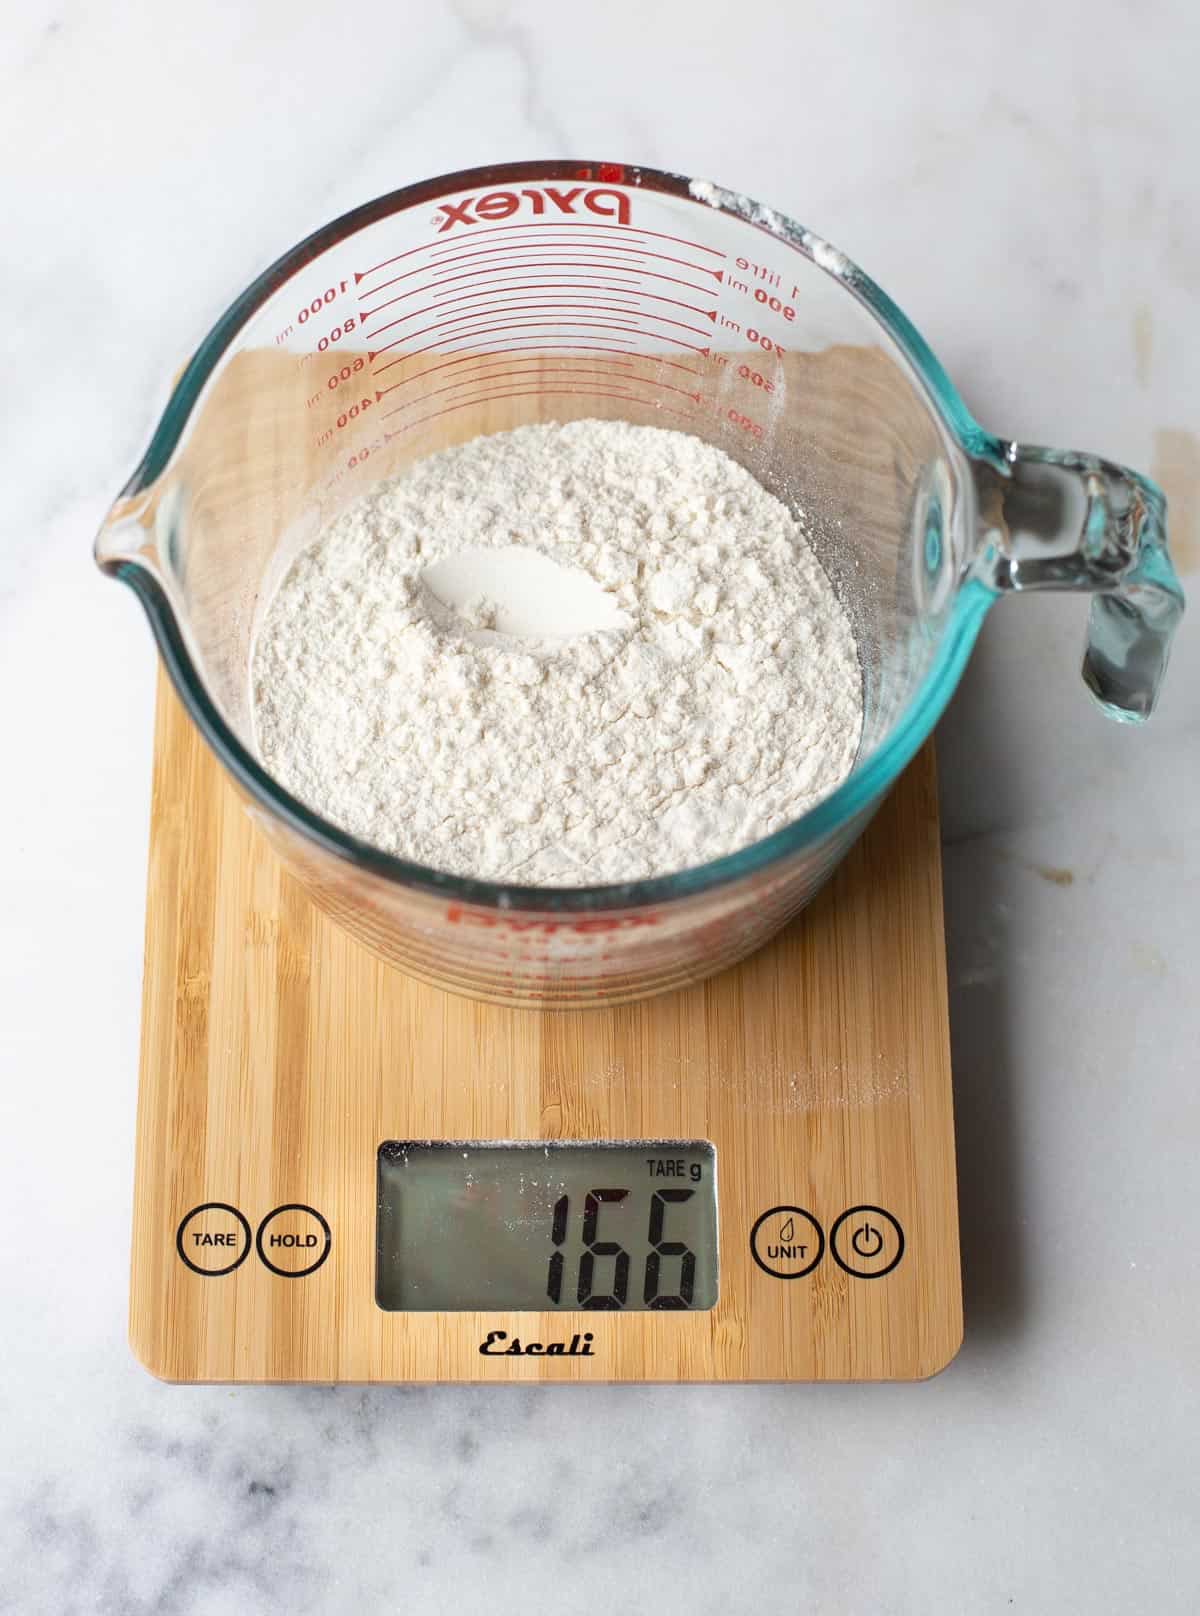
How to Make Homemade Pizza Dough
Check out our other recipe if you are looking for a single pizza dough ball.
- Activate Yeast: In a large bowl, combine the warm water, yeast, and kosher salt. Stir to combine and then let sit for 5 minutes. The warm water and the time will start to activate the yeast.
- Combine Dough: Next, add the flour to the bowl and, with your hands, stir to combine the liquid and the flour with your hands for 30 seconds. Be sure to remove dry flour from the edges so it is all combined together.
- Let Sit: Roughly form the dough into a ball (still in the bowl) and cover the bowl with plastic wrap. It’s now going to rise for 20 minutes. After 20 minutes, the yeast has activated, the dough is starting to rise and it’s time for the first fermentation.
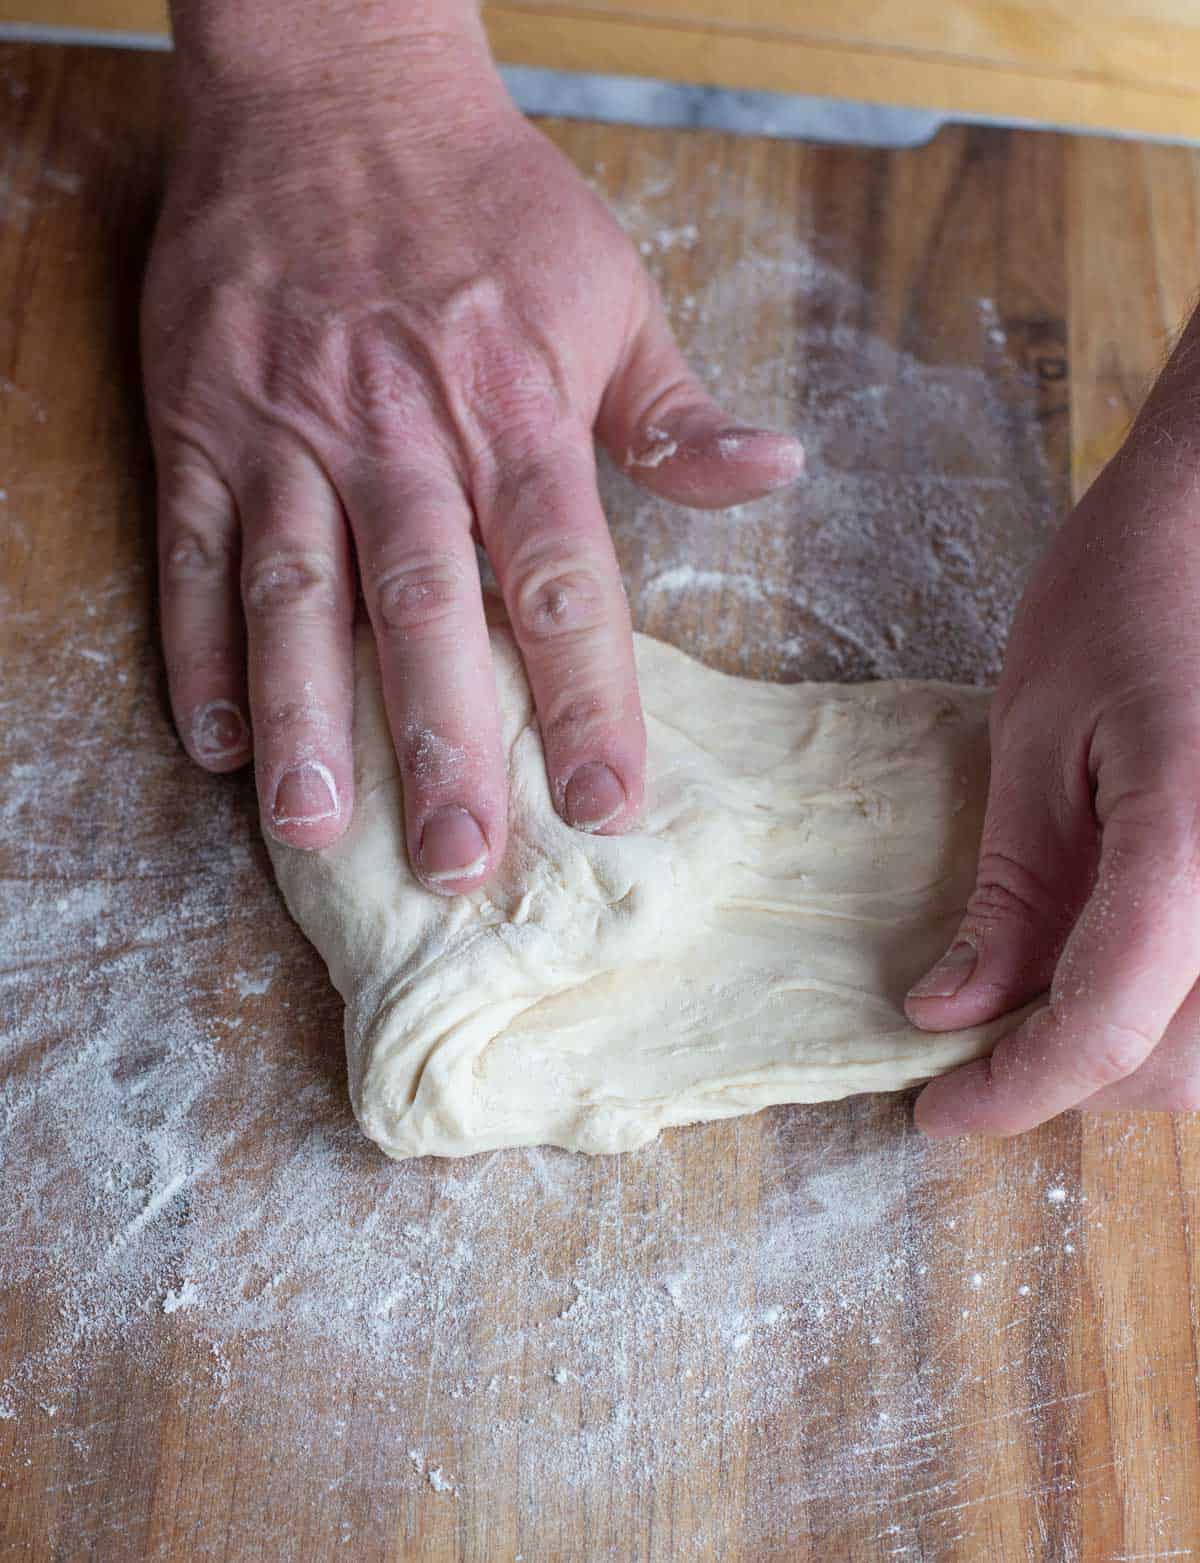
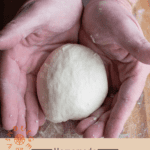
- First Fermentation: Lightly flour your hands and a cutting board, and gently remove the dough from the bowl to the board. Kneed the dough for 30 seconds by gently folding the dough like a trifold wallet and pressing. I do this about 4 times (over 30 seconds). Begin to form the dough ball by cupping it with your hands. The seam from folding is on the bottom and the top should be smooth. Place the dough ball into a lightly oiled (we use olive oil) bowl and cover with plastic wrap, and let it rise somewhere warm for 2 hours.
- Form Dough Balls: After the 2 hours, the dough will have risen and it’s time to separate into the individual balls. We typically weigh it and divide by three. Using a pizza scraper divide the dough into 250 – 280 gram dough balls. After dividing the dough, kneed the smaller dough balls again for 30 seconds and reform into a ball. Place them onto a floured sheet pan and then flour the tops (so they don’t stick). Cover tightly with plastic wrap.
- Second Fermentation: Let the dough ball rise somewhere warm for 4 – 6 additional hours and then it’s ready to use for your favorite pizza recipes.

Dough Tip for Proofing
We keep our house cold, and dough needs a warm environment to rise. So we turn the light on in our oven, and that light will keep the oven at around 70 – 80 degrees. A perfect temperature for the dough to ferment for both the first and second fermentation. This was an idea we got from Chef Billy Parisi. Note – we do not turn the oven on, just the light, and then we put the dough in the oven to rise.
Frequently Asked Questions
Yes. After the second fermentation period, you can freeze dough for up to 3 months wrapped tightly in plastic wrap. Give 48 hours to thaw in the refrigerator and then let come to room temperature for 2 hours prior to working with it. If it’s too cold it becomes difficult to work with.
A high-gluten flour is best, like bread flour. This allows the gluten to activate and give the stretchiness for good dough. We use Bob’s Red Mill Bread Flour. “00” Flour is also great and we use Caputo brand, but is also more expensive. You can also mix equal parts of bread flour and “00” flour for the best of both options.
Yes, if you can’t find bread flour or choose to use the all-purpose you already have, it’s fine. All-purpose flour can tend to break apart easier as you are working with the dough. It’s not ideal, but it works in a pinch.
This dough is meant for same day use, however you can make this ahead of time and freeze the dough up to 30 days. If you make it and only put into the refrigerator, it will rise and over proof. So freezing is the best option. Wrap the dough tightly in plastic wrap after the second fermentation.
Then when ready to use defrost 24 hours prior in the refrigerator. Remove from the fridge to let the dough come to room temperature prior to working with it. About 2 hours.
Yes, modify the recipe so that the hydration level of the dough is 70% versus 66% (350 grams of water versus 330 grams). This extra moisture helps in the right texture when cooking at 500 to 600 degrees F.

Our Favorite Pizza Recipes
Explore all of our pizza recipes or browse some of our favorites. For even more flavor consider making our sourdough pizza dough.
- No Cook Pizza Sauce
- Classic Pizza Margherita
- Spicy Neapolitan Pizza
- Pellet Grill Pizza
- BBQ Chicken Pizza
- Smoked Brisket Pizza
- Big Green Egg Pizza
Homemade Pizza Dough Recipe
Equipment
- 1 proofing bowl
Ingredients
- 330 grams warm water,, Targeting 95 – 105 degrees Fahrenheit (F)
- 11 grams kosher salt
- ½ teaspoon yeast
- 500 grams bread flour
Instructions
- Activate Yeast: In a large bowl, combine the warm water, yeast, and kosher salt. Stir to combine and then let sit for 5 minutes. The warm water and the time will start to activate the yeast.
- Combine Dough: Next, add the flour to the bowl and, with your hands, stir to combine the liquid and the flour with your hands for 30 seconds. Be sure to remove dry flour from the edges so it is all combined together.
- Let Sit: Roughly form the dough into a ball (still in the bowl) and cover the bowl with plastic wrap or thick towel. It’s now going to rise for 20 minutes. After 20 minutes, the yeast has activated, the dough is starting to rise and it’s time for the first fermentation.
- First Fermentation: Lightly flour your hands and a cutting board, and gently remove the dough from the bowl to the board. Kneed the dough for 30 seconds by gently folding the dough like a trifold wallet and pressing. I do this about 4 times (over 30 seconds). Begin to form the dough ball by cupping it with your hands. The seam from folding is on the bottom and the top should be smooth. Place the dough ball into a lightly oiled (we use olive oil) bowl, seam side down, and cover with plastic wrap, and let it rise somewhere warm for 2 hours.
- Form Dough Balls: After the 2 hours, the dough will have risen and it’s time to separate into the individual balls. We typically weigh it and divide by three. Using a pizza scraper divide the dough into 250 – 280 gram dough balls. After dividing the dough, kneed the smaller dough balls again for 30 seconds and reform into a ball. Place them onto a floured sheet pan and then flour the tops (so they don’t stick). Cover tightly with plastic wrap.
- Second Fermentation: Let the dough ball rise somewhere warm for 4 – 6 additional hours and then it’s ready to use for your favorite pizza recipes.
Video
Notes
Nutrition
Nutrition information is automatically calculated, so should only be used as an approximation.





Mary , Forgot but that’s the last thing I need to see this morning, snowing out side and mouth is drooling for pizza. They look so good, maybe burger and pineapple one
Mary yours look great, love the big airy crust around the edges, well done, what wood fired pizza oven is yours, I have a big dome one I built, you should see it. It works great and cook things from bread to roast an more.
Thank you very much for sending me this email.
I am new to making pizza. Please explain the absence of olive oil in the pizza dough.
Great question. This specific recipe is for a Neapolitan style dough which is meant for a high heat pizza oven (1000 degrees F). Olive oil is typically used in a NY style dough or a Sicilian dough where you are cooking at lower temperatures (say 500 degrees F). Olive oil helps with the elasticity of the dough at lower heat. You can use it, but you don’t need it for this recipe. The fermentation process and kneading will give the dough structure.
Could we freeze this dough for later use?
Yes you can absolutely freeze the dough. Make sure you prepare the first and second fermentation into the dough balls and then wrap in plastic wrap or store in quart cups in the freezer. A great question and we’ll update the FAQs to include that.
Looks like a solid recipe but I’m confused why you add the salt with the yeast? Because generally mixing salt in with yeast will not allow the yeast to rise properly.
JB the goal with the salt is just that. It’s there to prevent the dough from over proofing. So the salt counterbalances the yeast from going into overdrive. Whether it’s dissolved in the water or included with the flour that’s the reason for adding the salt. Doubly important if you use the quick rise yeast.